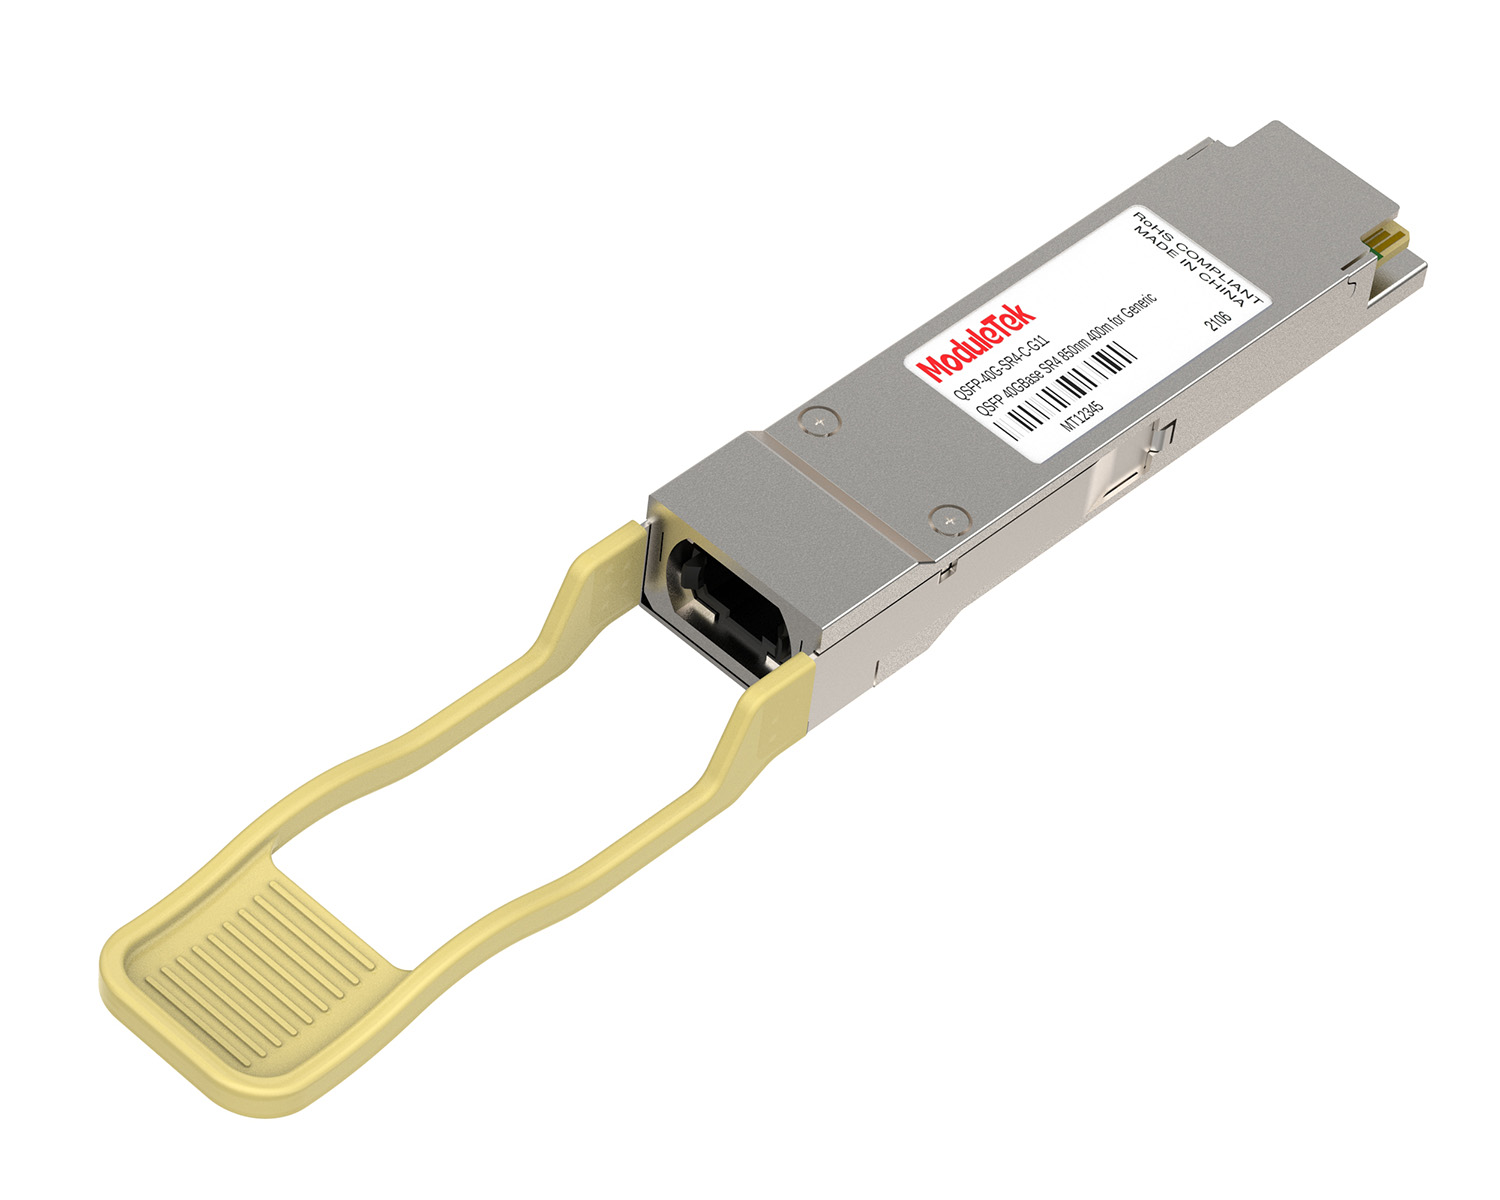
 40G/100G Optical Transceivers
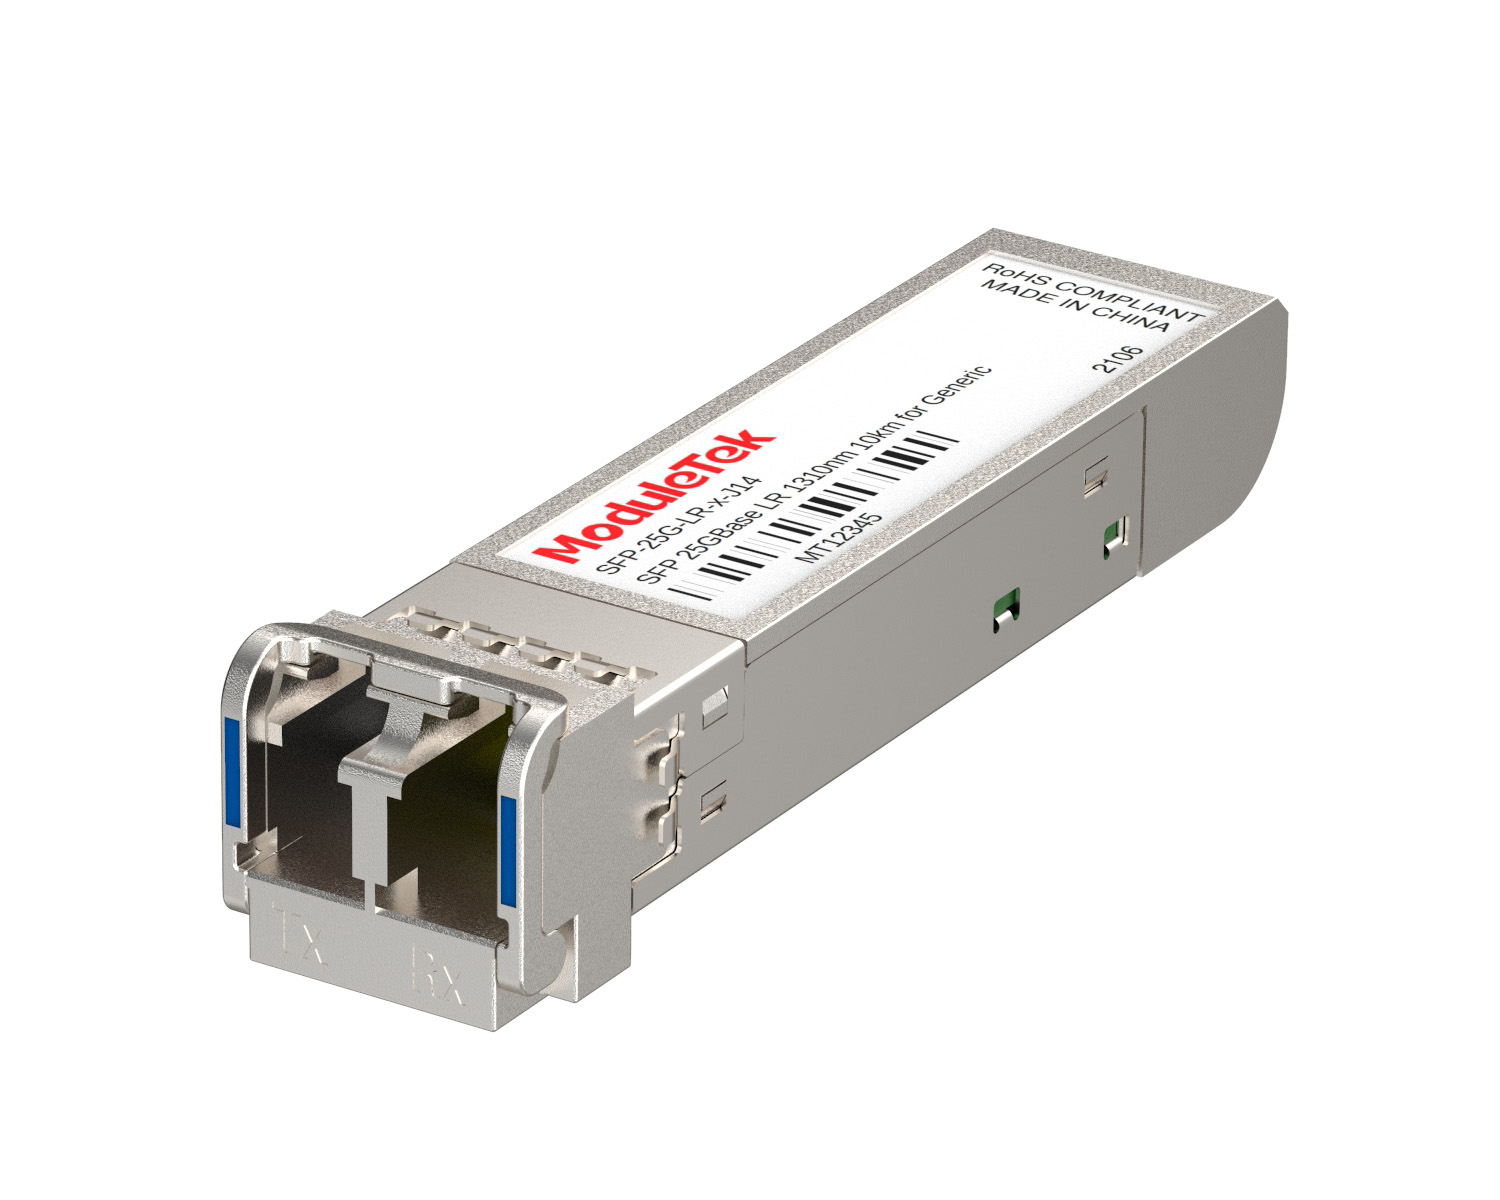 25G Optical Transceivers
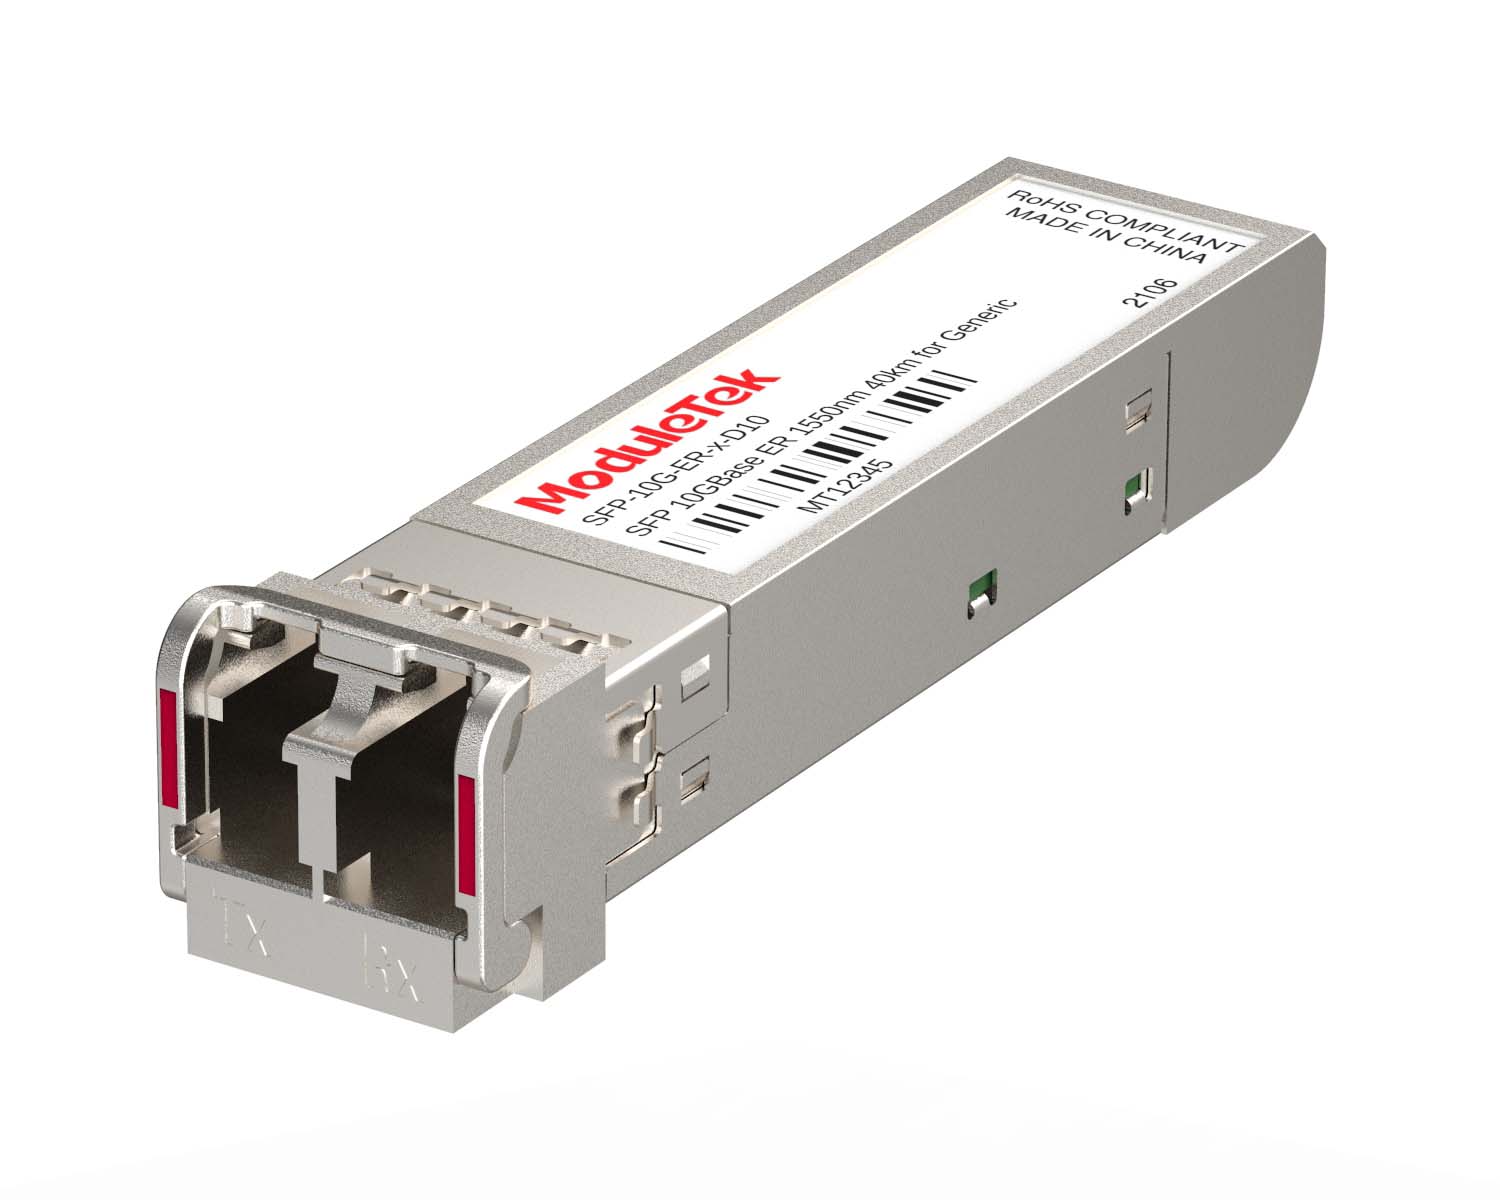 10G Optical Transceivers
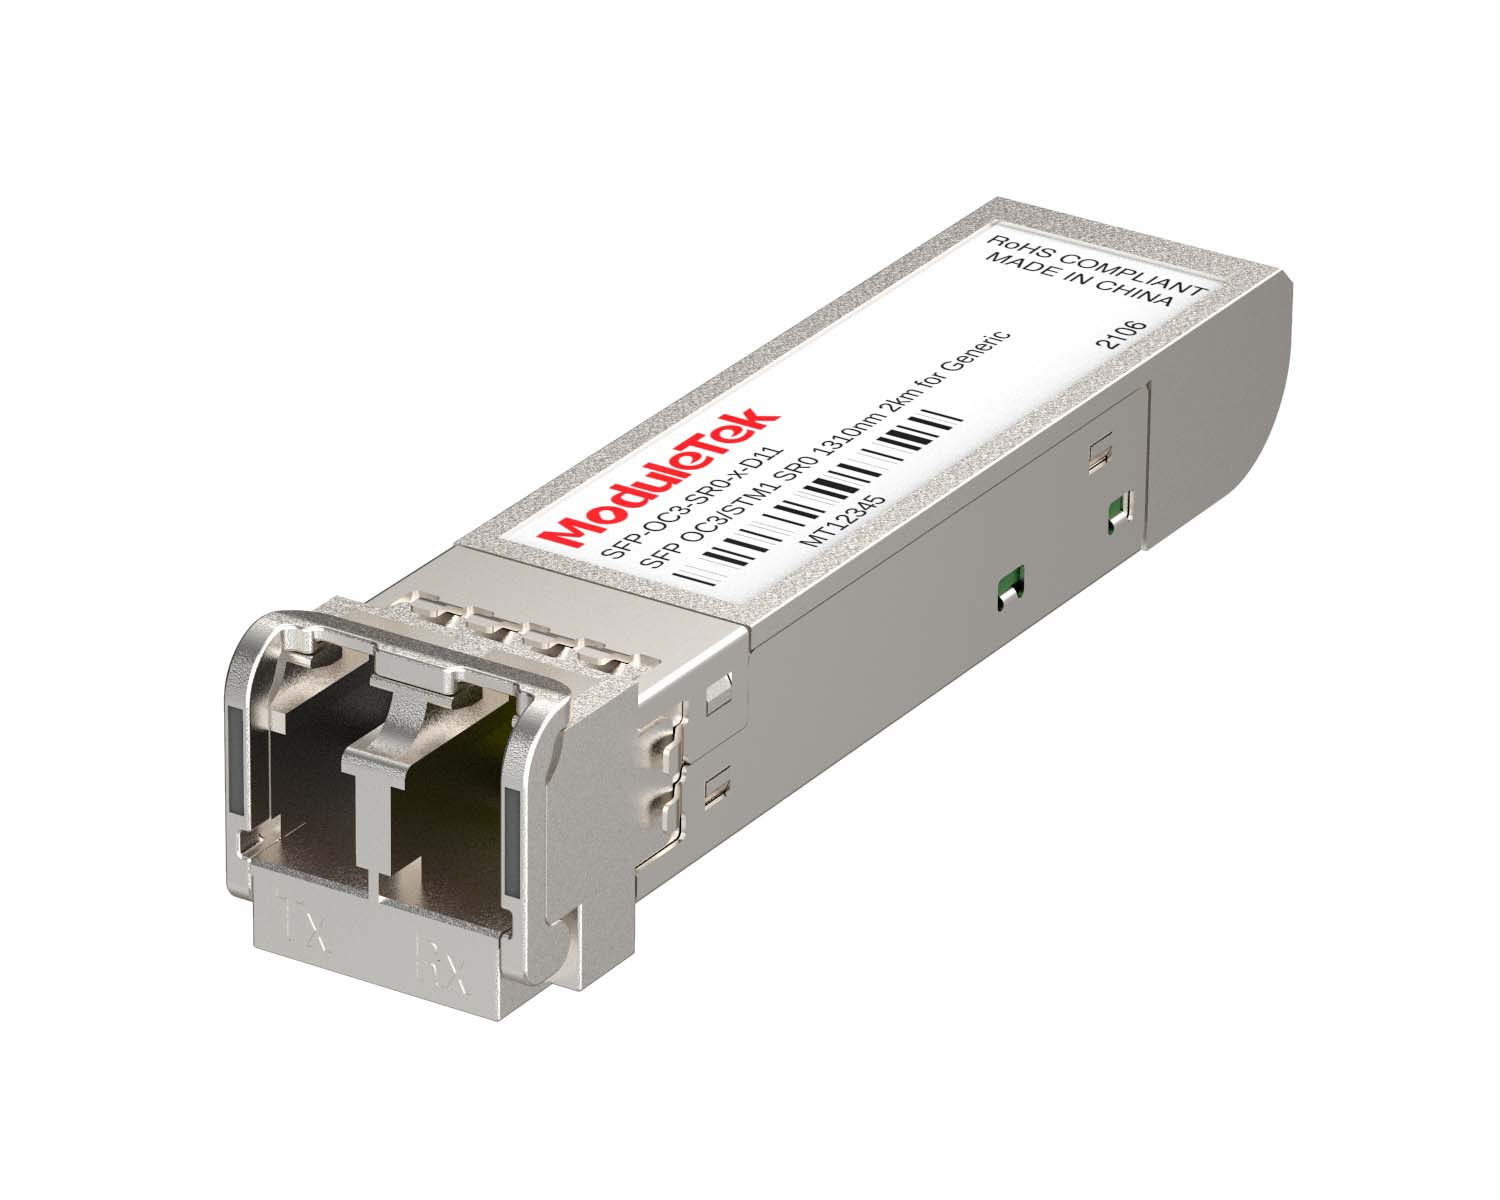 155M/2.5G Optical Transceivers
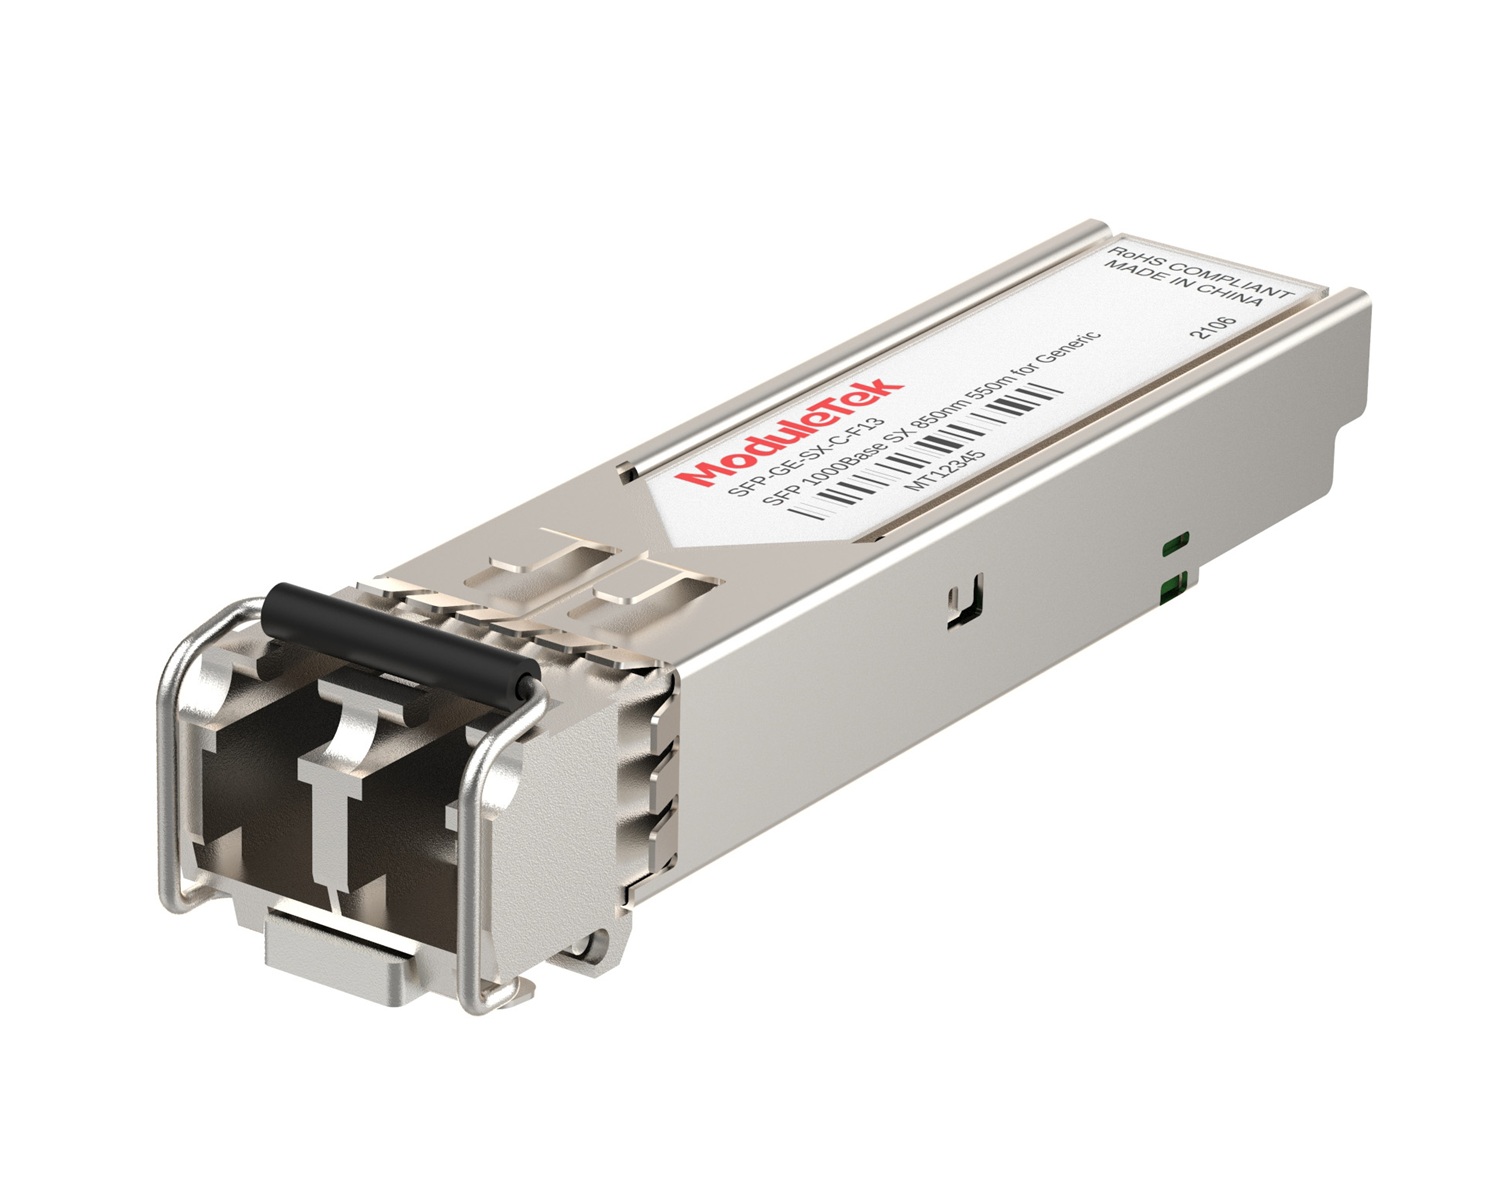 1G Optical Transceivers
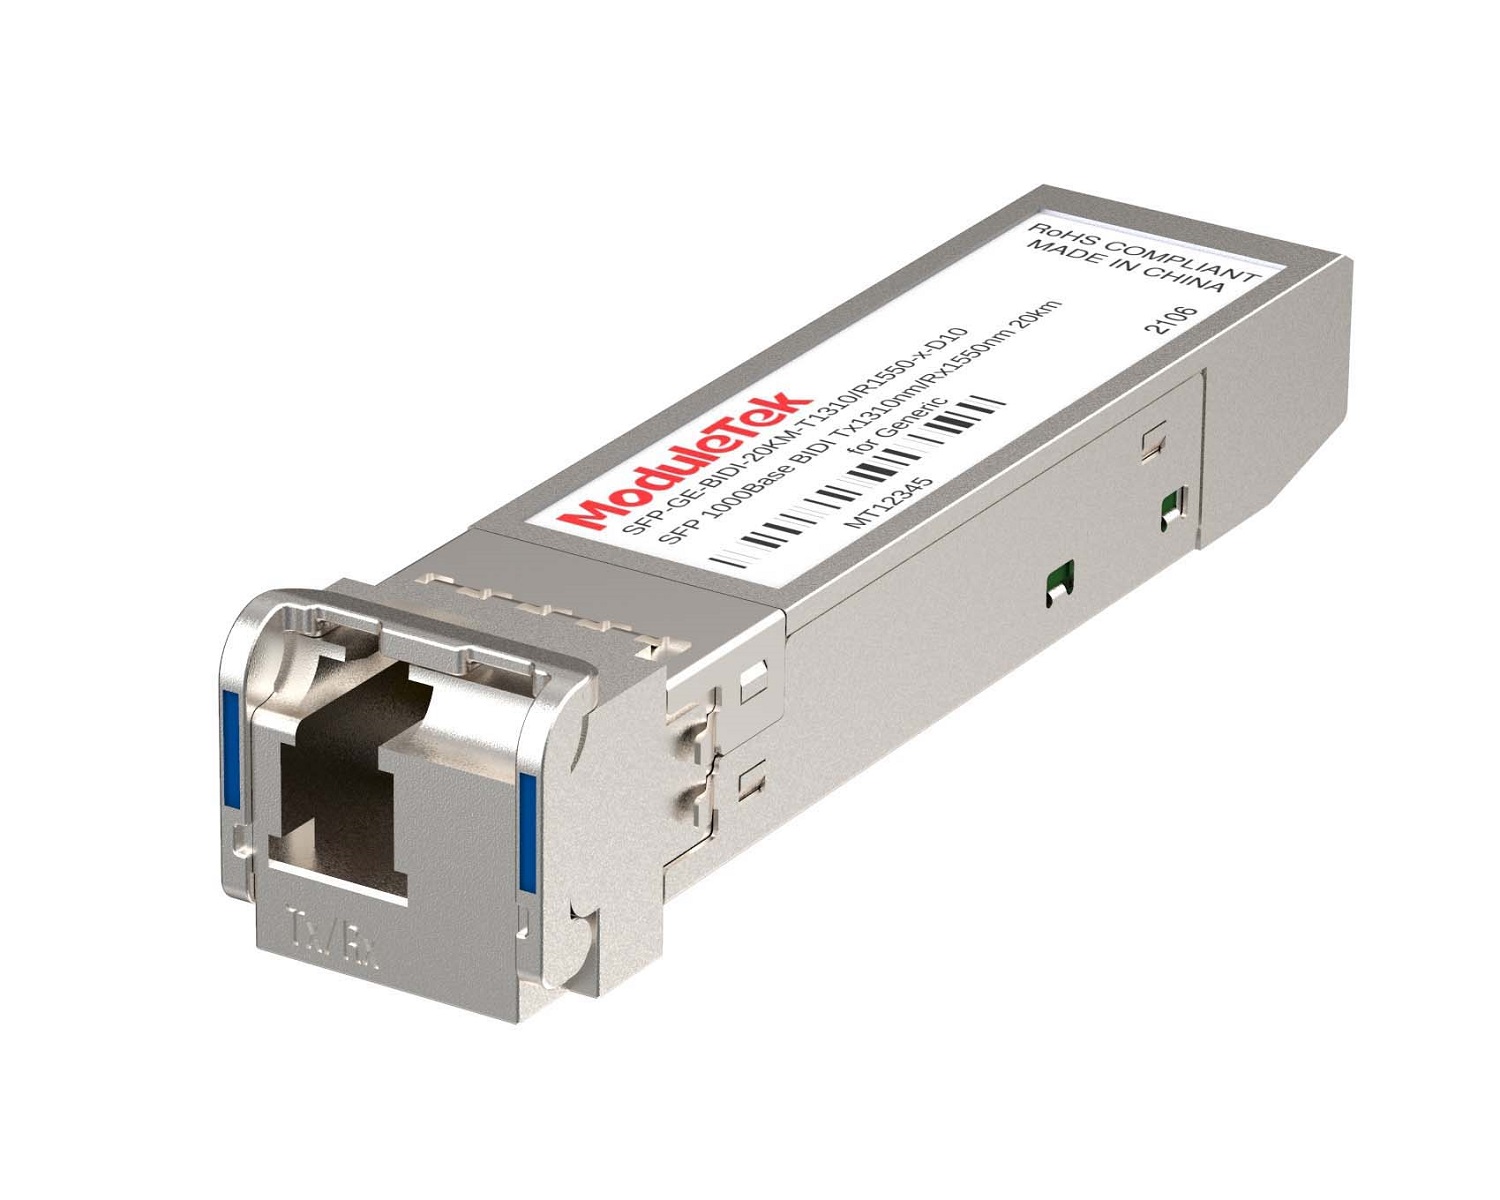 1G BIDI Optical Transceivers
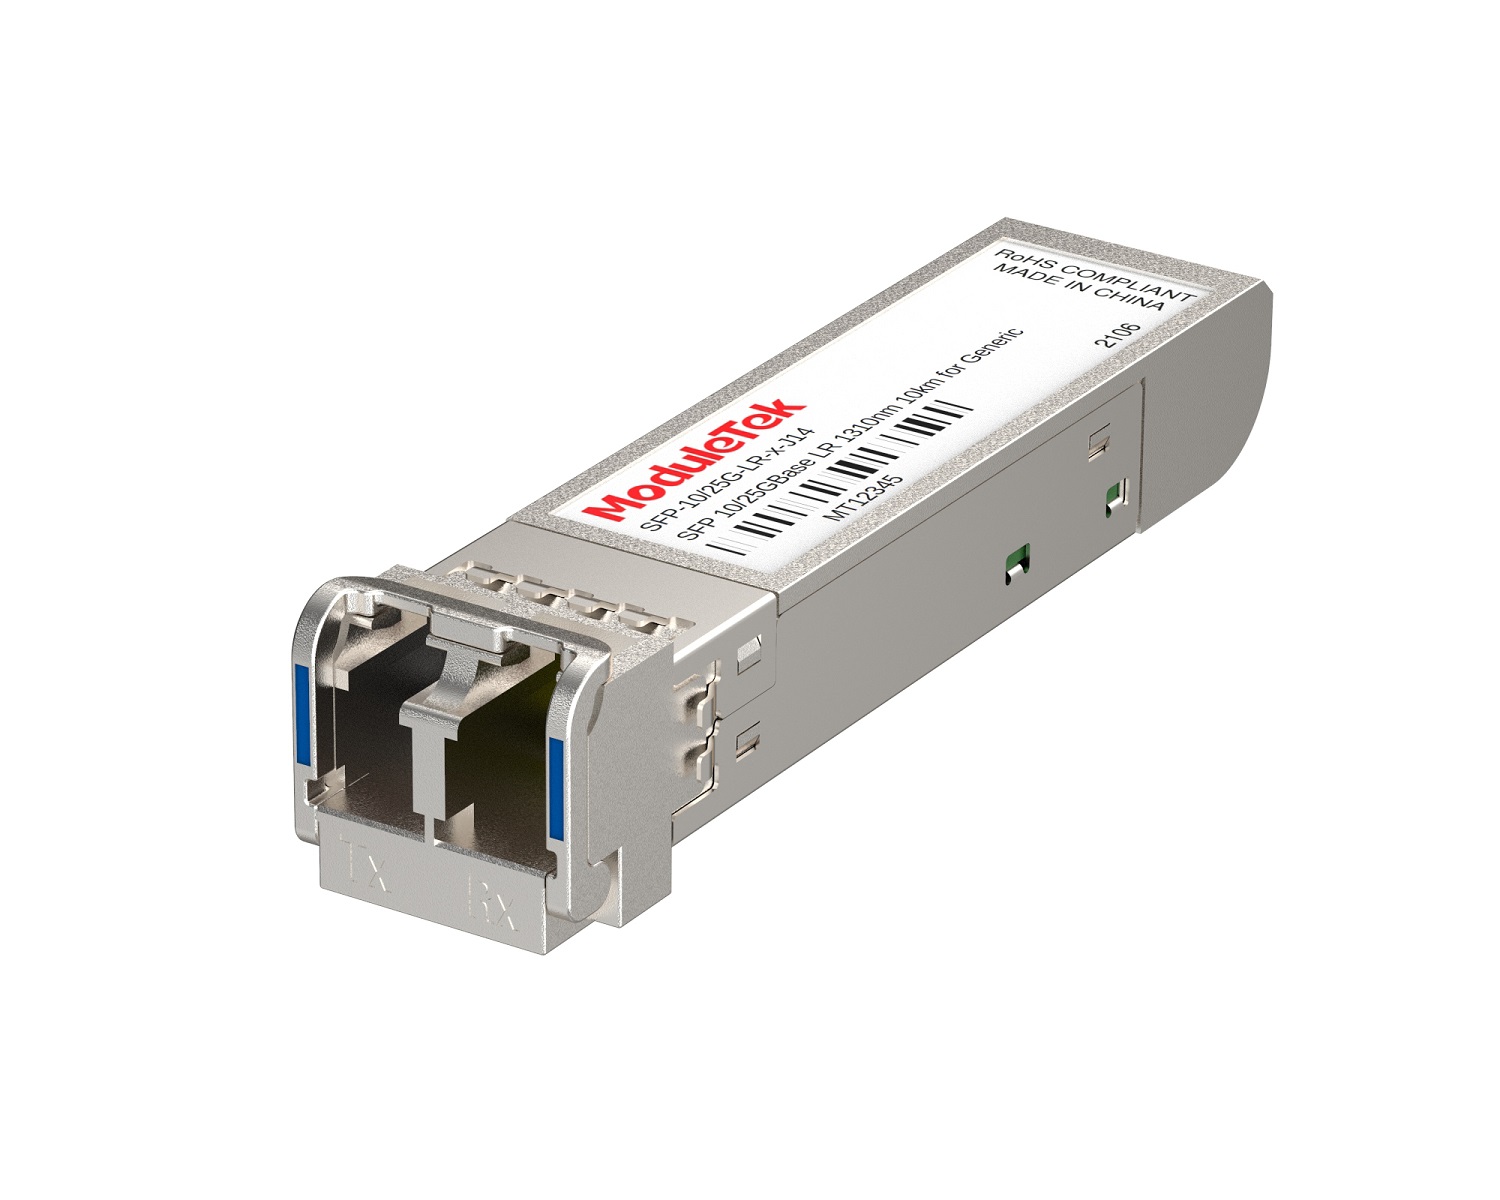 Dual-Rate Optical Transceivers
 FC 16G/32G Optical Transceivers
 CWDM Optical Transceivers
 DWDM Optical Transceivers
 SGMII Port Optical Transceivers
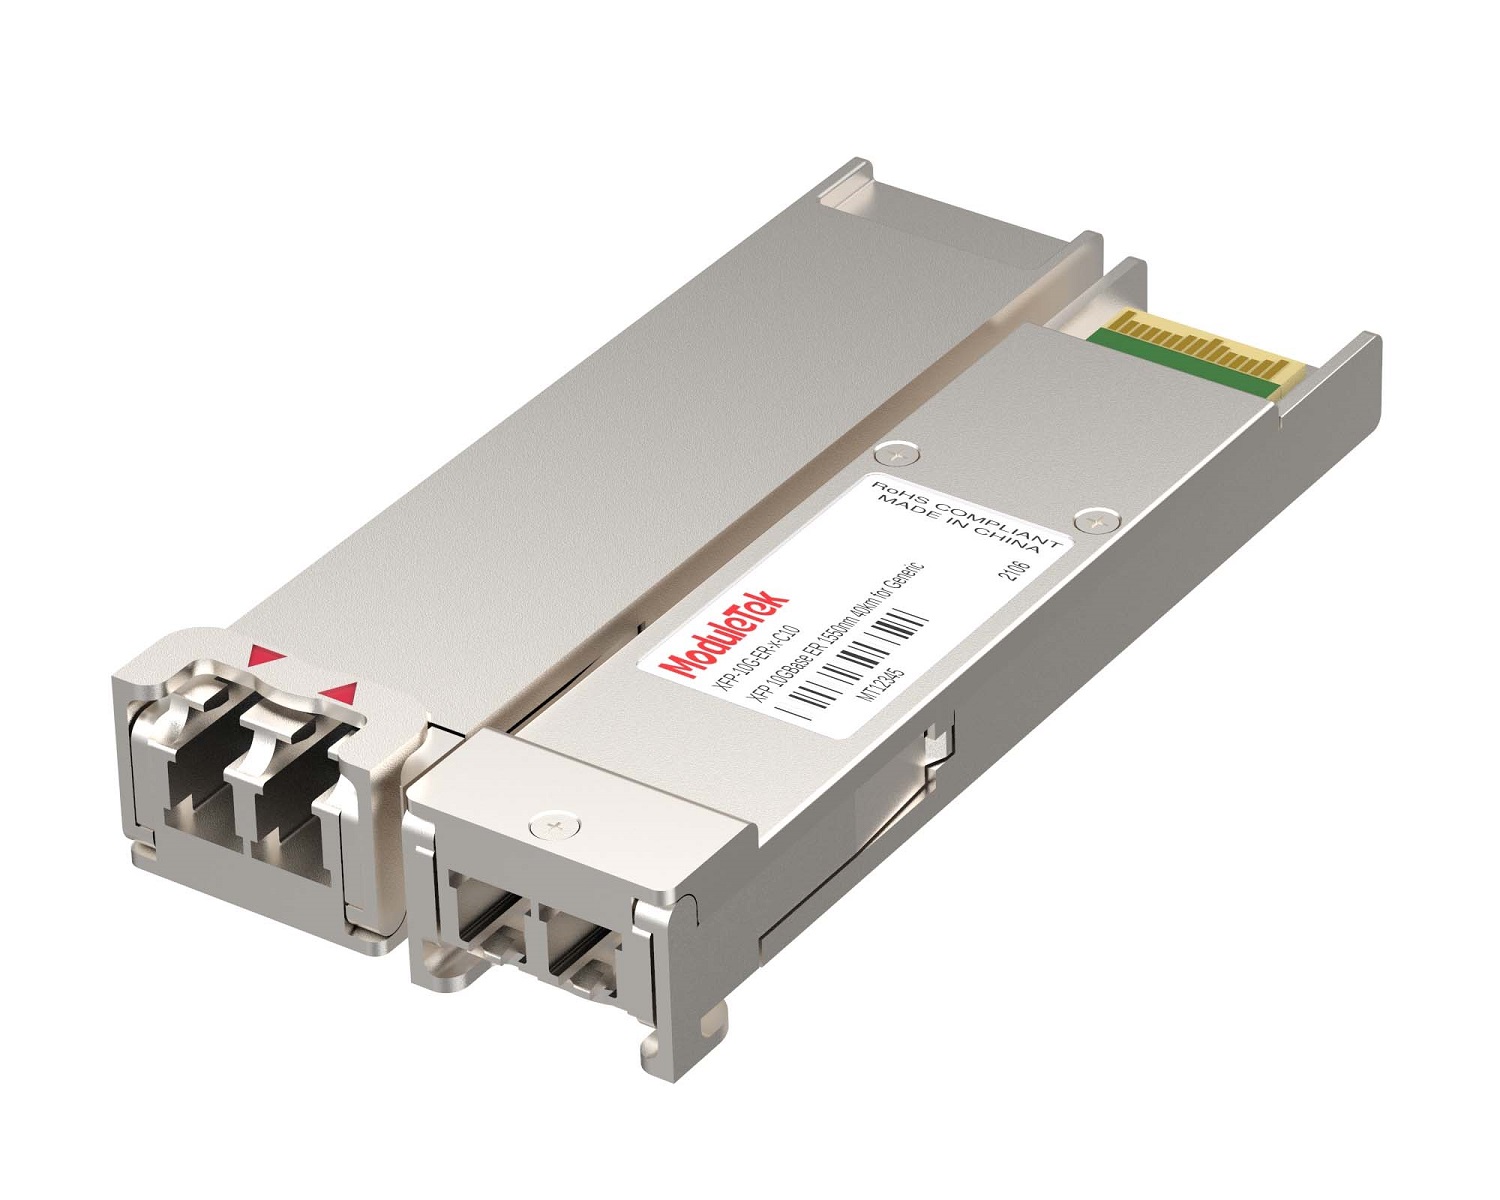 XFP Optical Transceivers
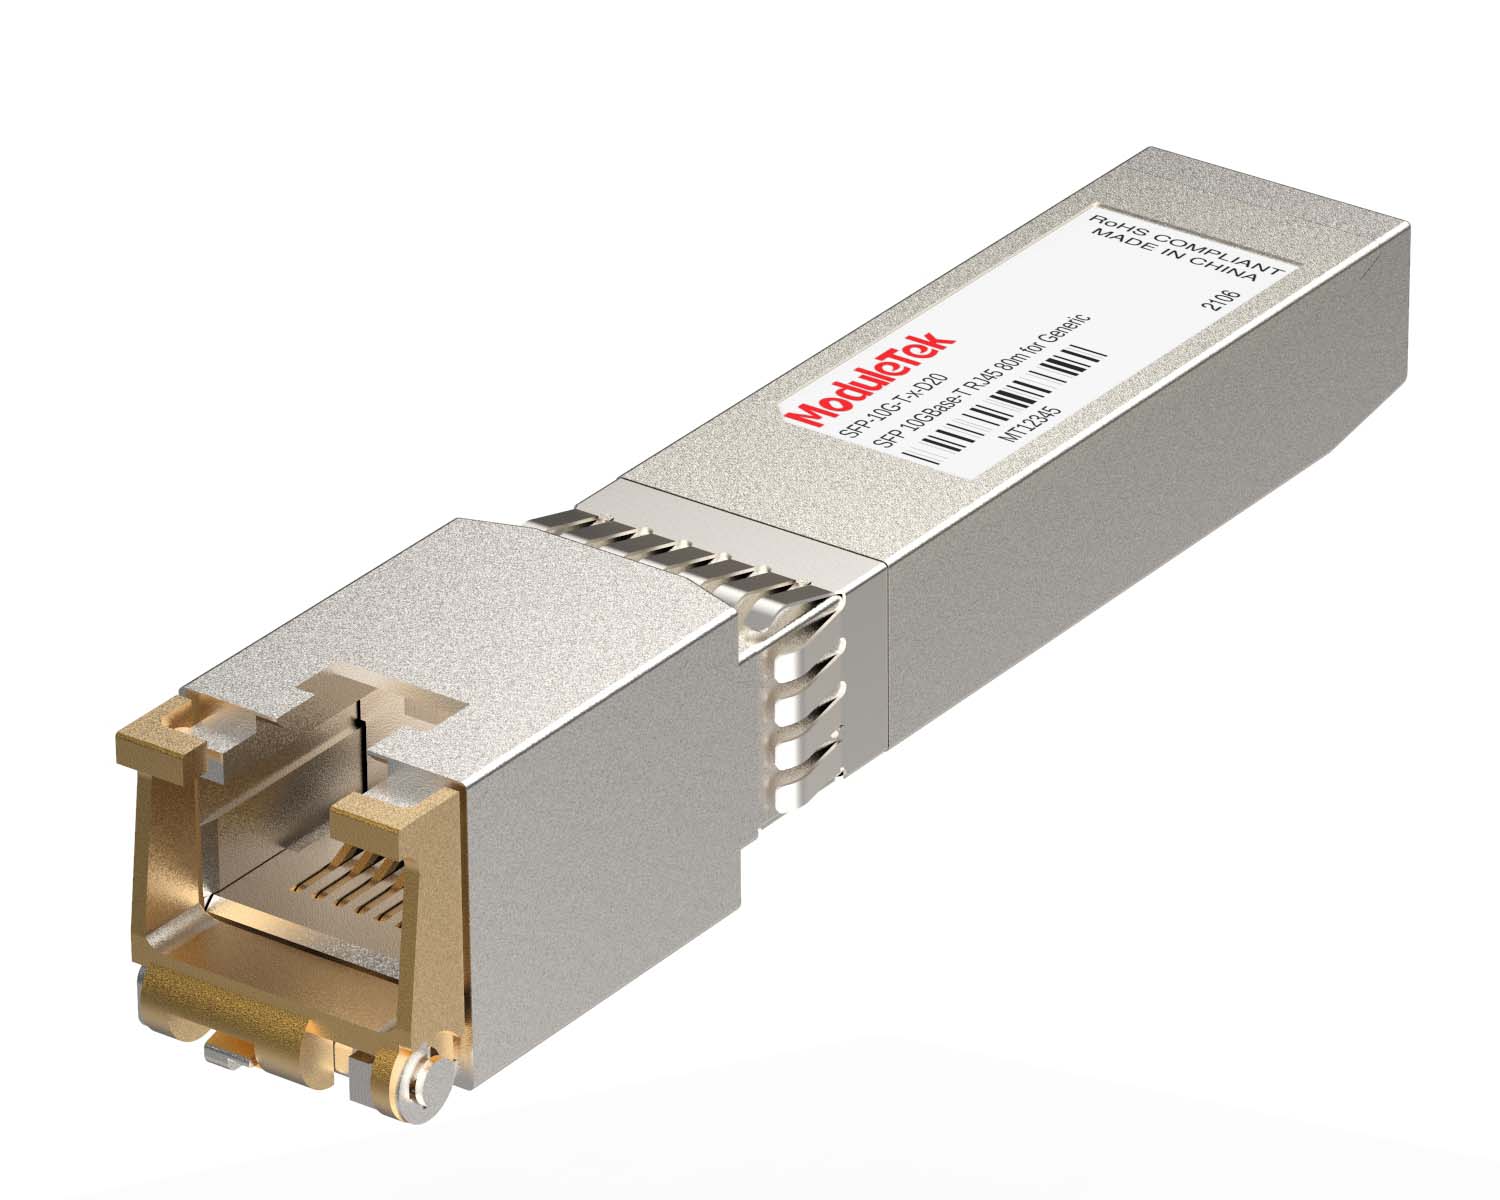 100M/1G/10G Coppers
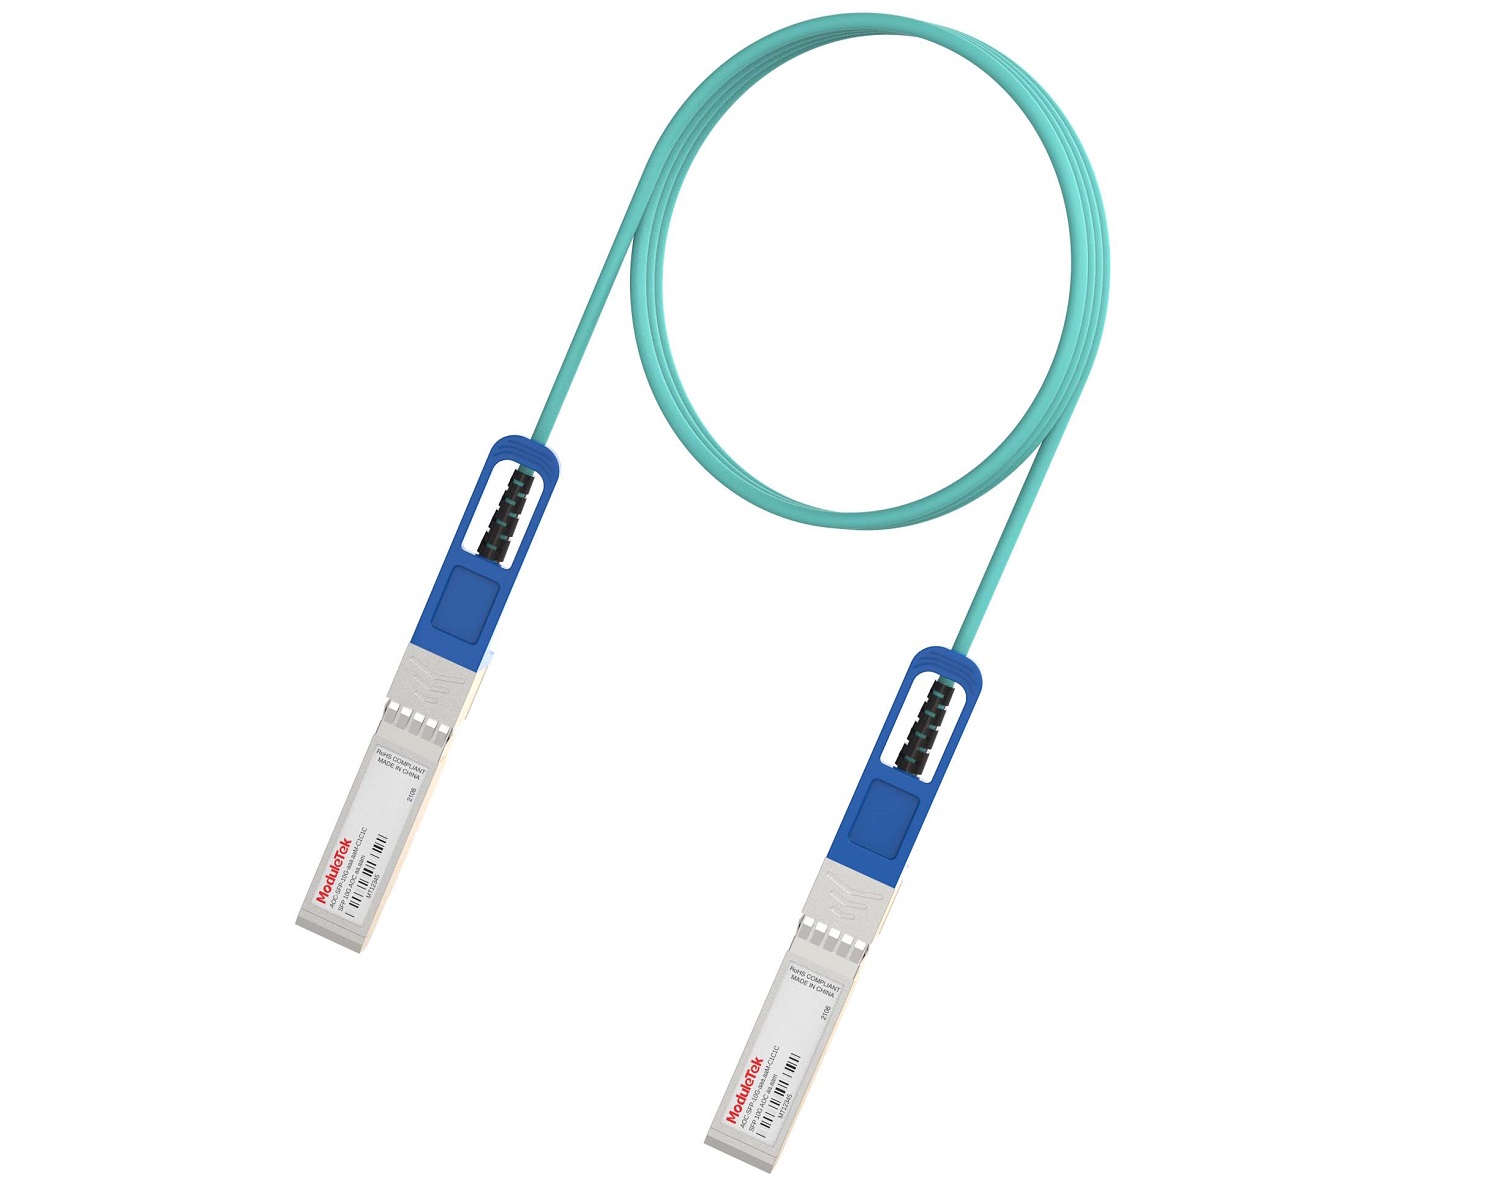 Full-Rate AOC & Breakout Series
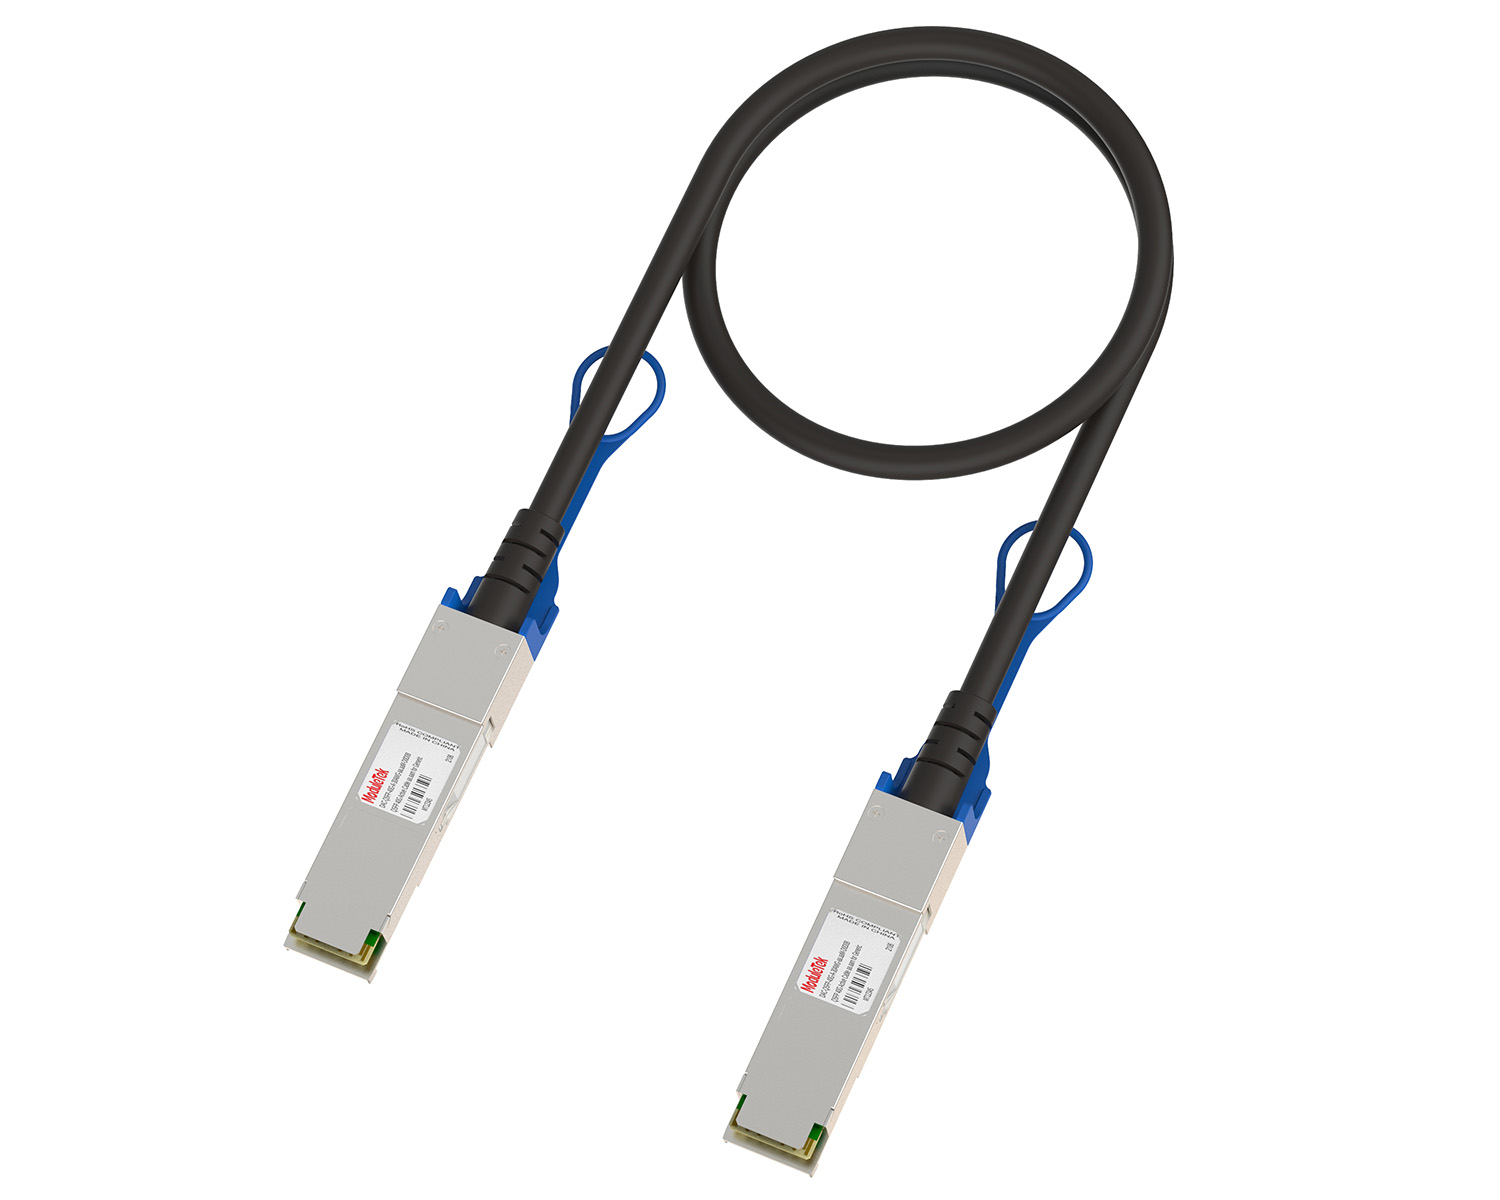 10G/40G Active DAC Series
 Full-Rate Passive DAC Series
 40G/100G Passive Breakout DAC Series
 Regular/MTP-MPO Fiber Patch Cords
 MT2011
 MT2010
 CodingBox
 QSFP to SFP Adapter
How To Configure NIC Interface FEC Mode On Windows System
Time: 2023-12-29
We have previously covered Linux System Linux System How To Configure The Network Card Interface FEC Mode and How To View Optical Transceiver Information On Network Cards In Linux System.
This article explains how to view and set the FEC mode of network adapter interfaces on Windows systems, using two common methods: Device Manager and Windows PowerShell.
1. View Network Interface Status
a. Via Device Manager
1. Open Device Manager.
2. Locate your target network adapter under Network adapters.
3. Double-click to open its Properties window.
4. Go to the Link Speed & Duplex tab to view current interface status, and configure link speed and duplex mode if needed.
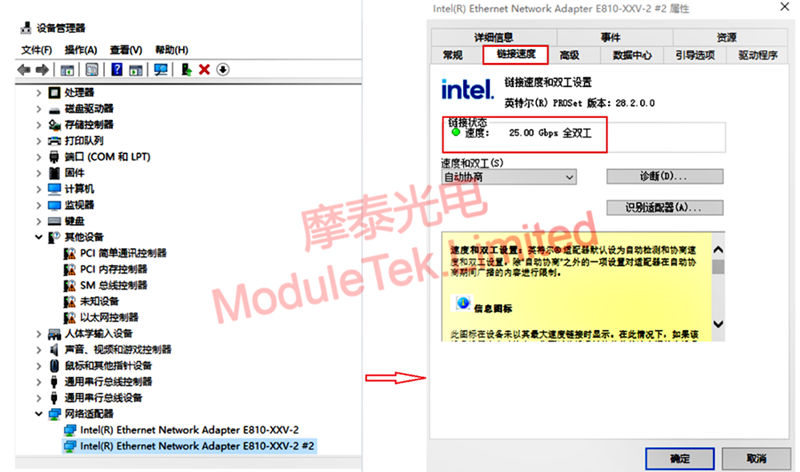
Figure 1 Interface Status View (via Device Manager)
b. Via Windows PowerShell
To view basic interface information:
Get-NetAdapter
The output includes interface index, name, status, link speed, and more.
To show full detailed information:
Get-NetAdapter | Format-List

Figure 2 Interface Information View (via PowerShell)
2. View and Configure FEC Mode
a. Via Device Manager
1. In the NIC Properties window, go to the Advanced tab.
2. Select FEC Mode from the Settings list.
3. Choose the required FEC mode from the Value dropdown menu.
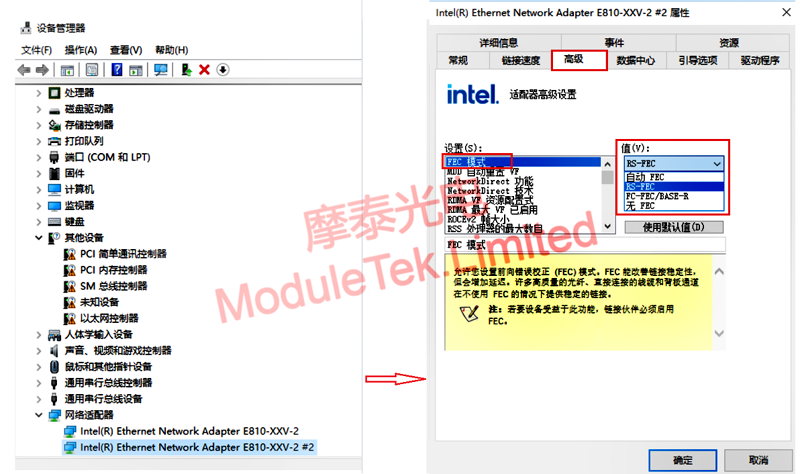
Figure 3 FEC Mode Configuration and Viewing (via Device Manager)
b. Via Windows PowerShell
• View the current FEC mode of an interface:
Get-NetAdapterAdvancedProperty -Name <adapter_name> -DisplayName "FEC Mode"
• View all advanced properties of an interface:
Get-NetAdapterAdvancedProperty -Name <adapter_name>
• Set the FEC mode for an interface:
Set-NetAdapterAdvancedProperty -Name <adapter_name> -DisplayName "FEC Mode" -RegistryValue <value>
Notes:
• <adapter_name>: The name of the network interface, obtainable via Get-NetAdapter.
• <value> mapping (tested configuration):
• 0 = Auto FEC
• 1 = RS-FEC
• 2 = FC-FEC
• 3 = No FEC

Figure 4 Viewing FEC Mode of a Specific Interface (via PowerShell)
Moduletek Limited is at your service.
For further inquiries about the above content, please contact us at: sales@moduletek.com