 40G/100G Optical Transceivers
 25G Optical Transceivers
 10G Optical Transceivers
 155M/2.5G Optical Transceivers
 1G Optical Transceivers
 1G BIDI Optical Transceivers
 Dual-Rate Optical Transceivers
 FC 16G/32G Optical Transceivers
 CWDM Optical Transceivers
 DWDM Optical Transceivers
 SGMII Port Optical Transceivers
 XFP Optical Transceivers
 100M/1G/10G Coppers
 Full-Rate AOC & Breakout Series
 10G/40G Active DAC Series
 Full-Rate Passive DAC Series
 40G/100G Passive Breakout DAC Series
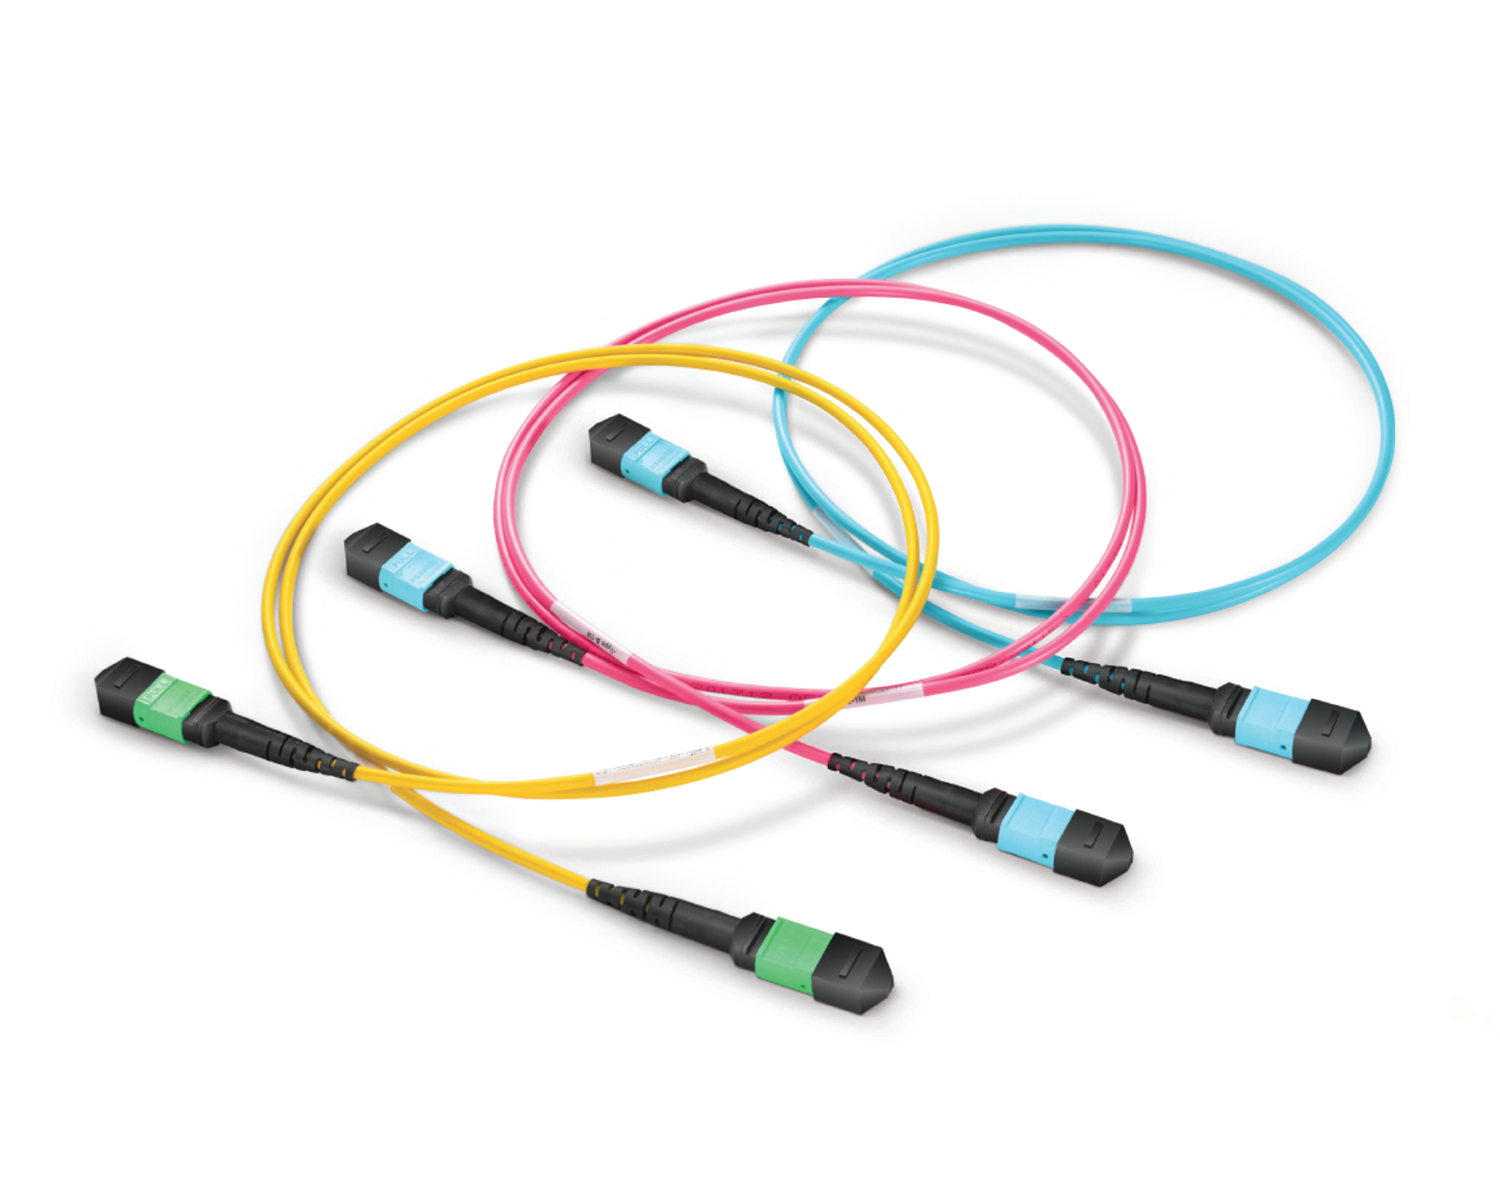 Regular/MTP-MPO Fiber Patch Cords
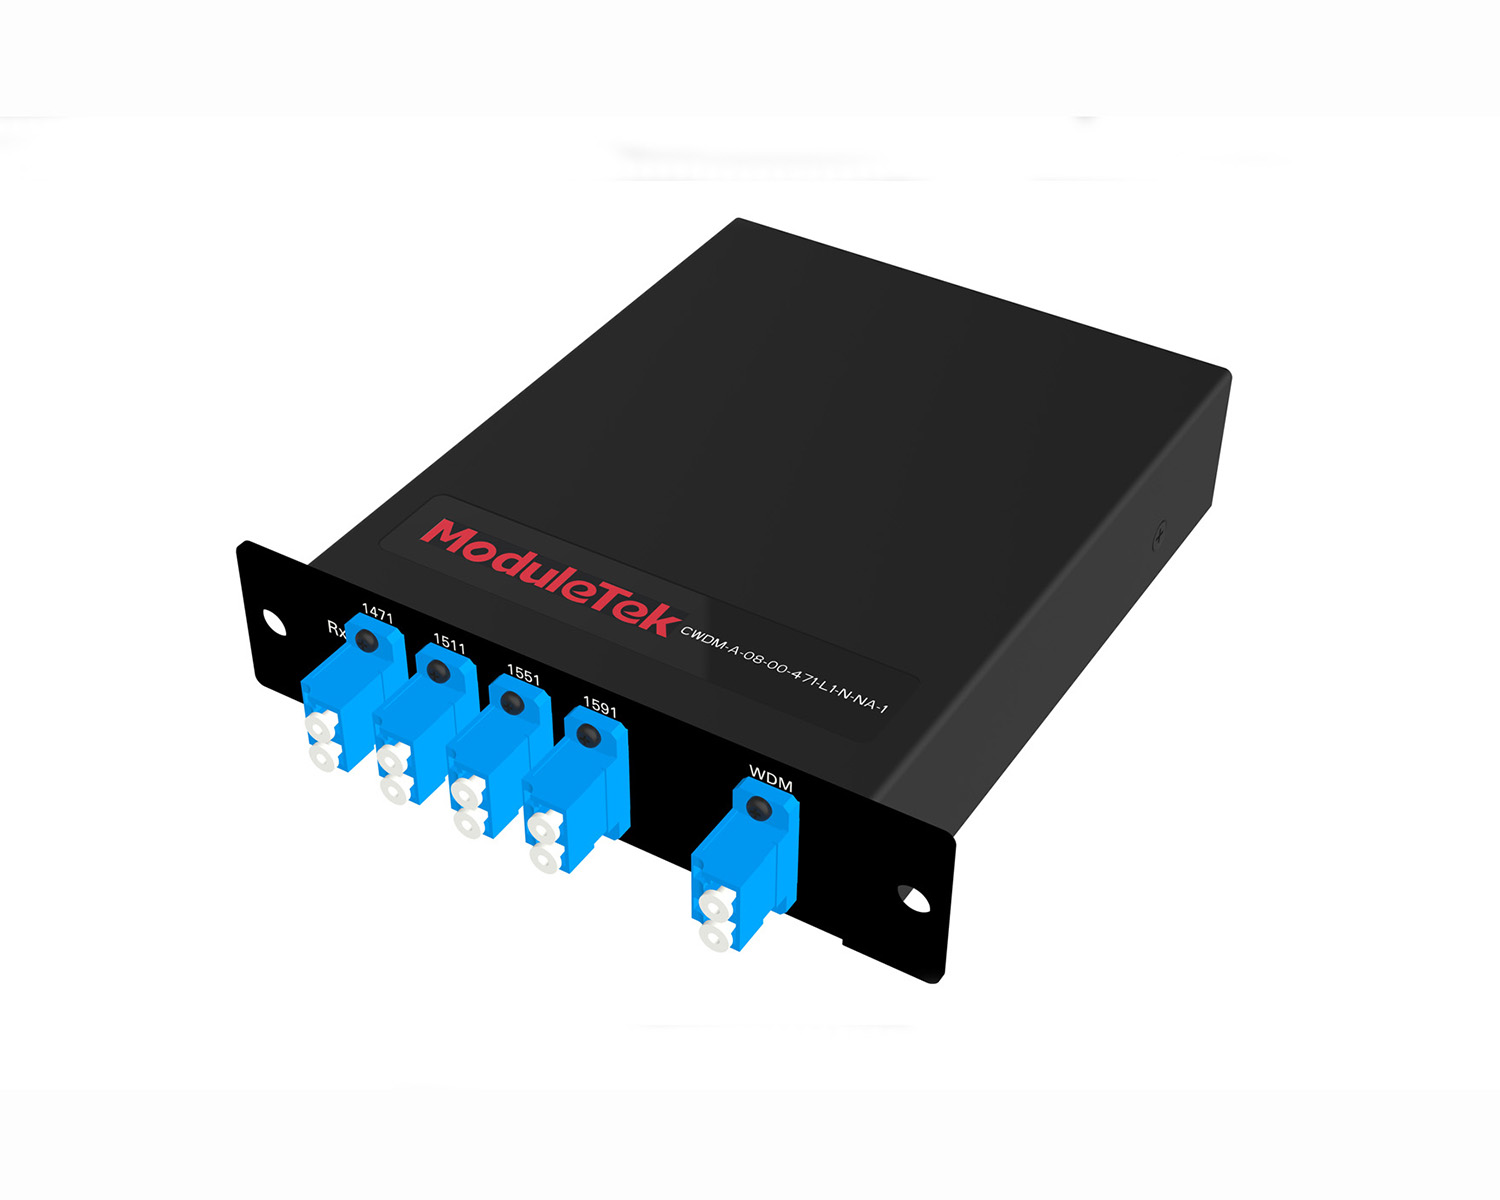 MT2011
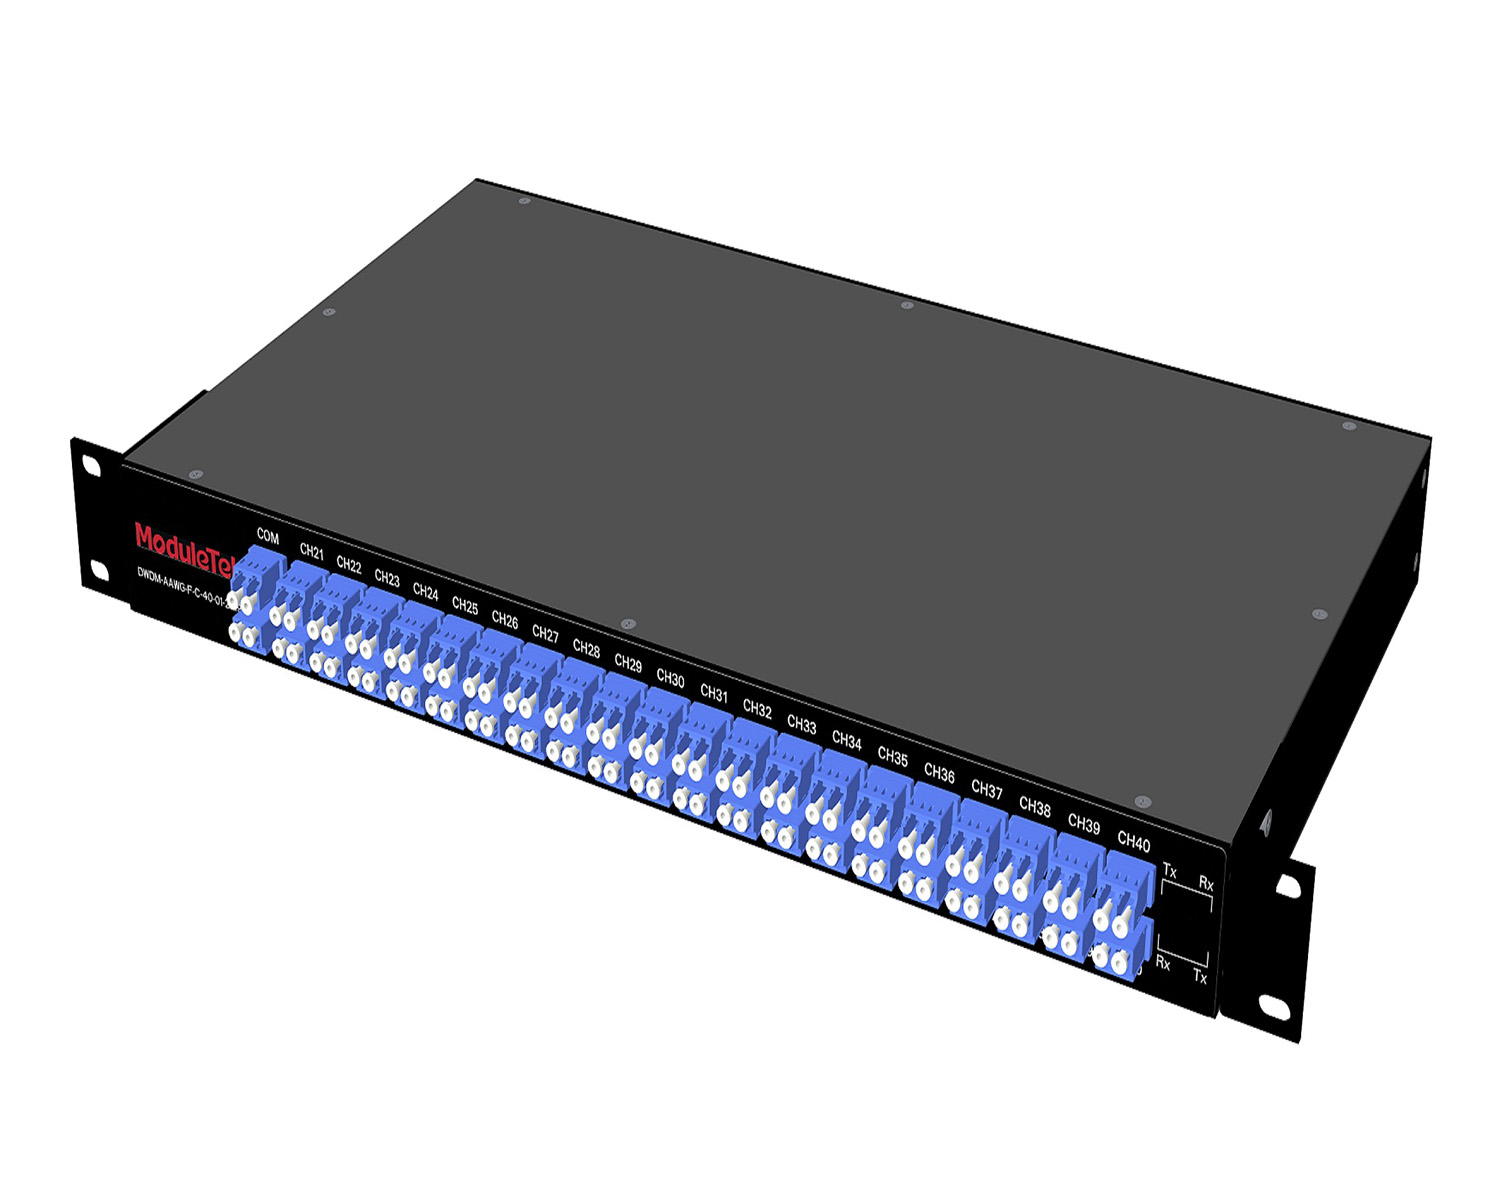 MT2010
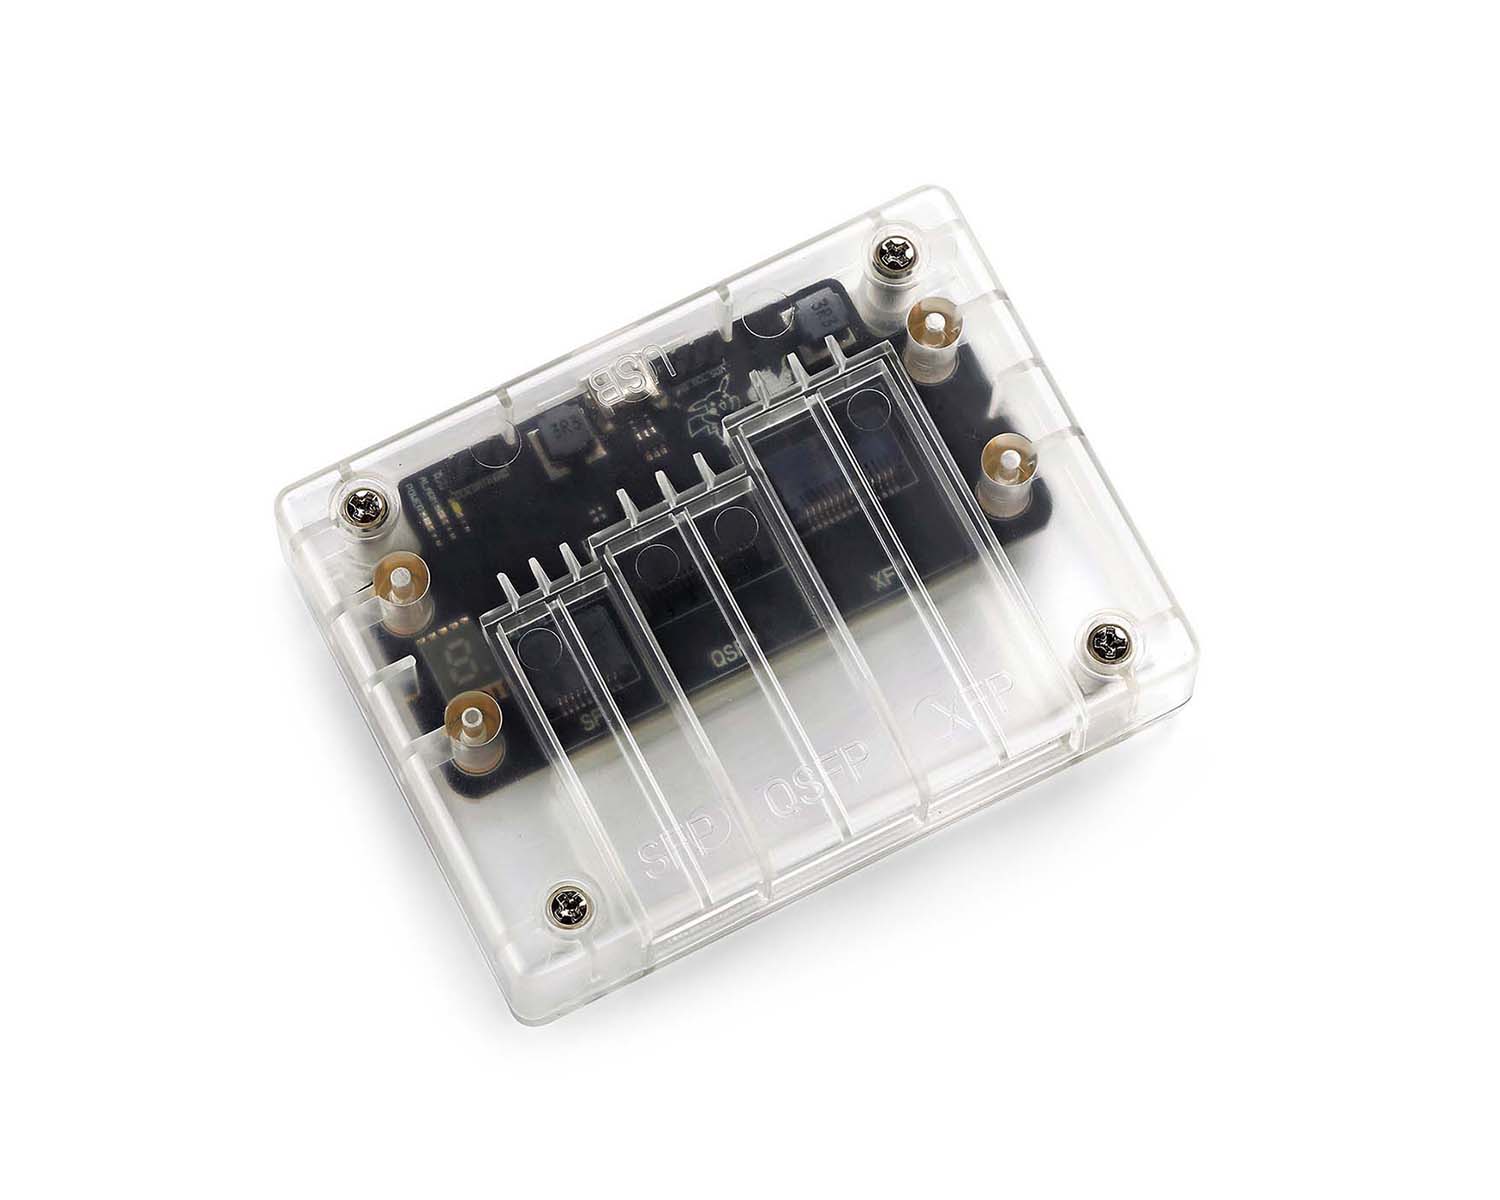 CodingBox
 QSFP to SFP Adapter
Disassembly Of Arista DCS-7050SX3-48YC8-R Switch
Time: 2024-12-05
Moduletek Labs recently purchased an Arista DCS-7050SX3-48YC8-R switch. This document briefly disassembles and analyzes the device to present its internal structure in detail.
Table 1 Switch Official Information
| Model | Number Description |
| DCS-7050SX3-48YC8-R | Arista 7050X3, 48x25GbE SFP & 8x100GbE QSFP100 switch, rear-to-front air, 2xAC |
The front panel of the switch is mainly equipped with 48 1/10/25G SFP28 ports and 8 40/50/100G QSFP28 ports. The rear panel features 1 RS-232 serial port, 1 RJ45 management port, 1 USB port, as well as power supply and fan slots (one power supply module was installed for this test).
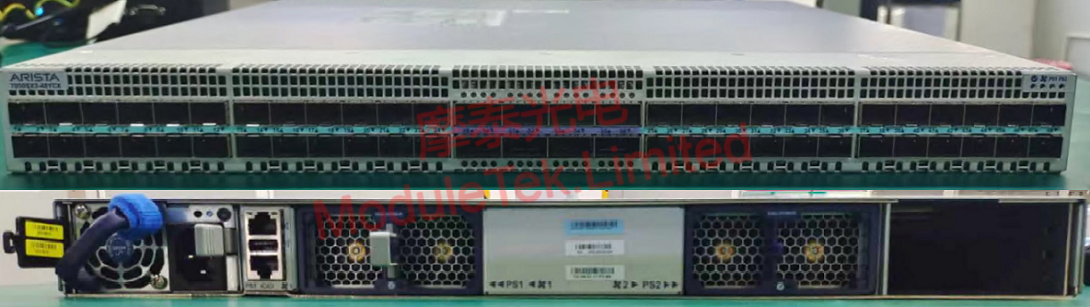
Figure 1 Front and Rear Panels Switch
Open the top cover of the switch; the first component visible is a large heatsink. The internal structure is divided into two parts: one part includes the power supply and fan slots, surrounded by metal baffles; the other part is a PCB assembly, composed of two connected PCBs. We briefly disassembled the main chip to gain a deeper understanding of its configuration.
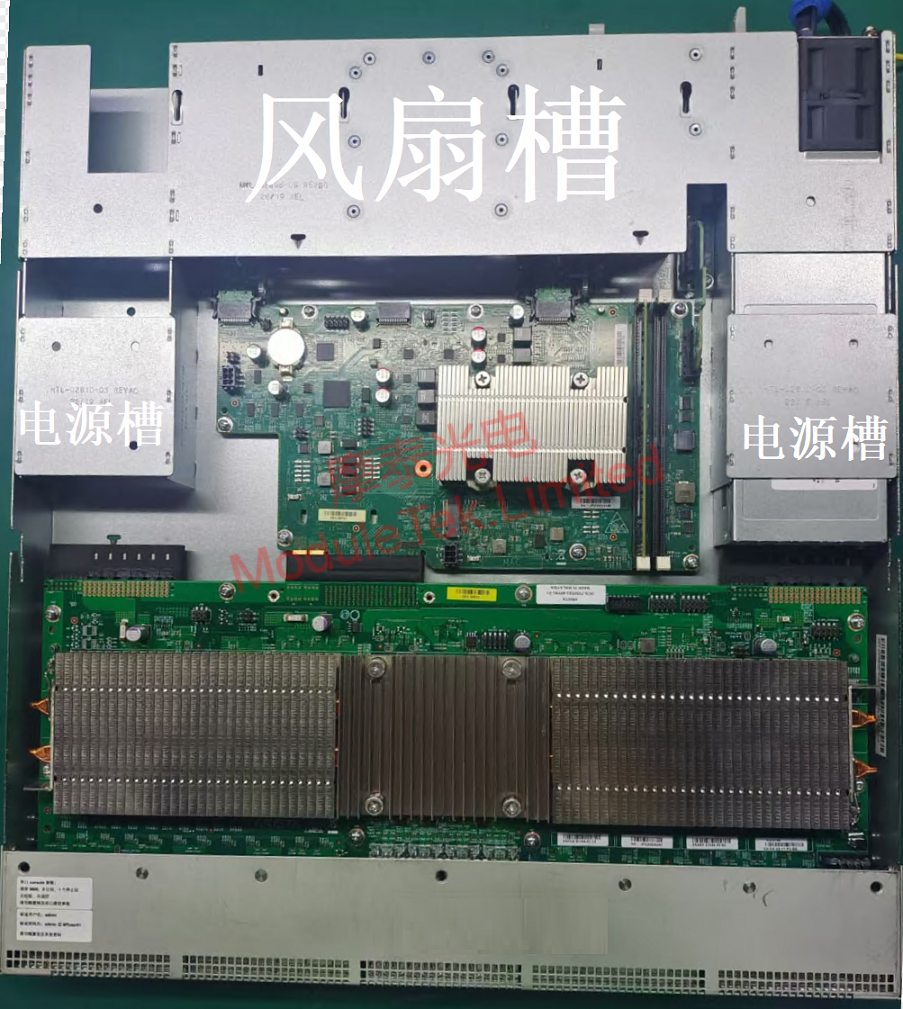
Figure 2 Internal Structure of Switch
Remove the largest heatsink, under which the main switching chip is located. Use a dust-free cloth dipped in alcohol to gently wipe off the thermal grease on the chip surface. It can be seen that the main switching chip model is BCM56770A0KFSBG, which belongs to the Broadcom Trident3-X5/BCM56770 series. This is a 2.0 Tb/s programmable Ethernet switching chip that supports 20×100GbE/40×40GbE/64×25GbE ports, suitable for building highly scalable, low-power, and feature-rich top-of-rack, aggregation, and backbone switches.
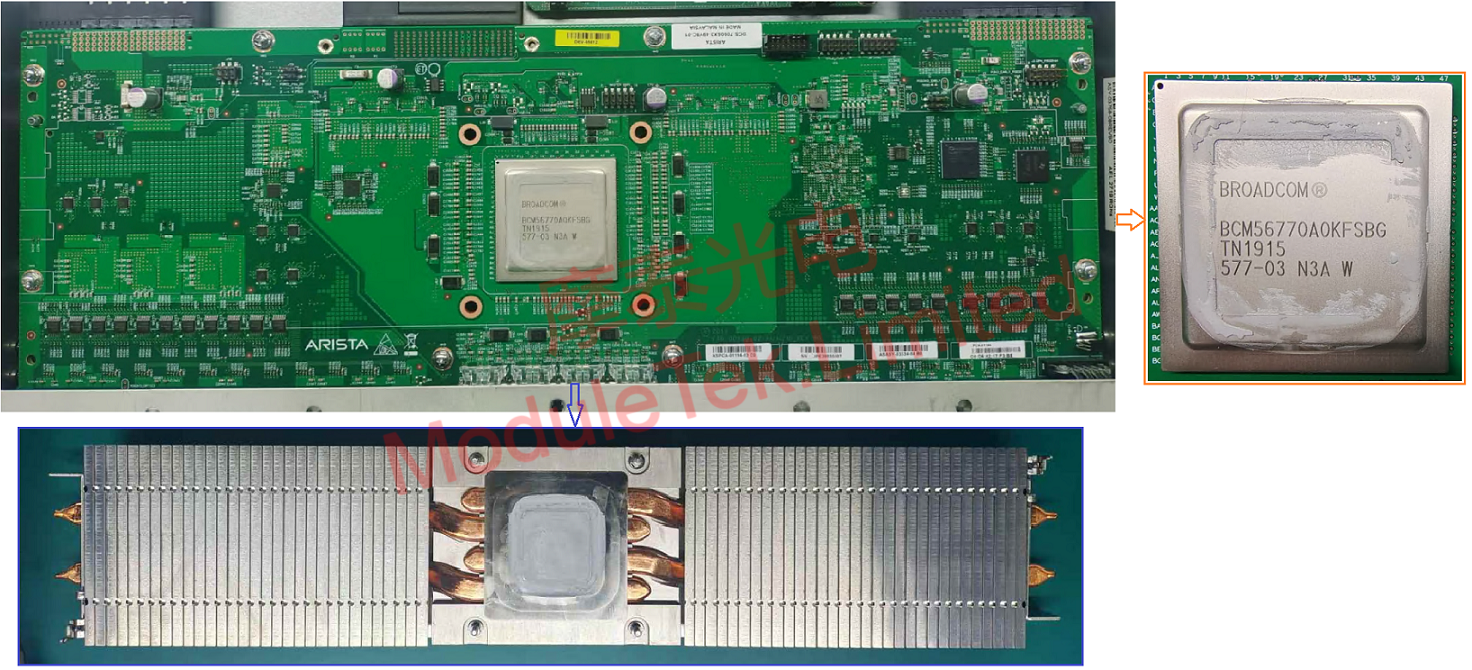
Figure 3 Main Switching Chip of Switch
Remove the smaller heatsink; the microprocessor is located underneath. Use a dust-free cloth dipped in alcohol to gently wipe off the thermal grease on the microprocessor. The microprocessor model is RE421NAAY43KA, which belongs to the AMD RX-421ND series.
Next to the smaller heatsink is a vertically installed memory module, specifically the Virtium VL31A1H63F-N7SC 8GB memory.
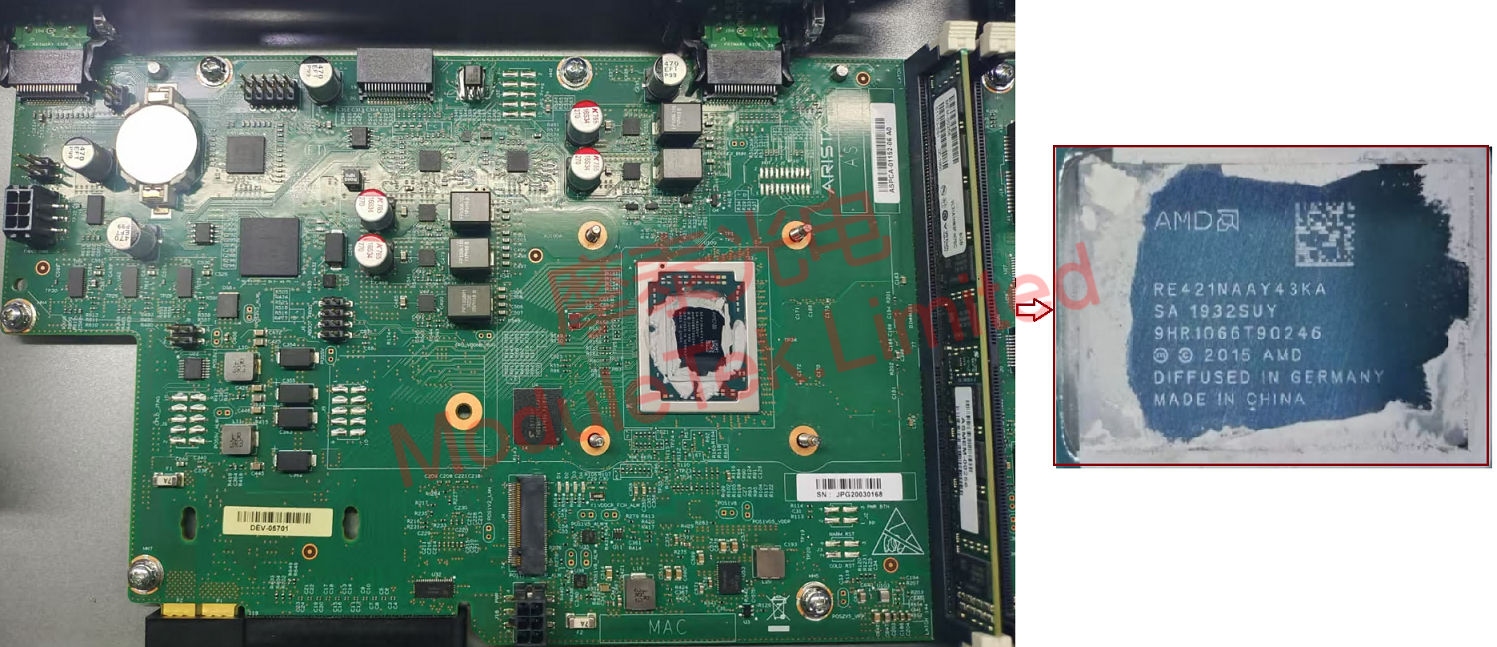
Figure 4 Microprocessor of Switch
Reapply thermal grease to the two chips and reinstall them. After the reinstallation is complete, power on the switch; the system boots to the expected interface, indicating that the system starts normally with no abnormalities.
Moduletek’s optical module products are fully compatible with Arista-related equipment. Welcome to purchase!
For further inquiries about the above content, please contact us at: sales@moduletek.com


