 40G/100G Optical Transceivers
 25G Optical Transceivers
 10G Optical Transceivers
 155M/2.5G Optical Transceivers
 1G Optical Transceivers
 1G BIDI Optical Transceivers
 Dual-Rate Optical Transceivers
 FC 16G/32G Optical Transceivers
 CWDM Optical Transceivers
 DWDM Optical Transceivers
 SGMII Port Optical Transceivers
 XFP Optical Transceivers
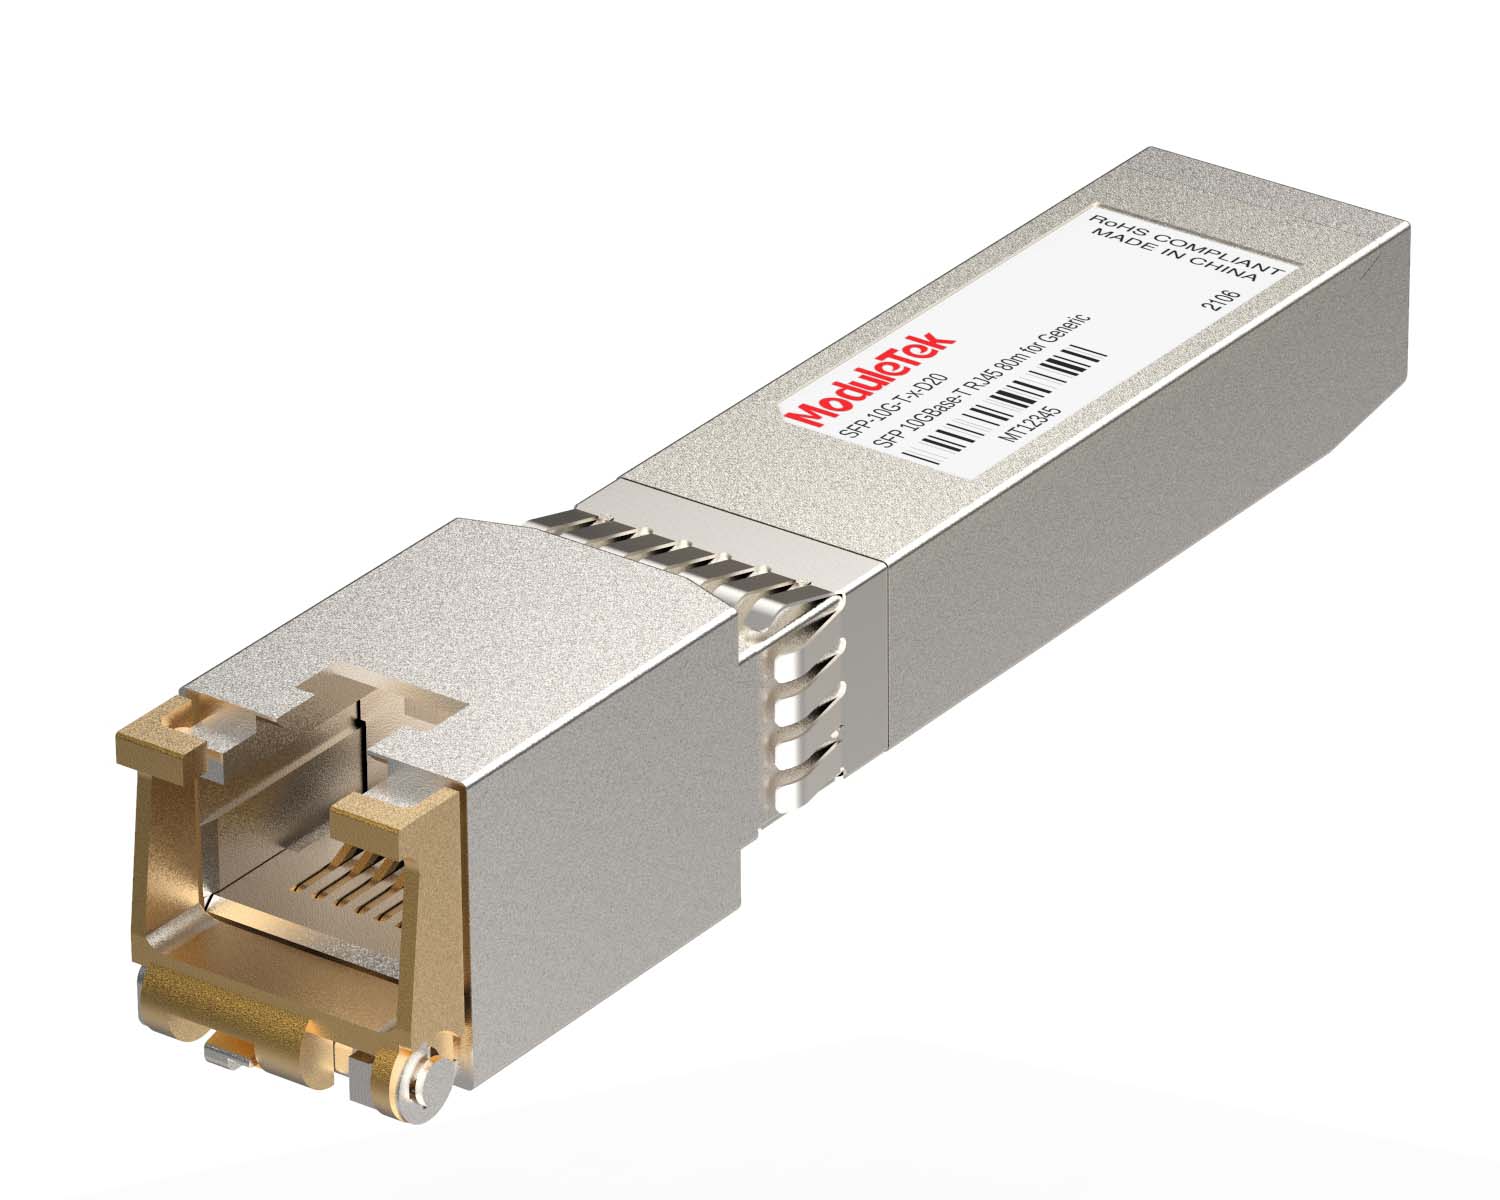 100M/1G/10G Coppers
 Full-Rate AOC & Breakout Series
 10G/40G Active DAC Series
 Full-Rate Passive DAC Series
 40G/100G Passive Breakout DAC Series
 Regular/MTP-MPO Fiber Patch Cords
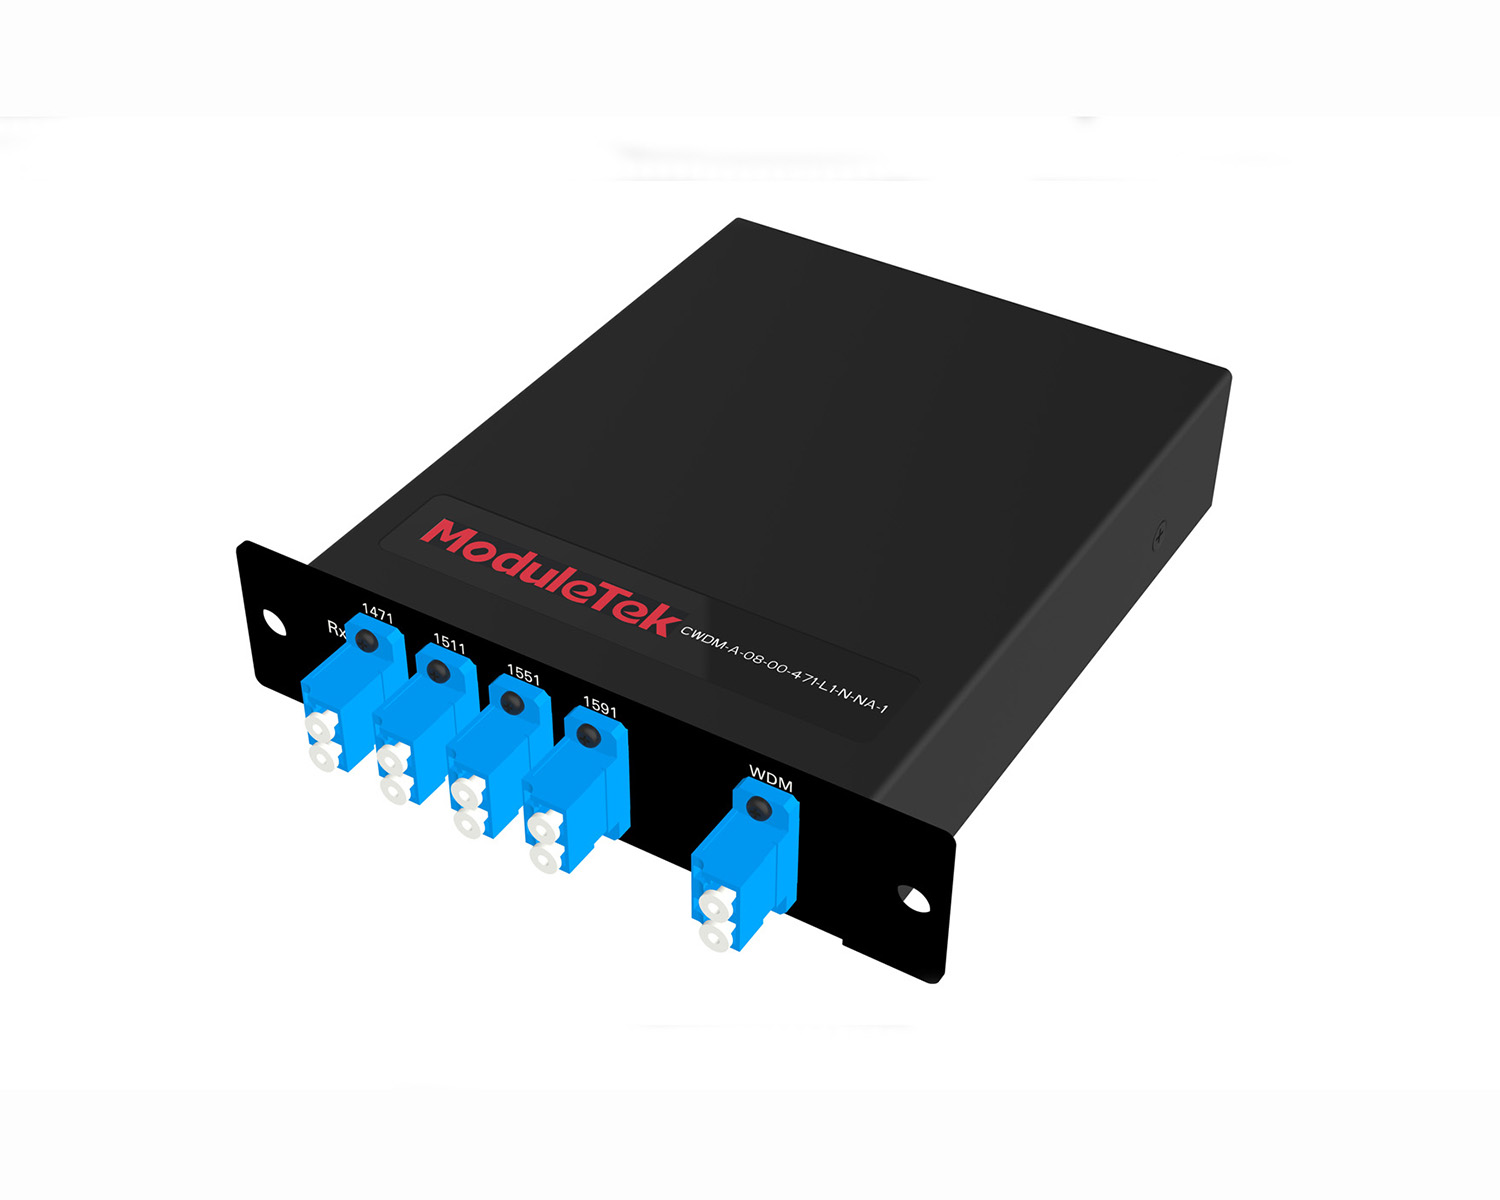 MT2011
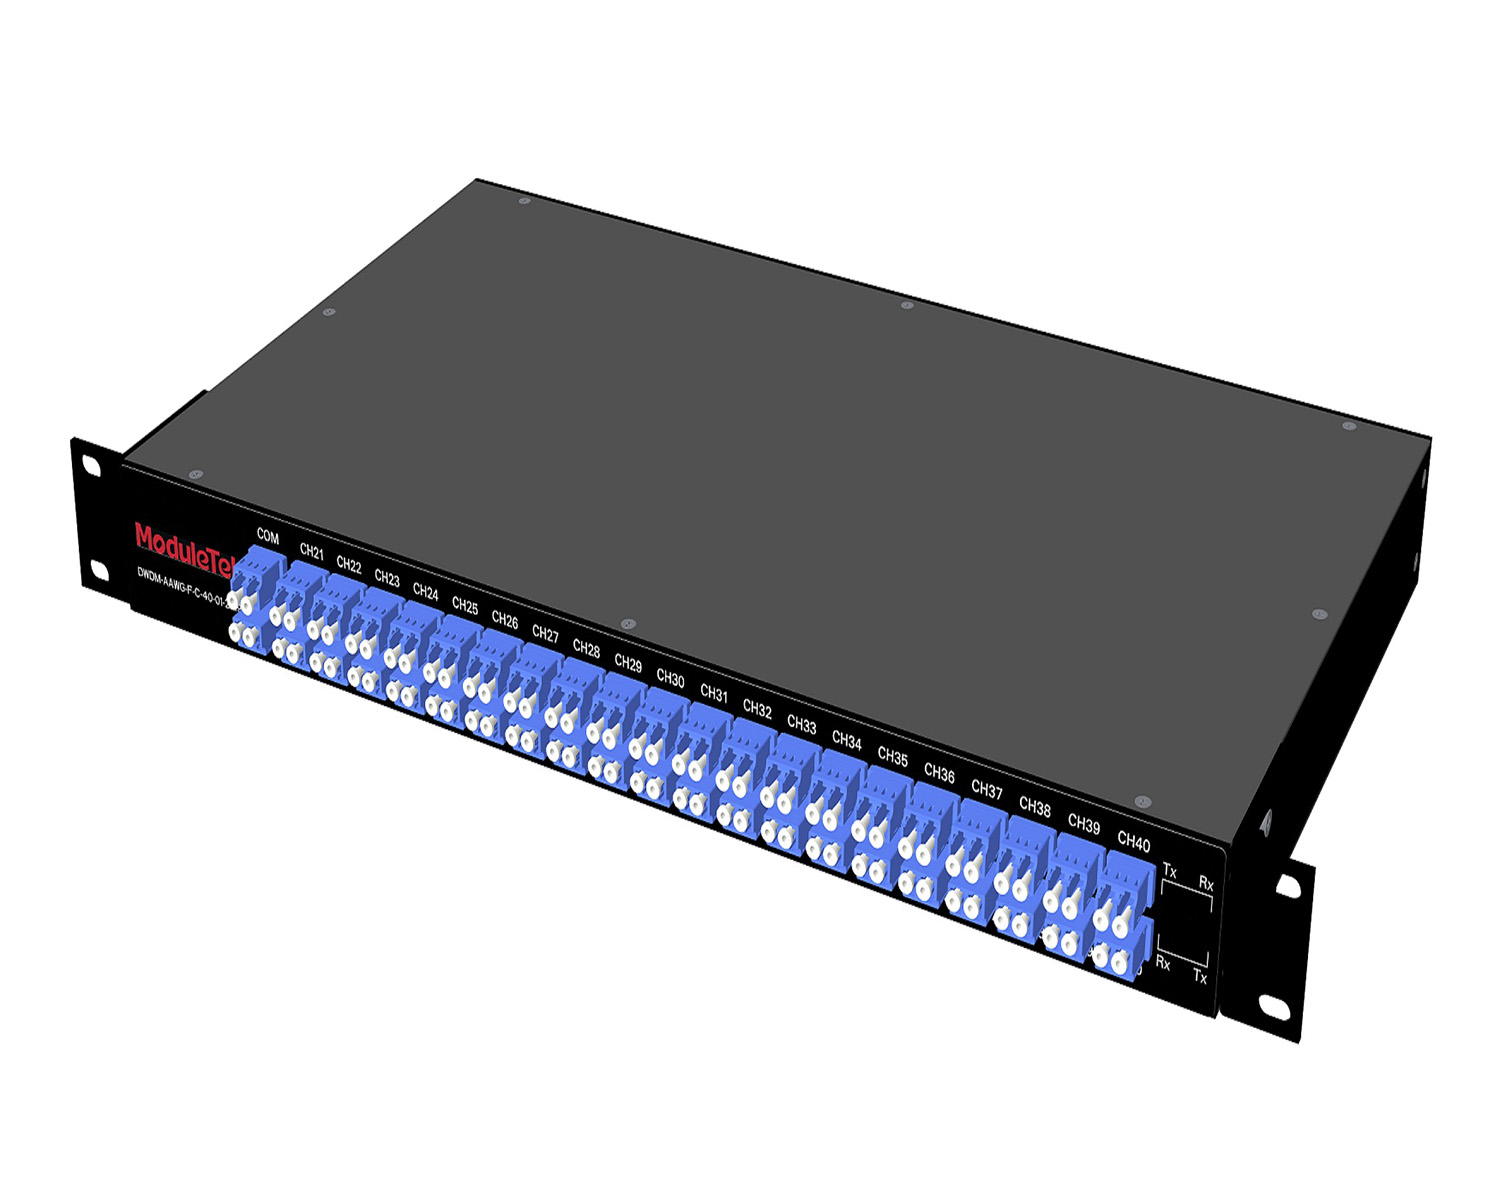 MT2010
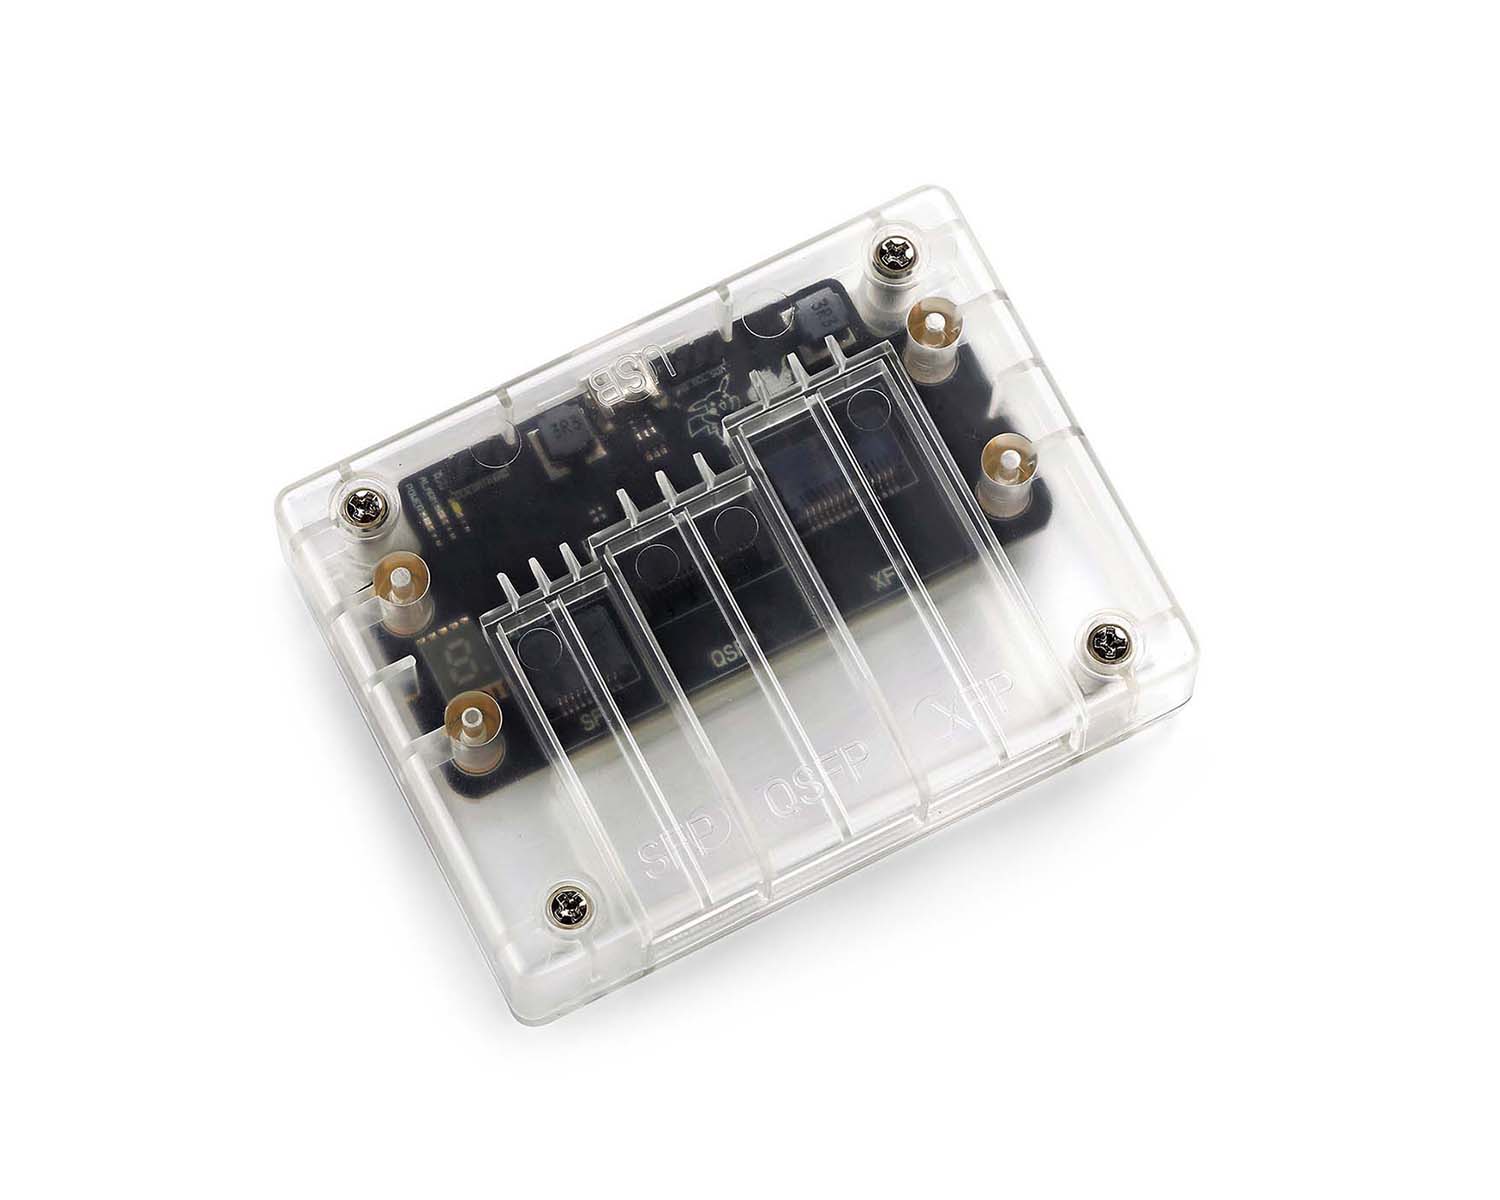 CodingBox
 QSFP to SFP Adapter
How To Log In And Manage A Ubiquiti Switch
Time: 2025-09-02
This guide uses the Ubiquiti USW-Pro-Aggregation switch as an example to demonstrate how to log in to and manage a Ubiquiti switch.
I. Product Overview
1. The front panel of the Ubiquiti USW-Pro-Aggregation switch is equipped with a management touchscreen, 28×1G/10G SFP+ ports, and 4×1G/10G/25G SFP28 ports. The rear panel mainly integrates a built-in AC power port and four cooling fans.

Figure 1 Front/Rear Panel of the USW-Pro-Aggregation Switch
2. The front-panel management touchscreen allows users to view the switch’s firmware version, LAN IP address, and port status; it also supports adjusting fan speed and rebooting the switch.
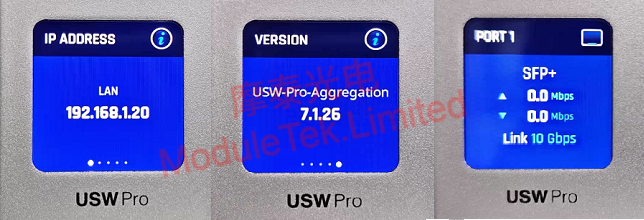
Figure 2 Viewing Switch Version, LAN IP Address, and Port Status
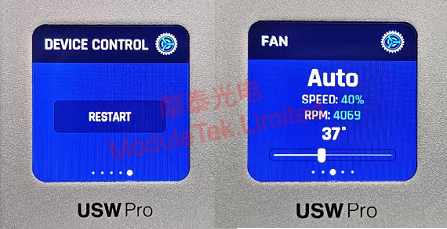
Figure 3 Adjusting Switch Fan Speed and Rebooting
II. Device Management
1. The switch can be managed using UniFi Controller Software. Select an appropriate version based on your needs. According to official requirements, the USW-Pro-Aggregation Switch requires UniFi Controller Software v6.1.25 or later. This tutorial uses the latest Windows-compatible version (9.3.45).
Note: Official download link for UniFi Controller: https://www.ui.com/download

Figure 4 UniFi Controller Software Download
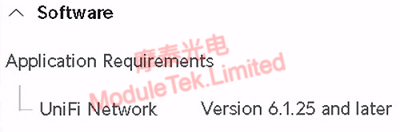
Figure 5 Official UniFi Controller Software Version Requirements
2. Before installing UniFi Controller 9.3.45, you need to install MongoDB 8.0 and Java 17 first. After downloading all installation packages, run them directly to begin installation.
Notes:
• Download link for MongoDB 8.0: https://fastdl.mongodb.org/windows/mongodb-windows-x86_64-8.0.12-signed.msi
• Download link for Java 17: https://download.oracle.com/java/17/archive/jdk-17.0.11_windows-x64_bin.exe
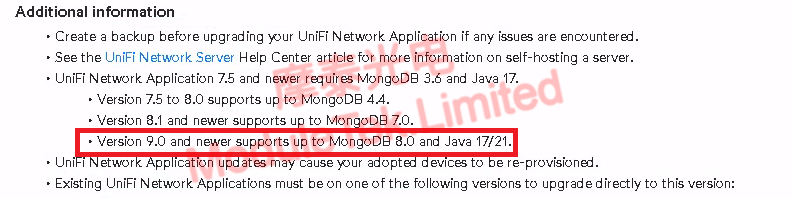
Figure 6 UniFi Controller Software Installation Dependencies
3. After successful installation, a UniFi software icon will appear on your computer’s desktop. Open the software, and it will start initializing automatically. Wait for the initialization to complete, then click Manage Server in Browser—the system will launch the UniFi Controller web interface via your default browser (Chrome or Firefox is recommended).
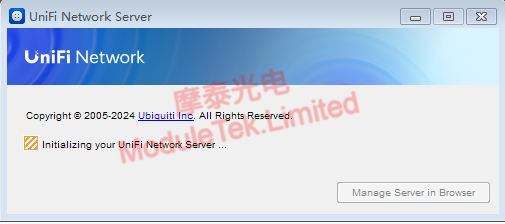
Figure 7 Opening the UniFi Software
4. If you already have a Ubiquiti account, log in directly on this interface. For users without an account, click Switch to Advanced Setup to create a local account for login.
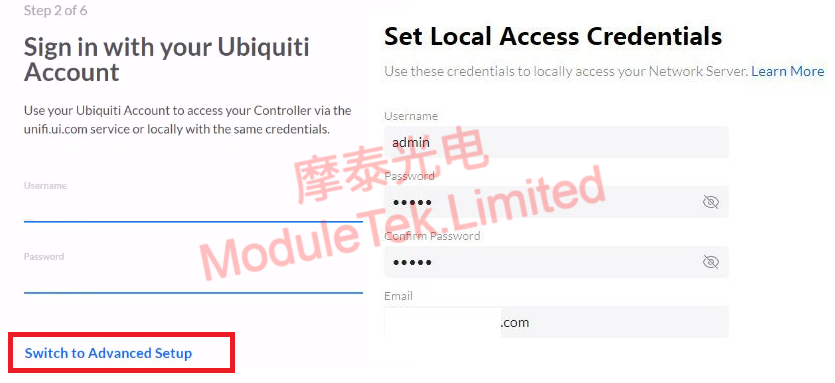
Figure 8 Creating a Local Account
5. Insert the Moduletek SFP-10G-T transceiver into a switch port, then connect the switch to your PC using an Ethernet cable. Set the IP addresses of the PC and the switch to the same network segment. Add the switch to UniFi Controller by entering its MAC address and device name.
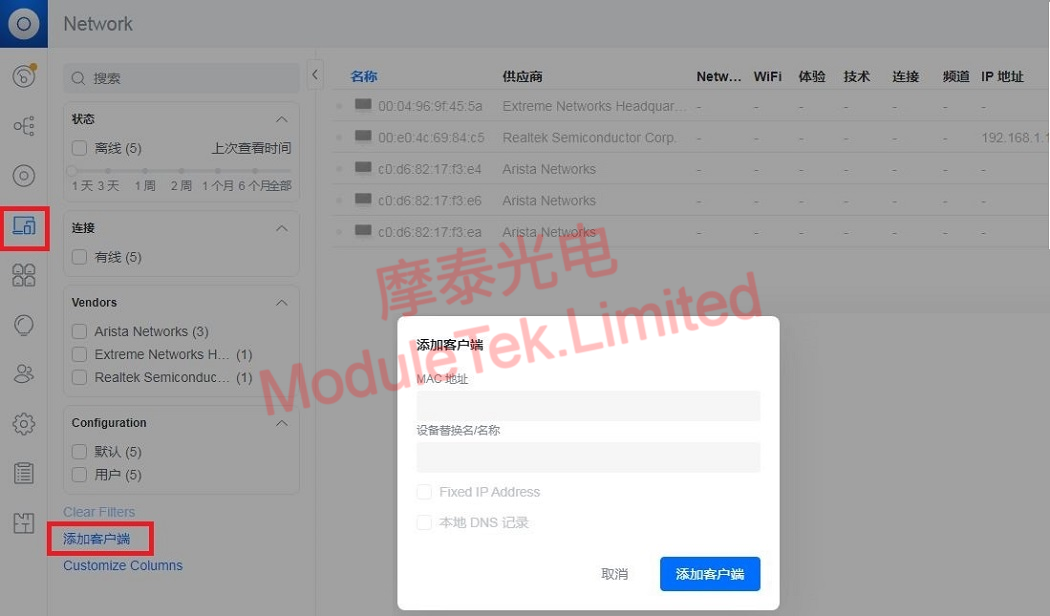
Figure 9 Adding the Switch to UniFi Controller
6. In the UniFi Controller interface, click Ports, enable SFP Analyzer Mode, and you can view interface status, transceiver recognition, and DOM information.
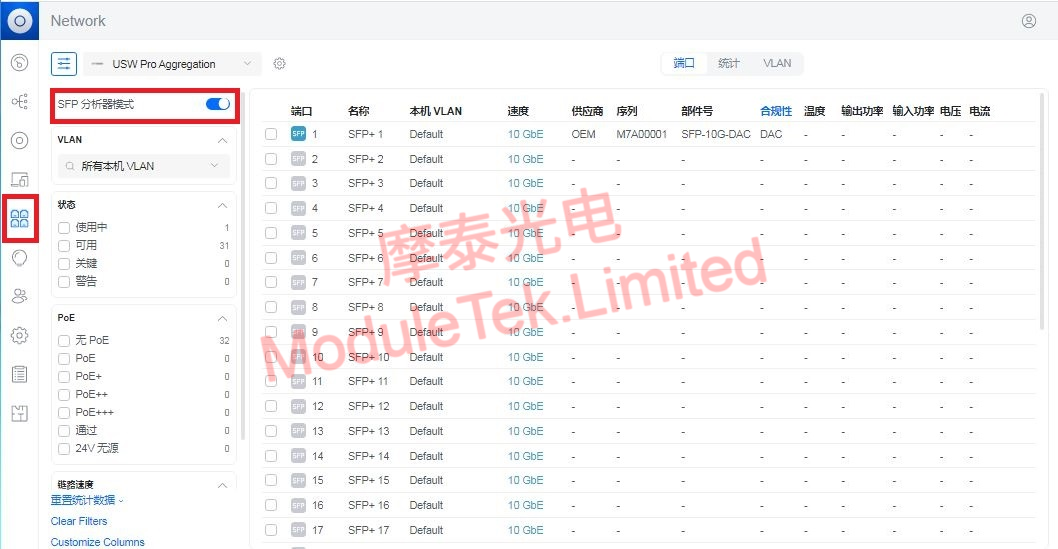
Figure 10 Viewing Interface Status, Transceiver Recognition, and DOM Information
Moduletek optical transceivers are fully compatible with Ubiquiti devices. Welcome to inquire and purchase.
For further inquiries about the above content, please contact us at: sales@moduletek.com


