 40G/100G Optical Transceivers
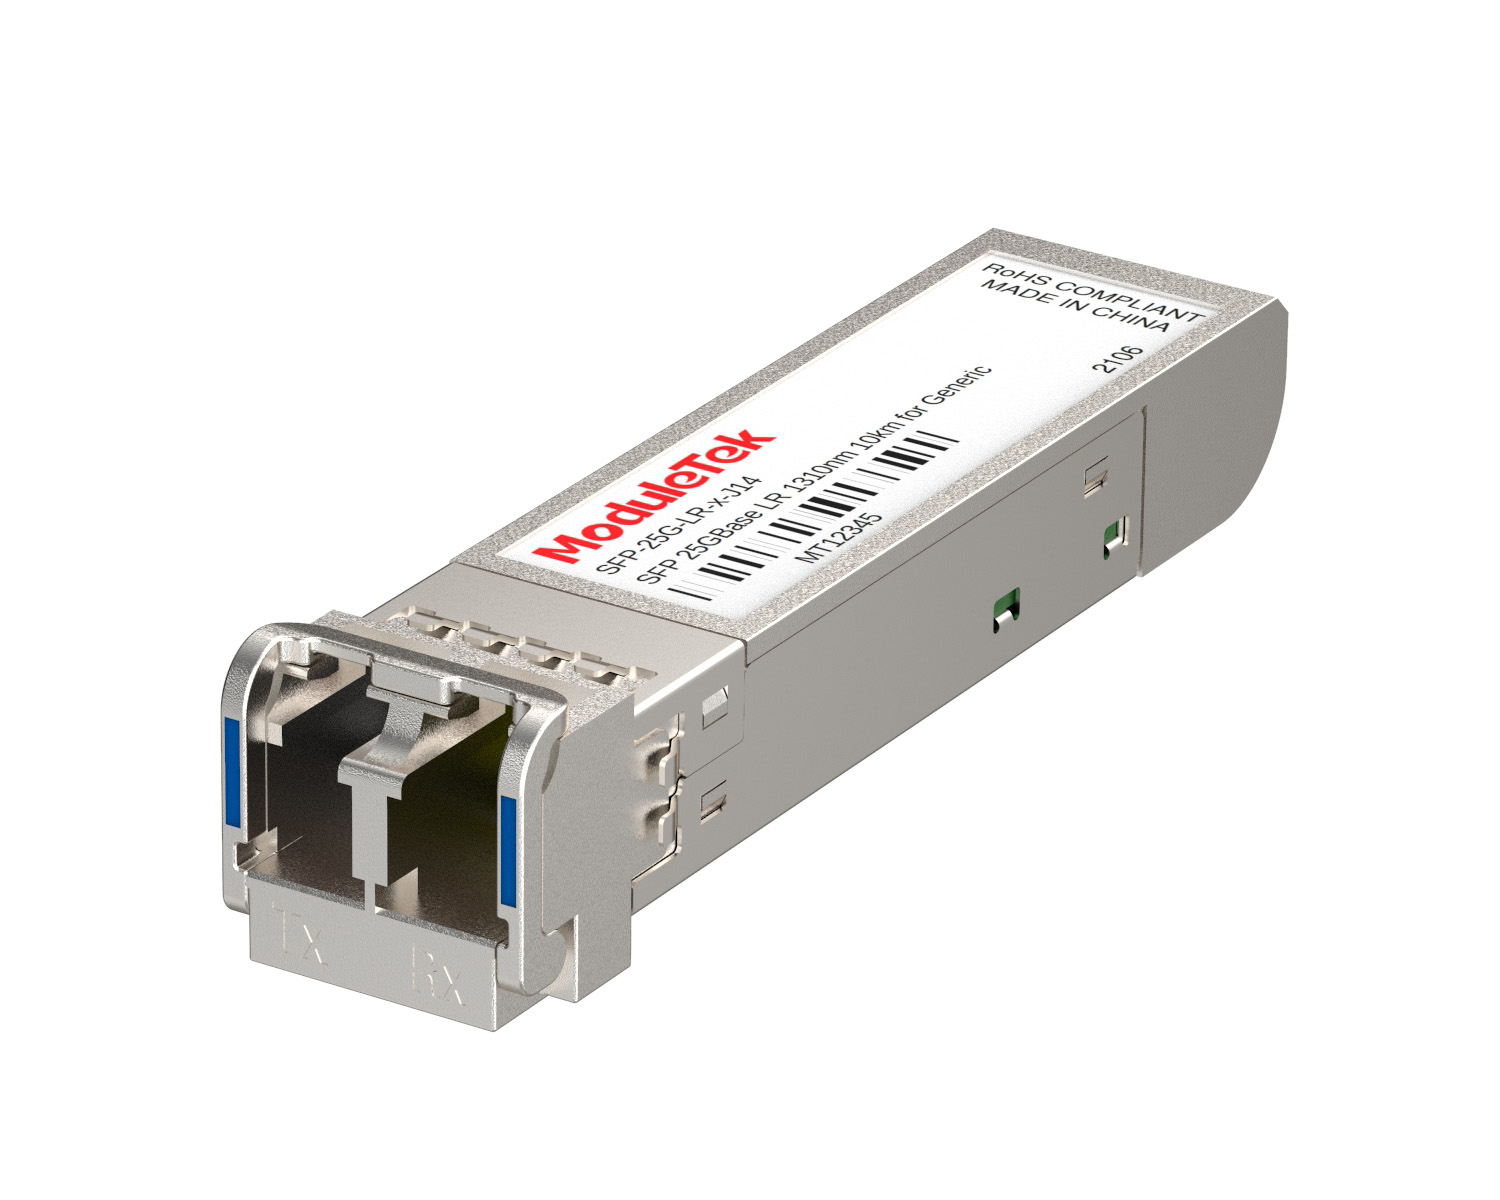 25G Optical Transceivers
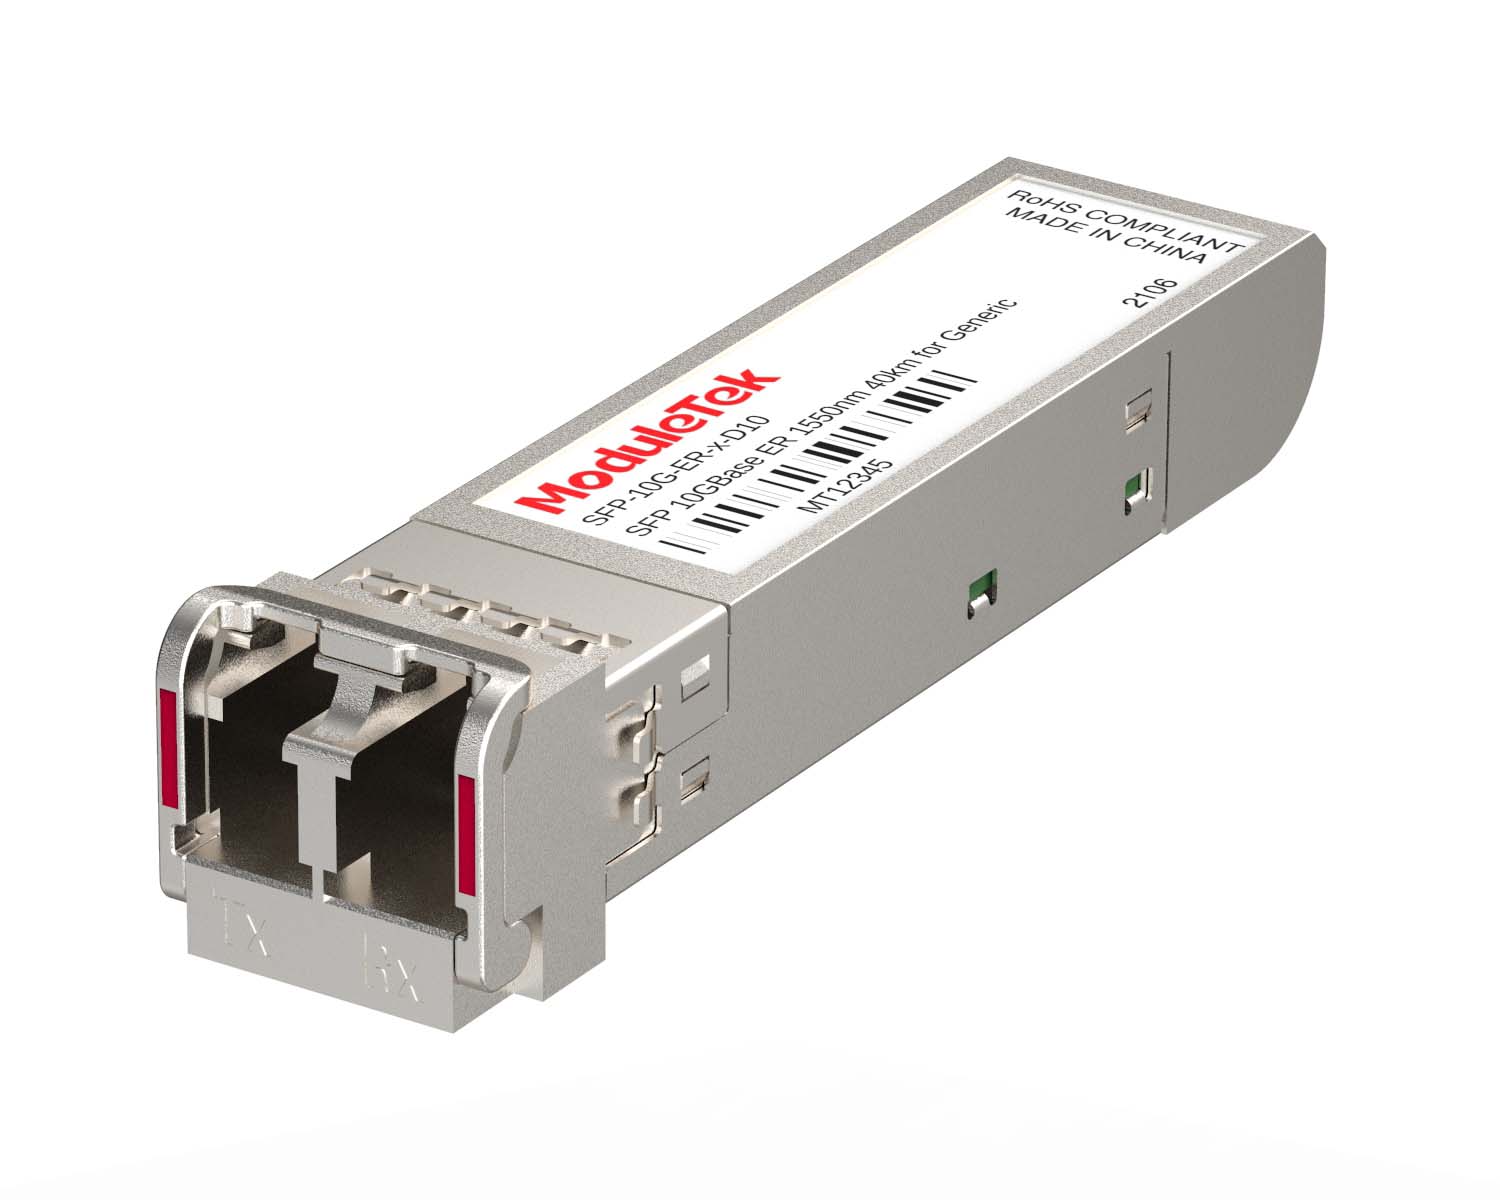 10G Optical Transceivers
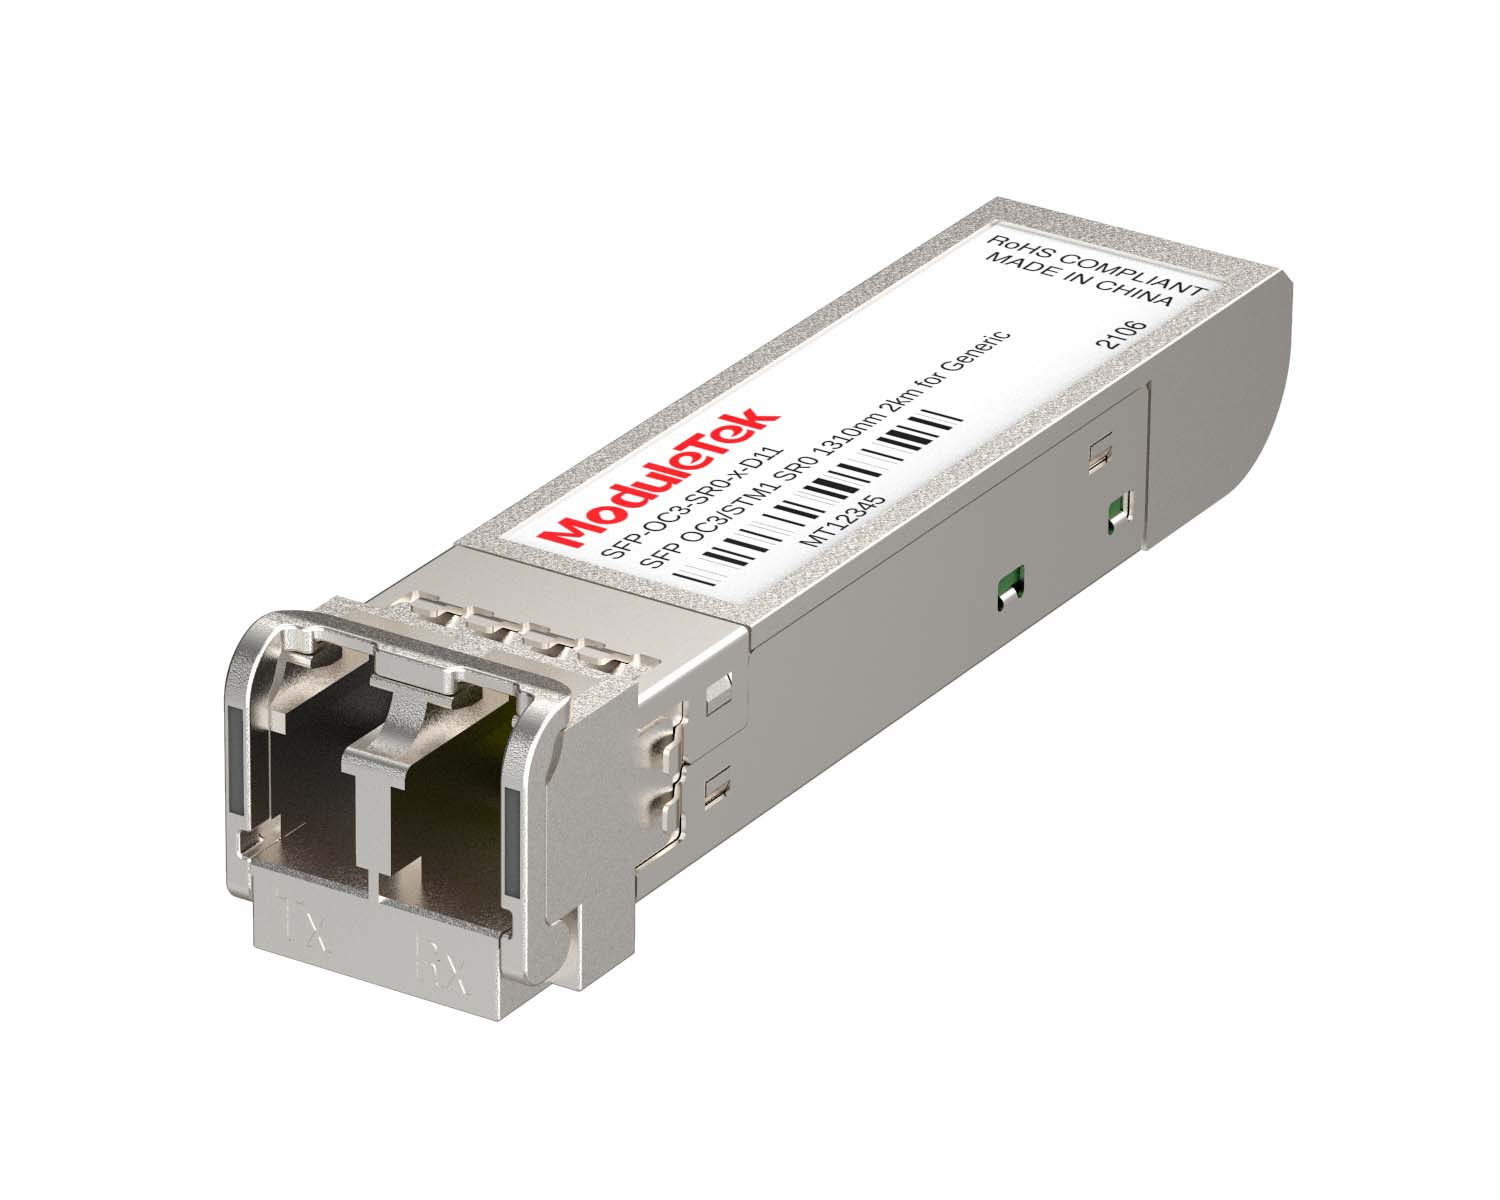 155M/2.5G Optical Transceivers
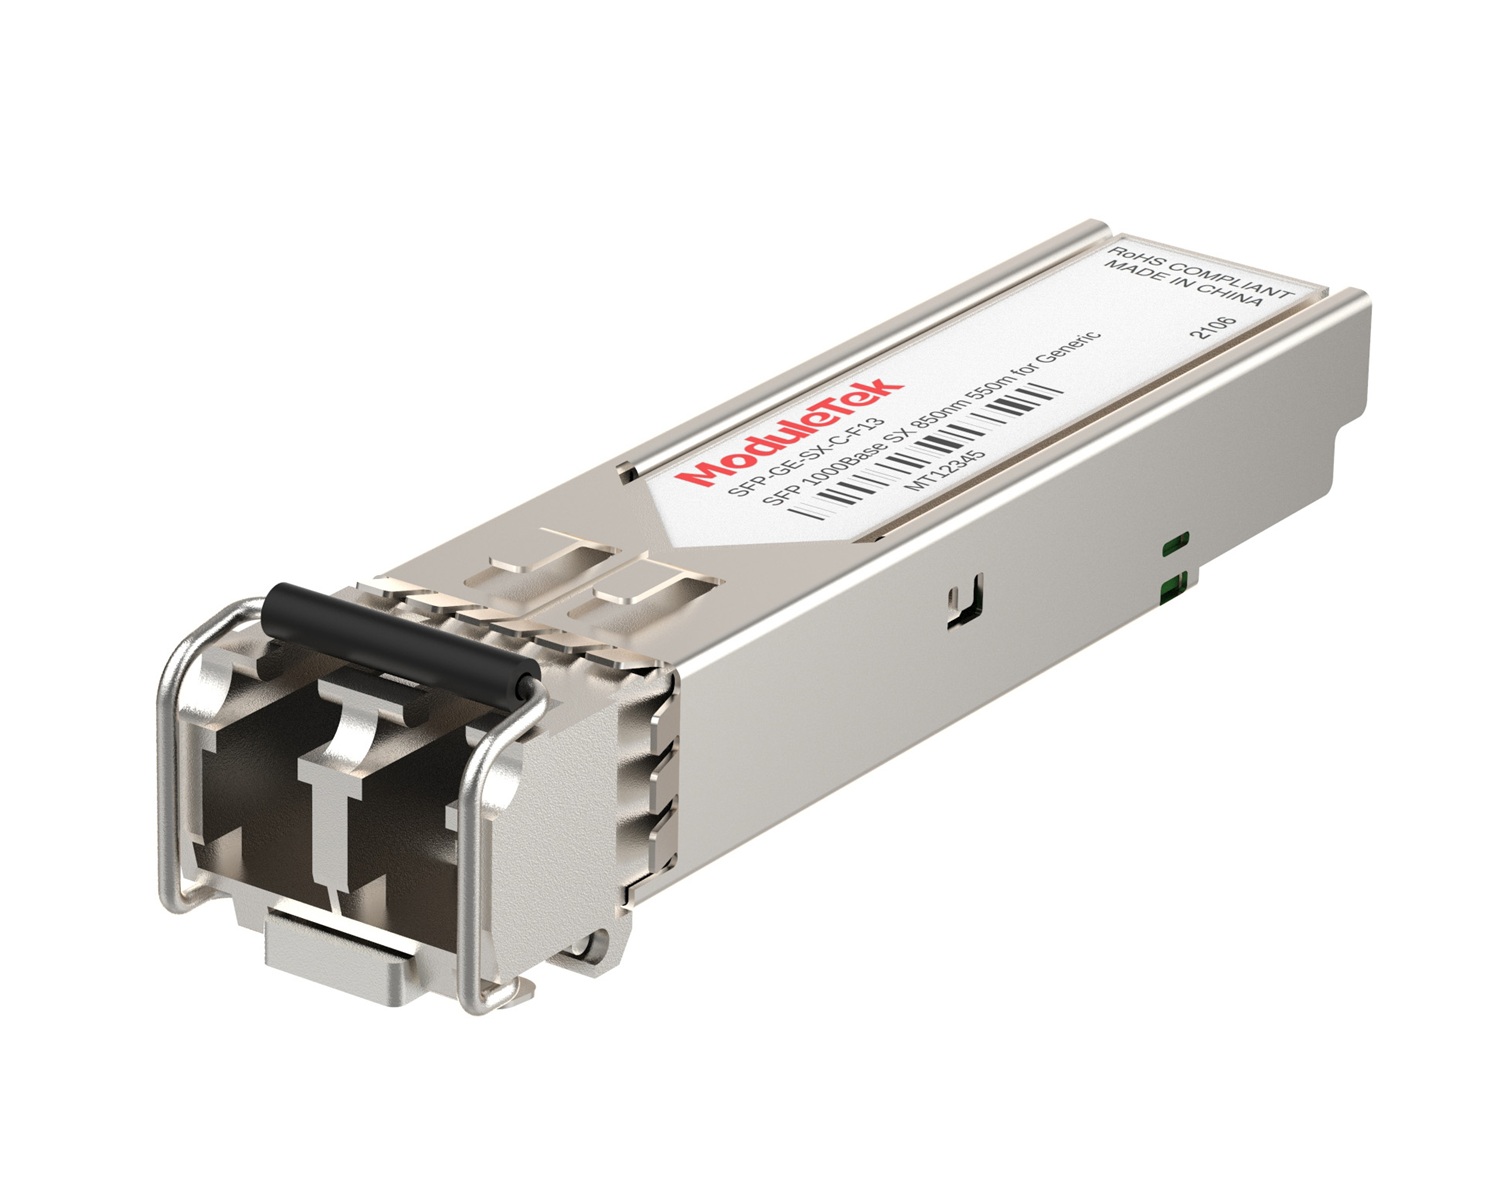 1G Optical Transceivers
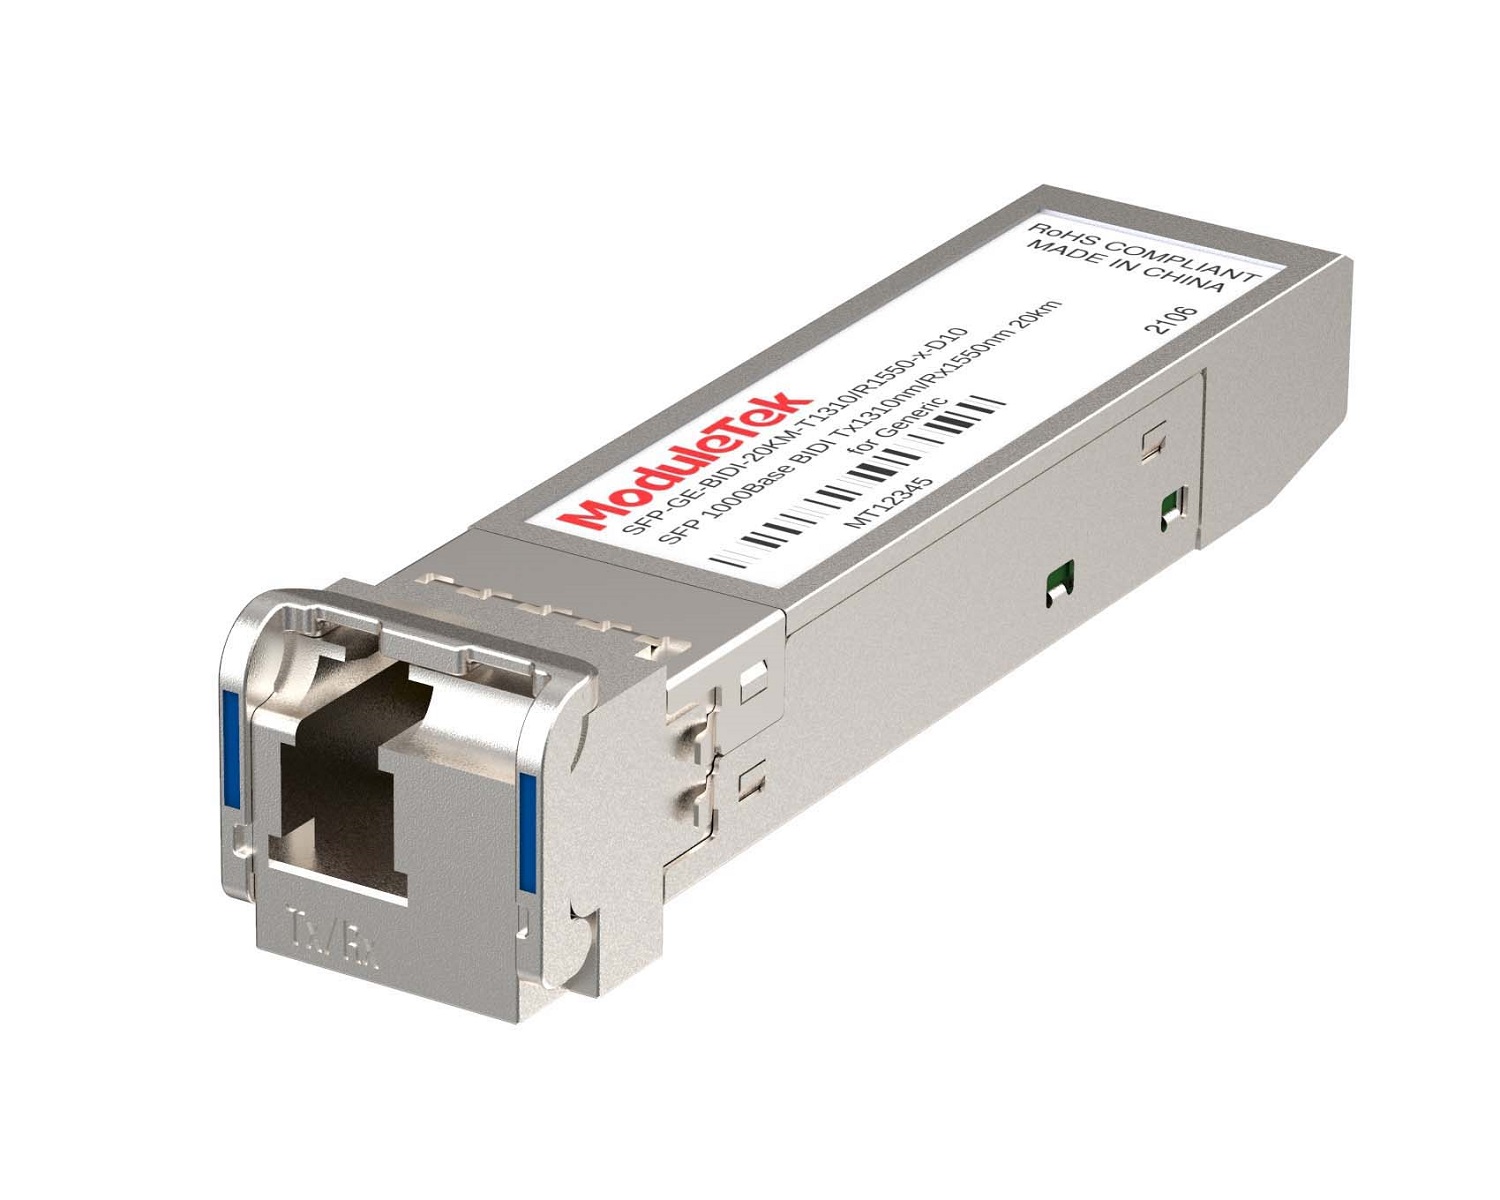 1G BIDI Optical Transceivers
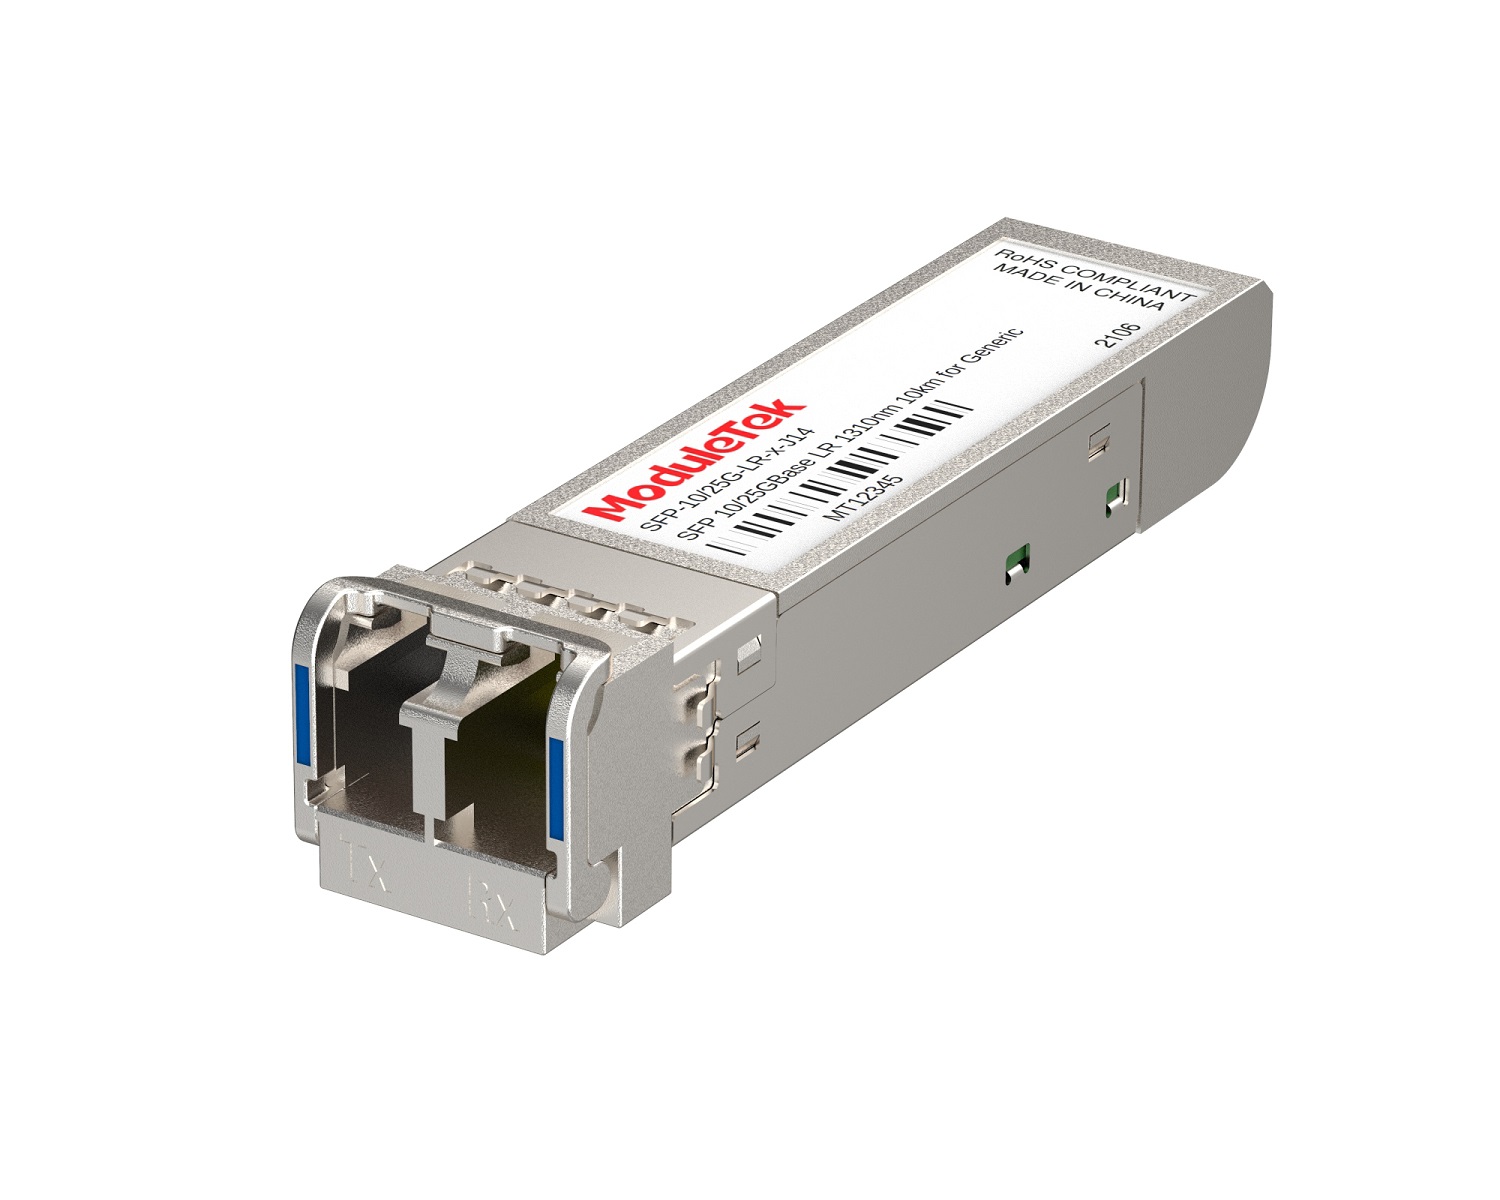 Dual-Rate Optical Transceivers
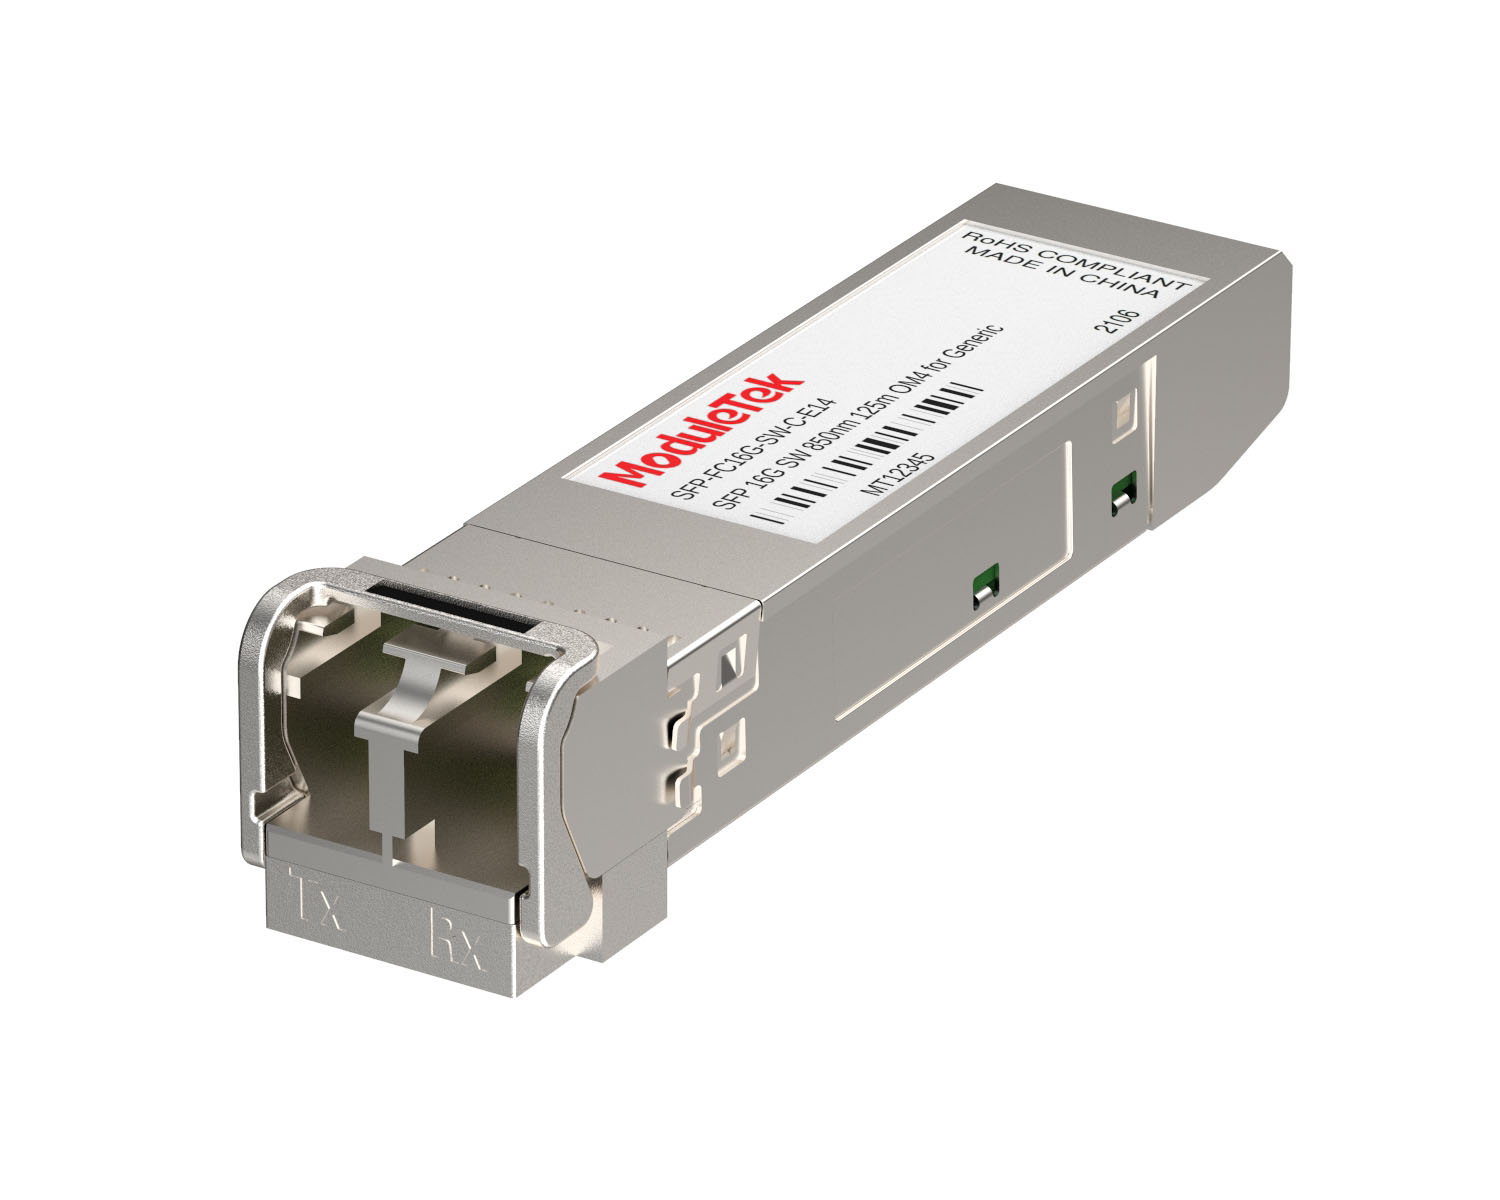 FC 16G/32G Optical Transceivers
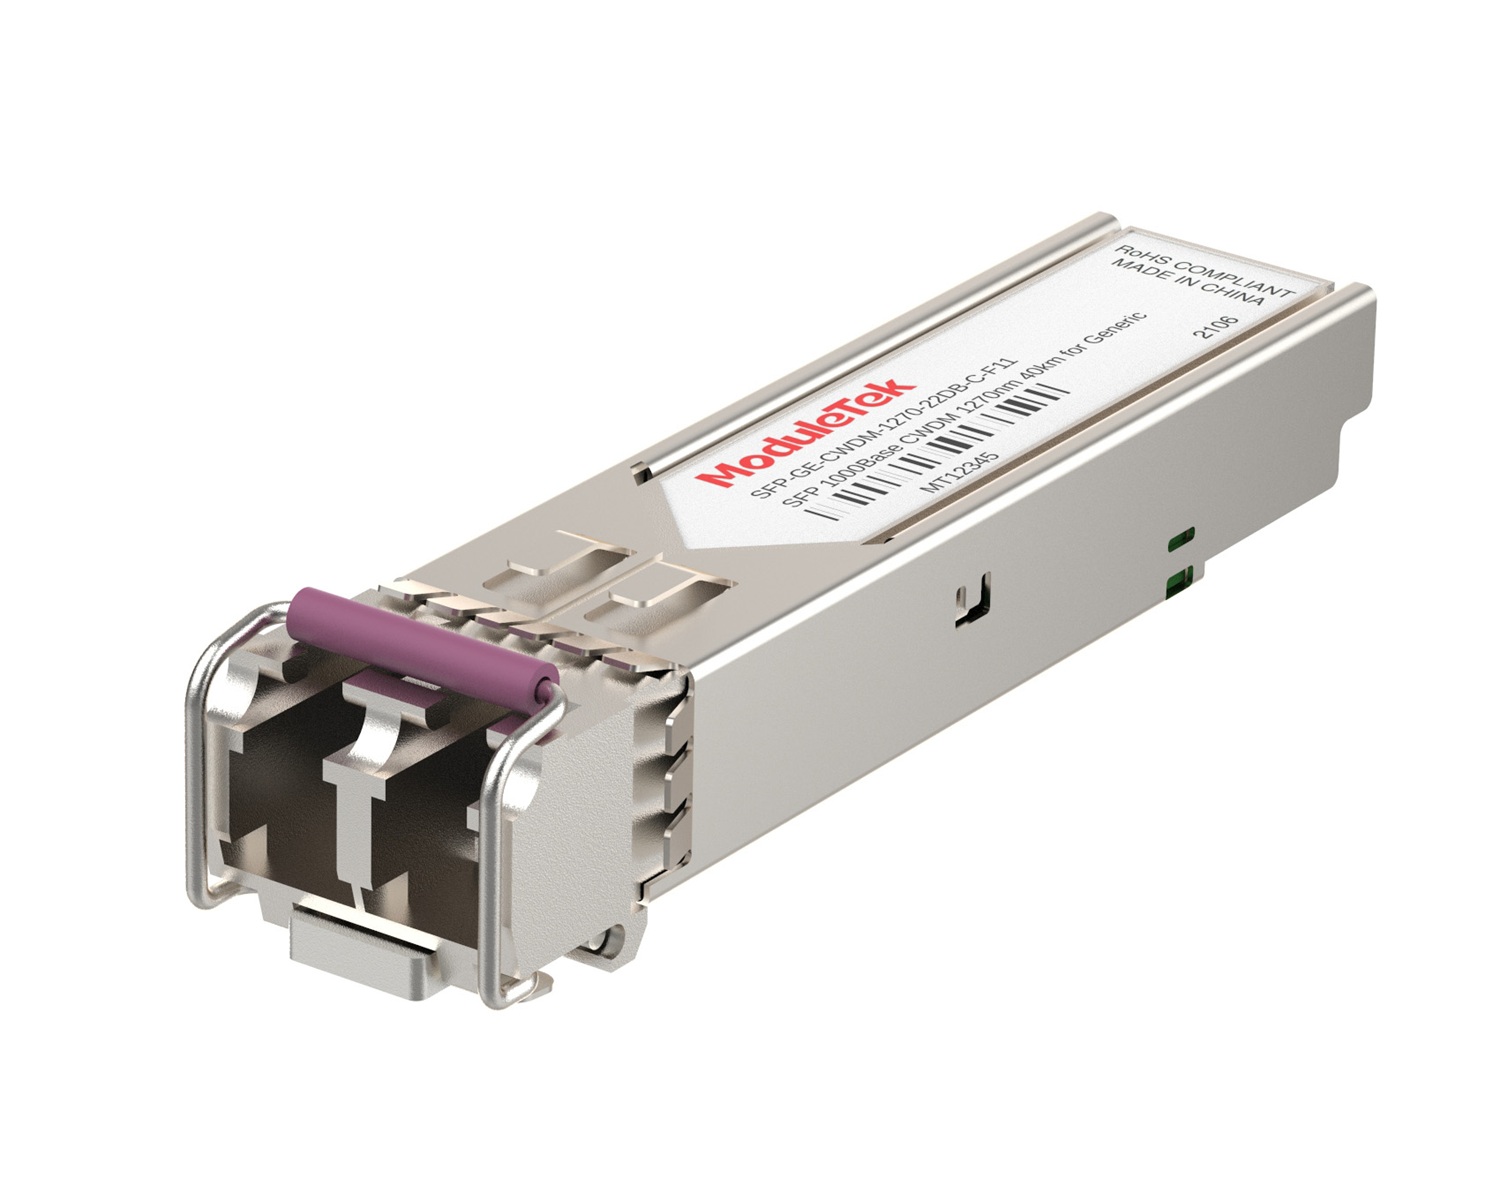 CWDM Optical Transceivers
 DWDM Optical Transceivers
 SGMII Port Optical Transceivers
 XFP Optical Transceivers
 100M/1G/10G Coppers
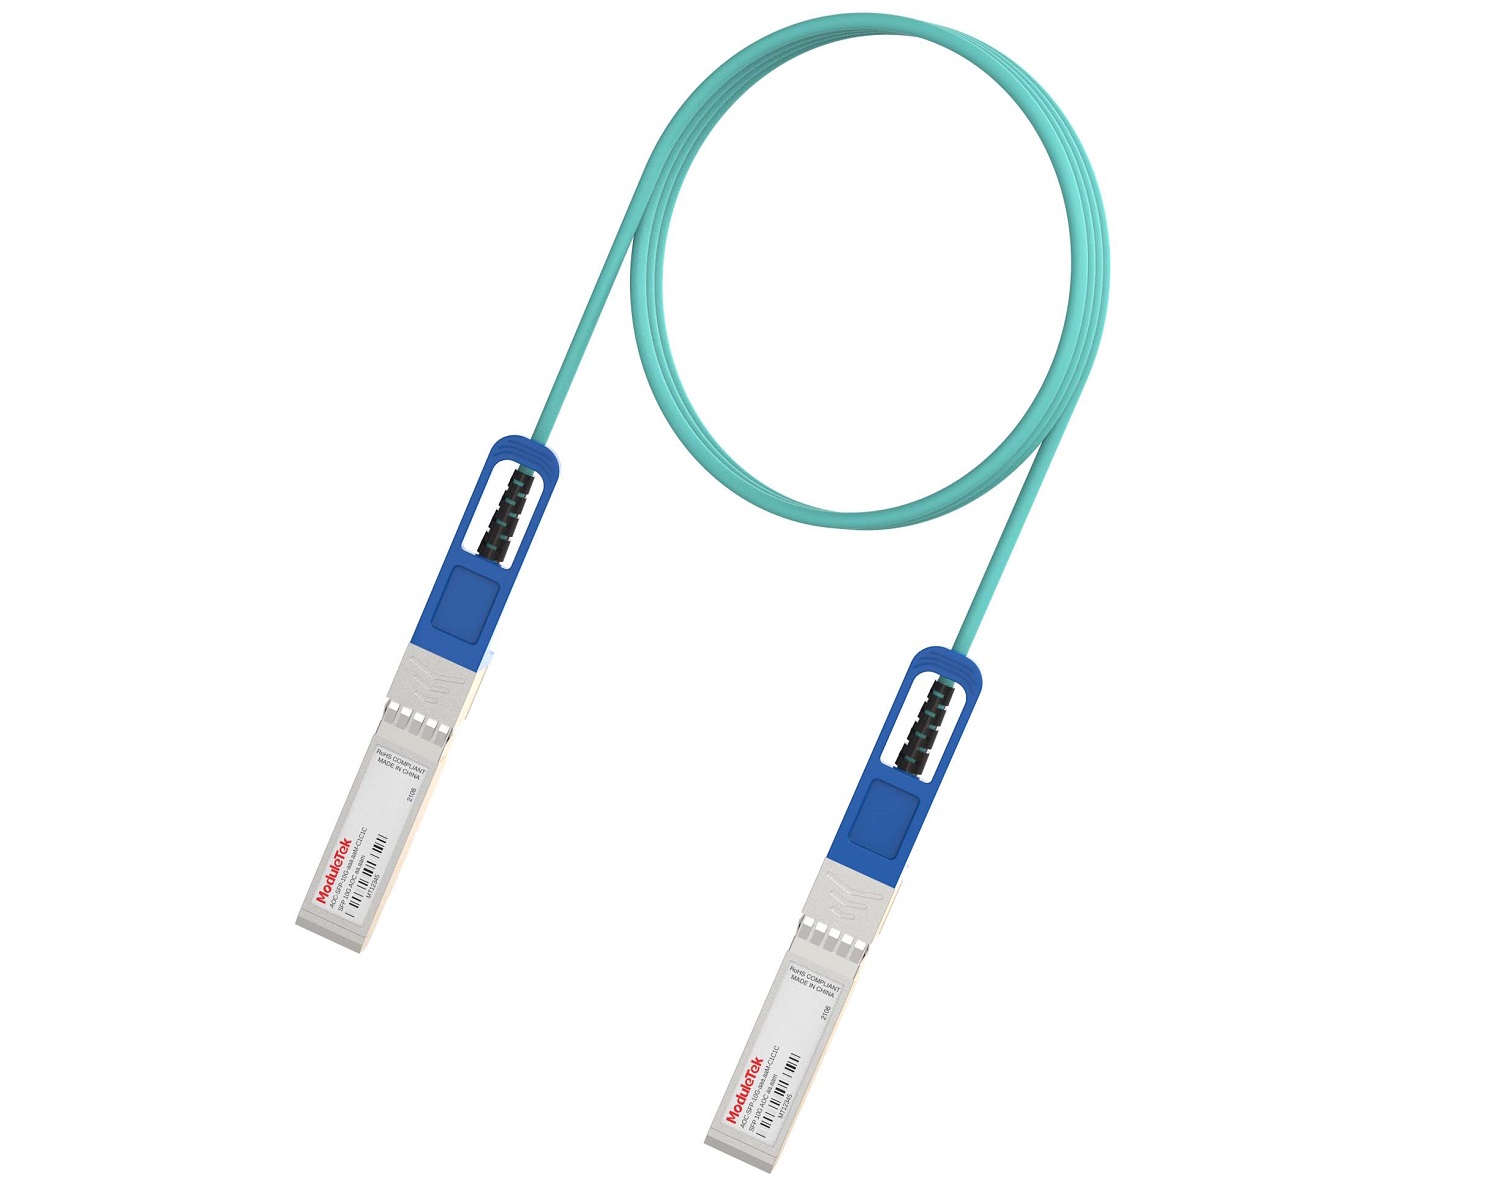 Full-Rate AOC & Breakout Series
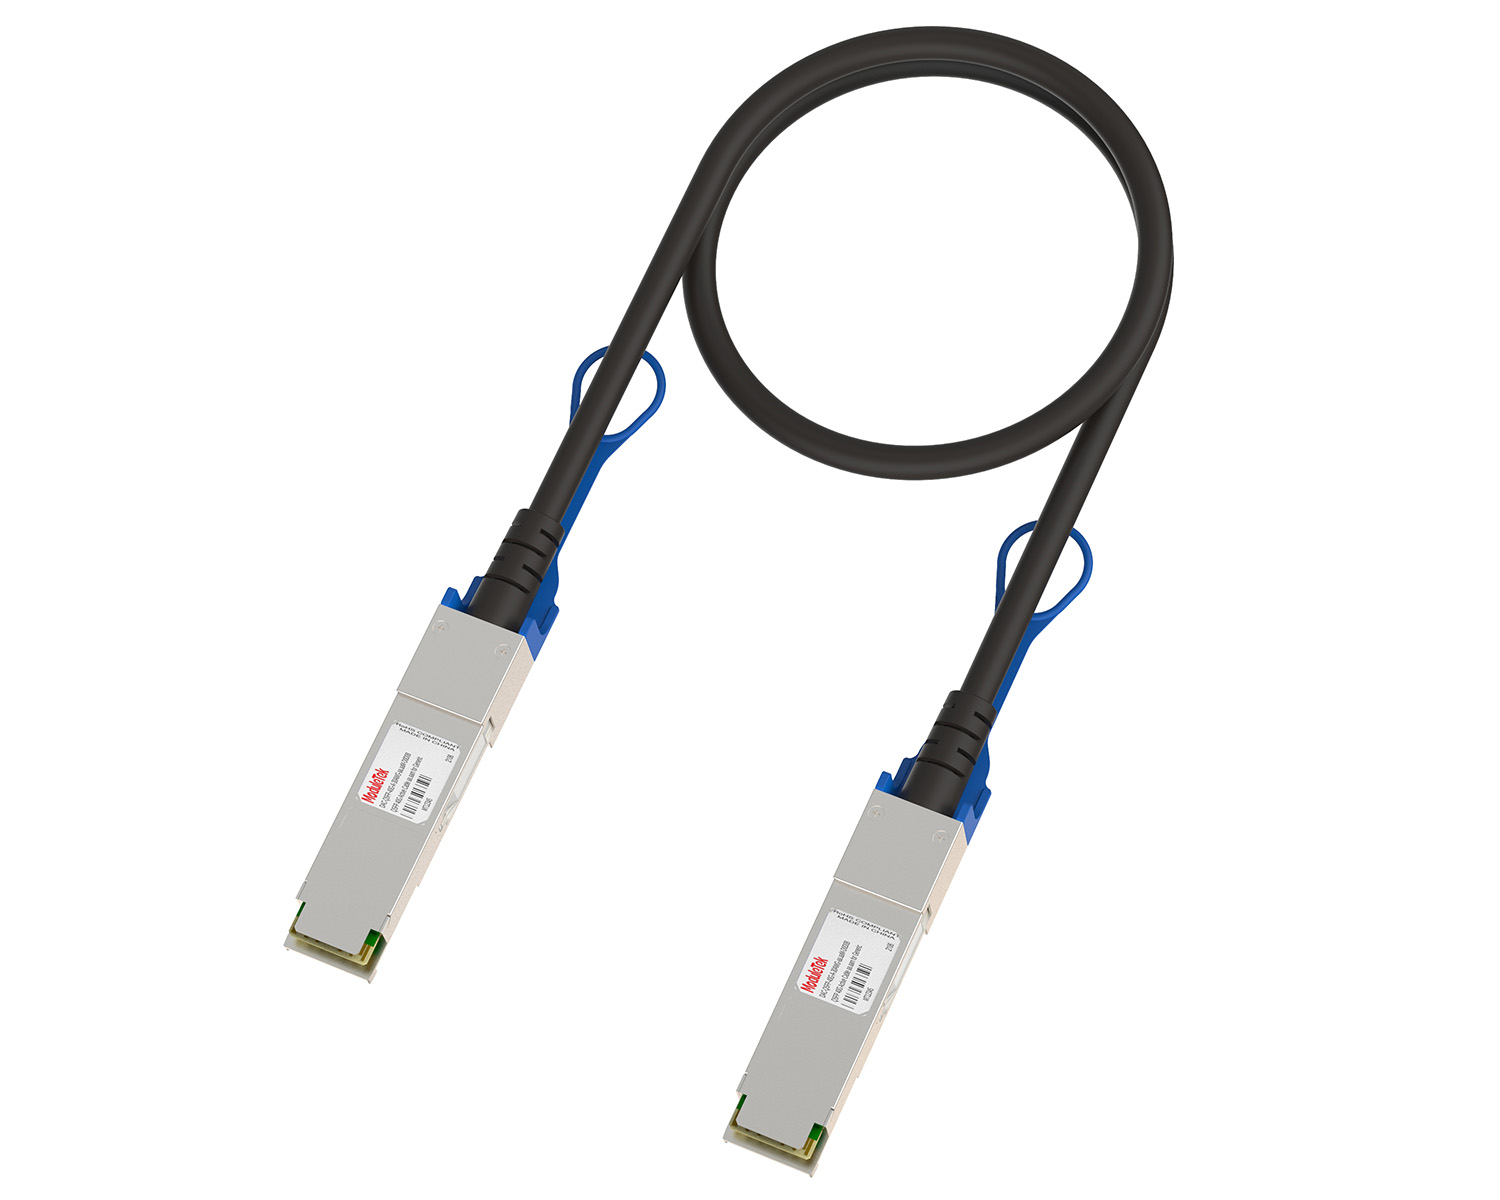 10G/40G Active DAC Series
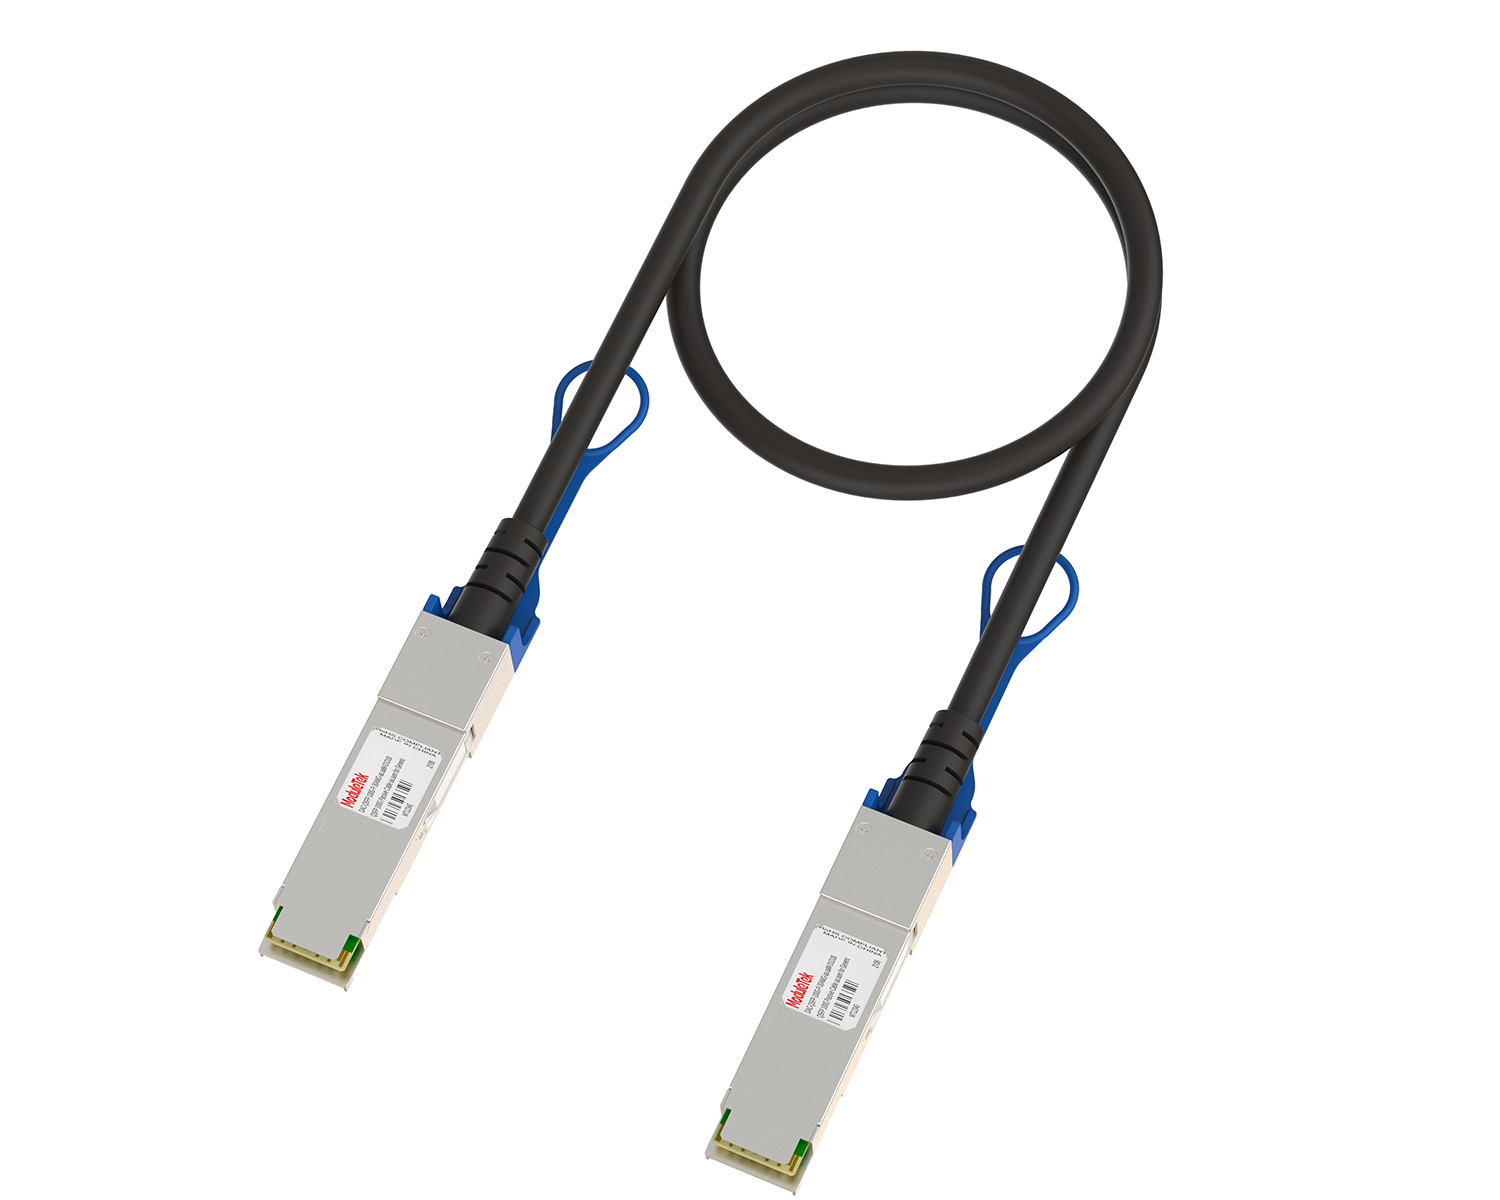 Full-Rate Passive DAC Series
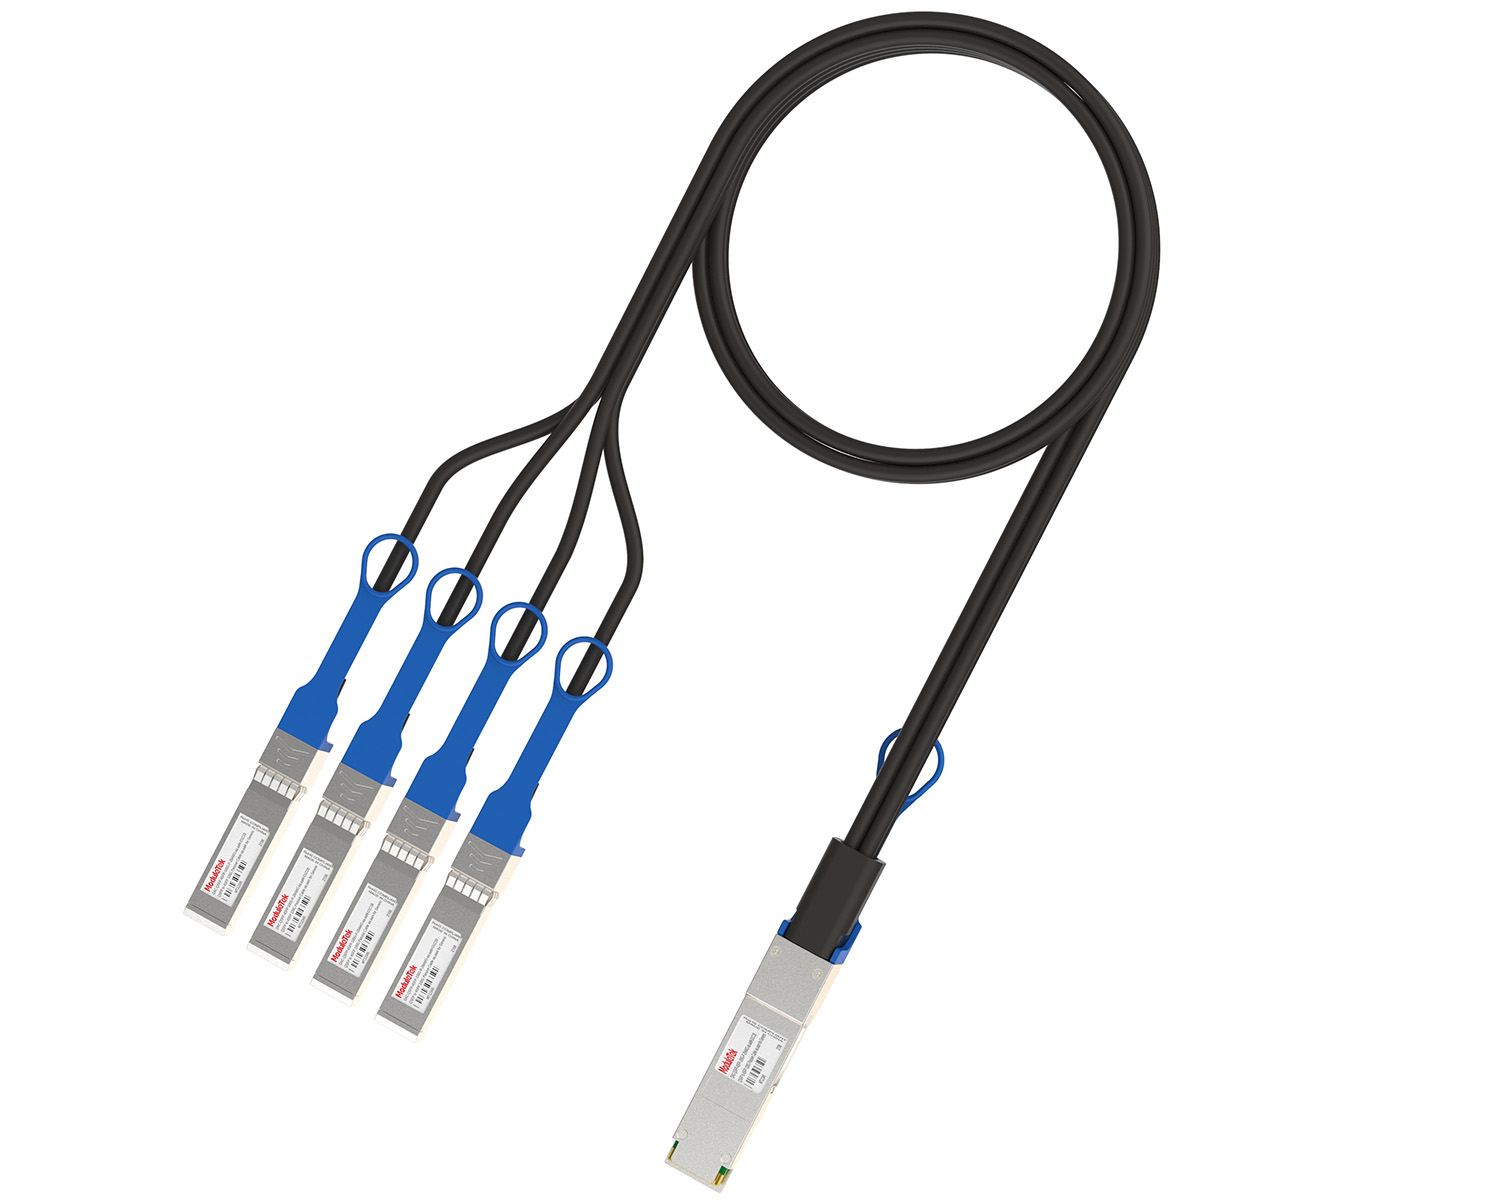 40G/100G Passive Breakout DAC Series
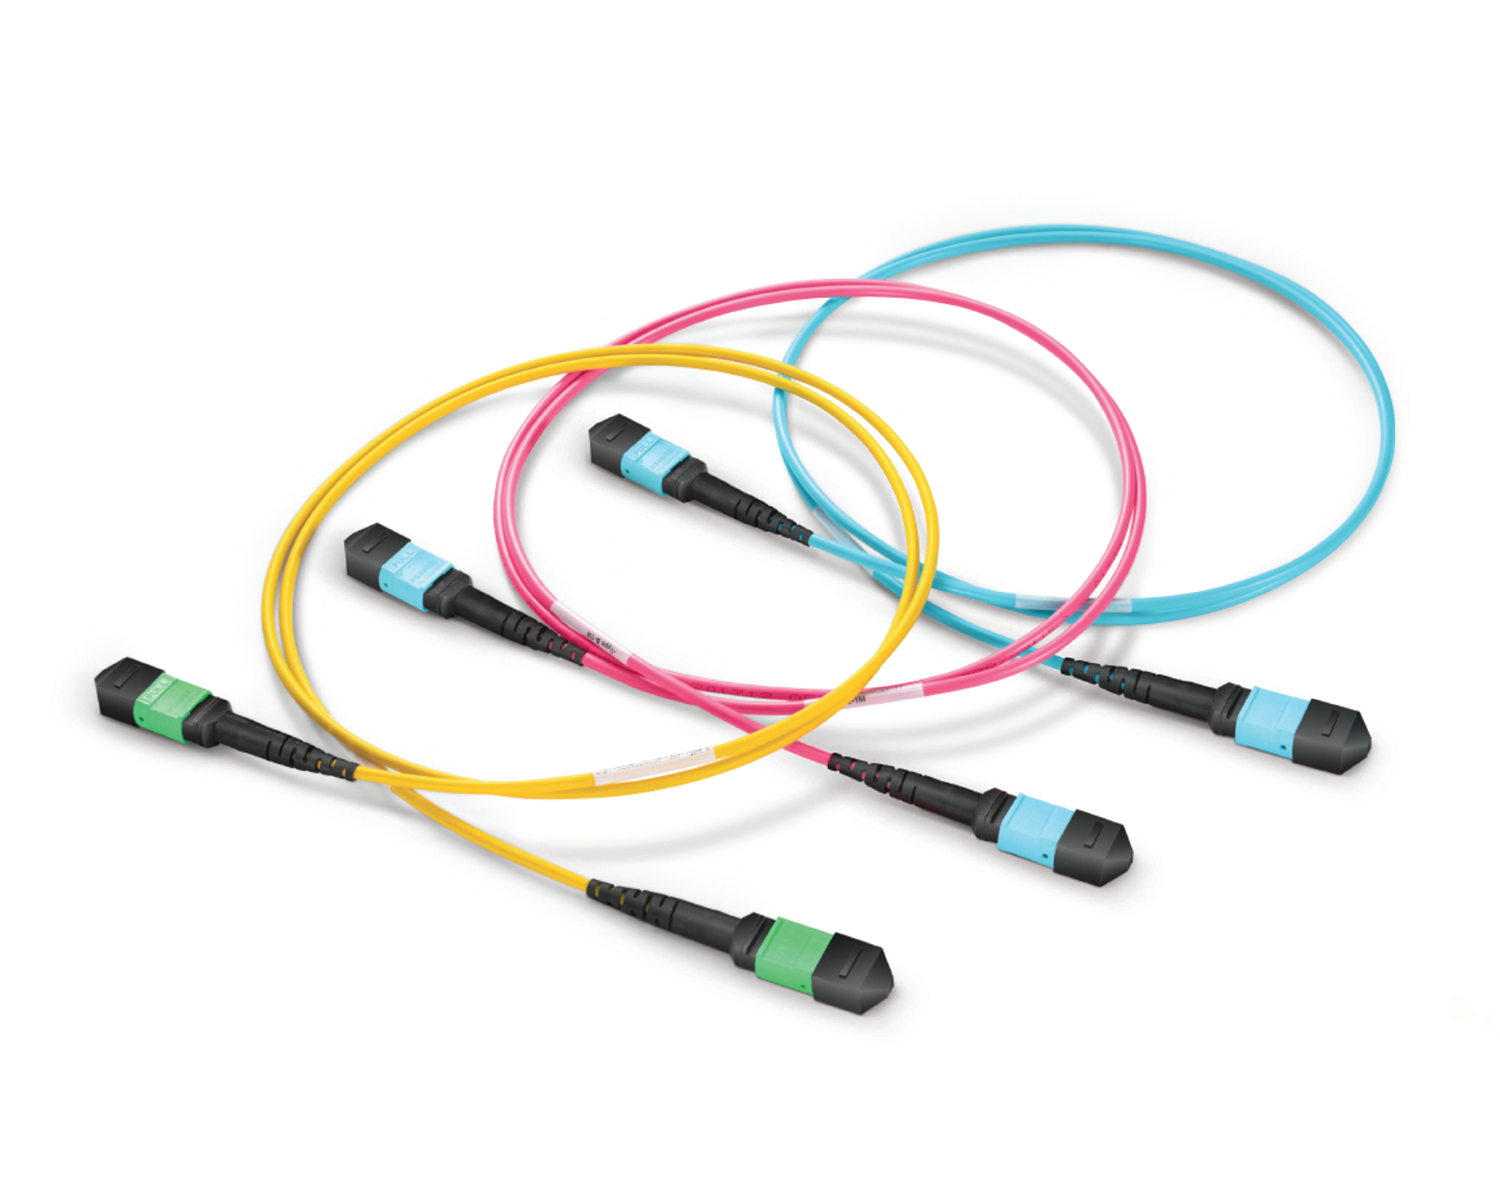 Regular/MTP-MPO Fiber Patch Cords
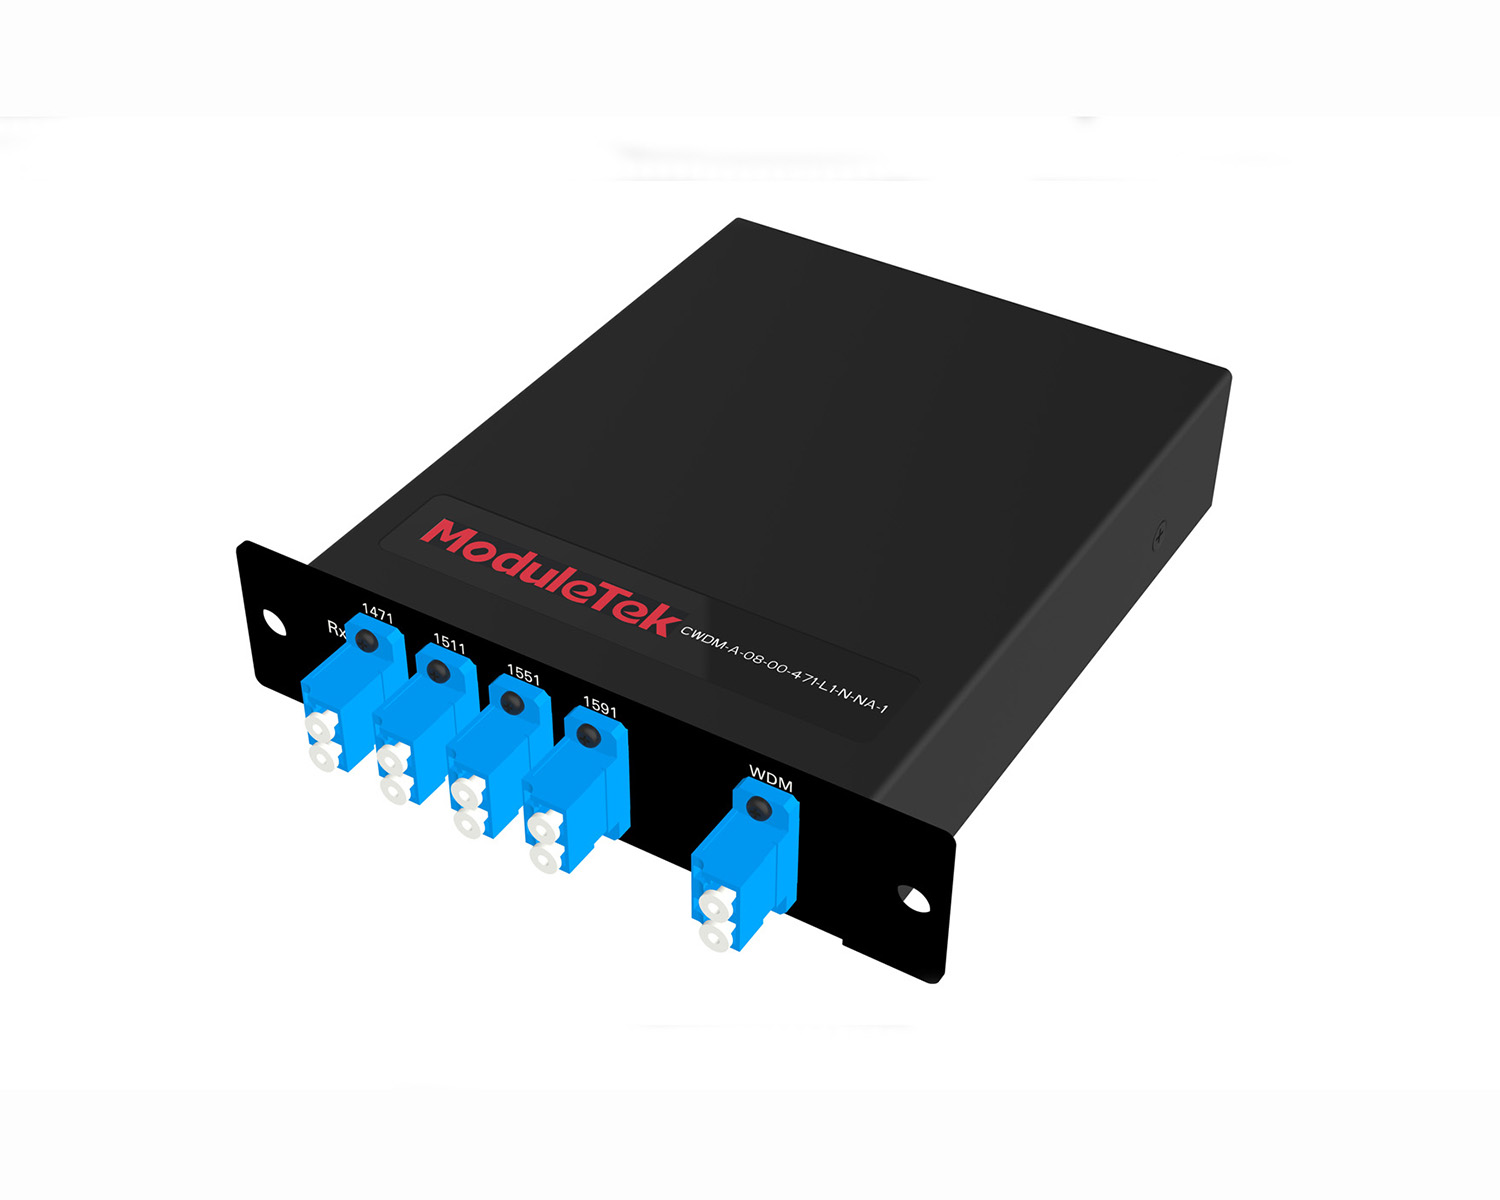 MT2011
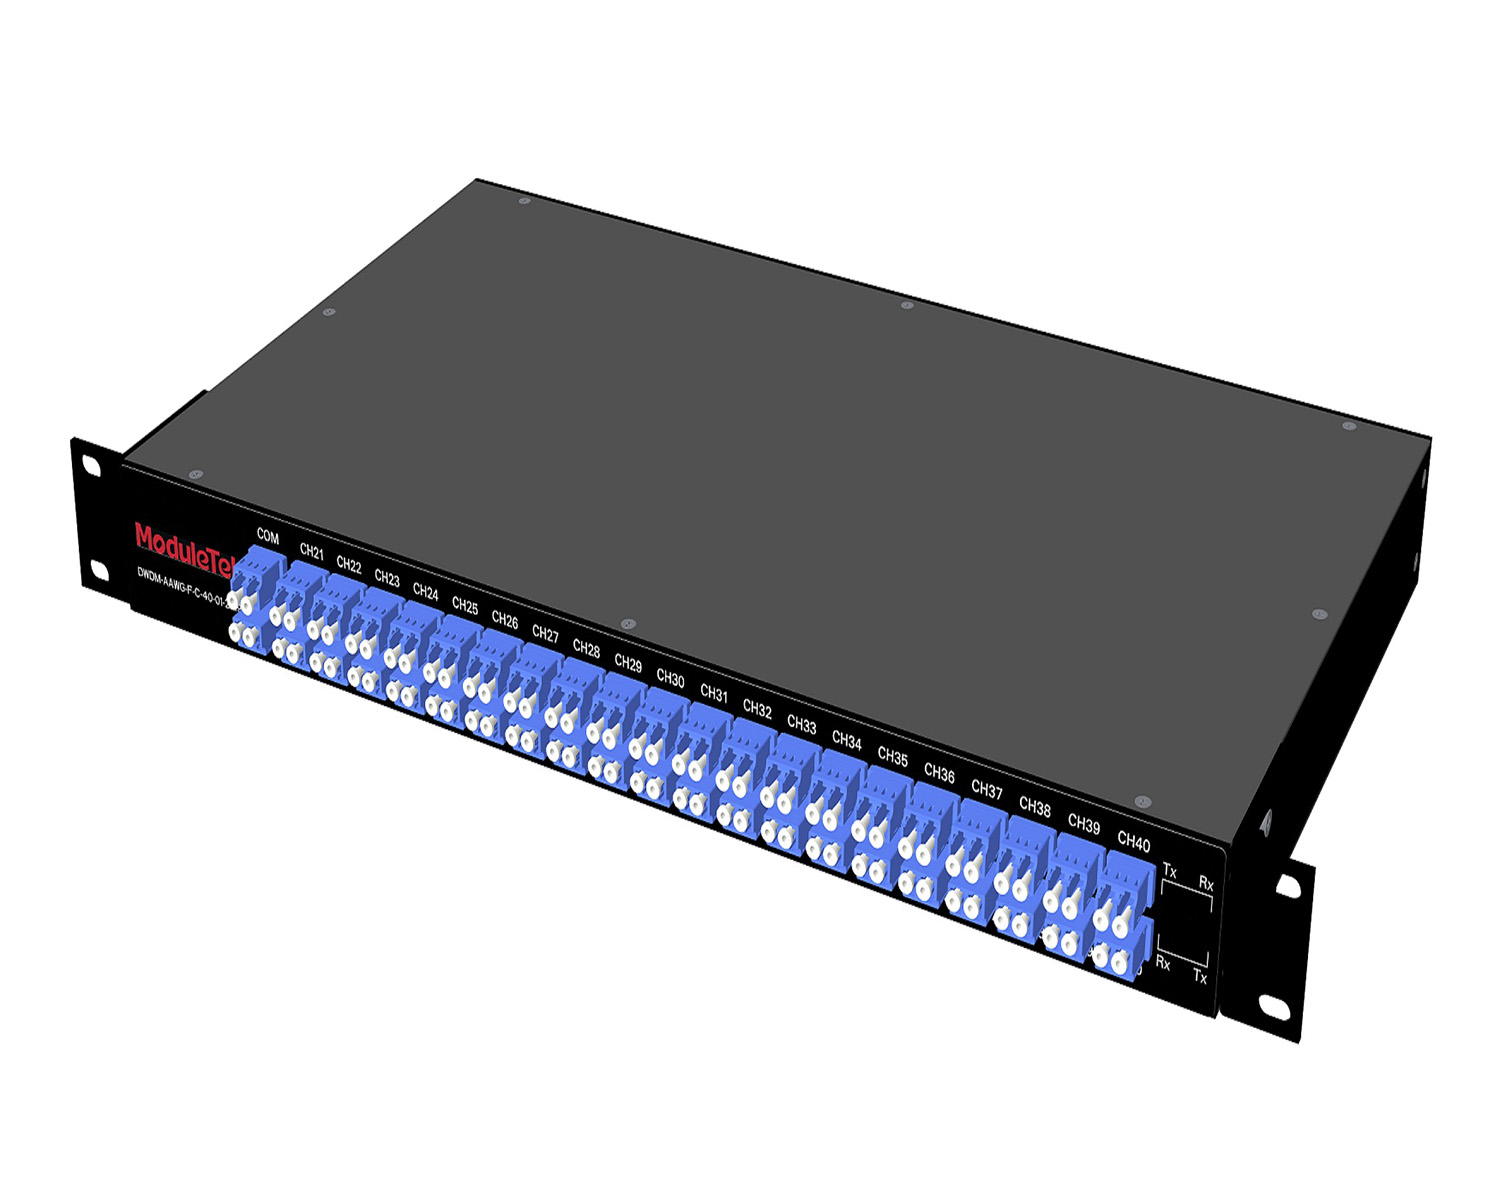 MT2010
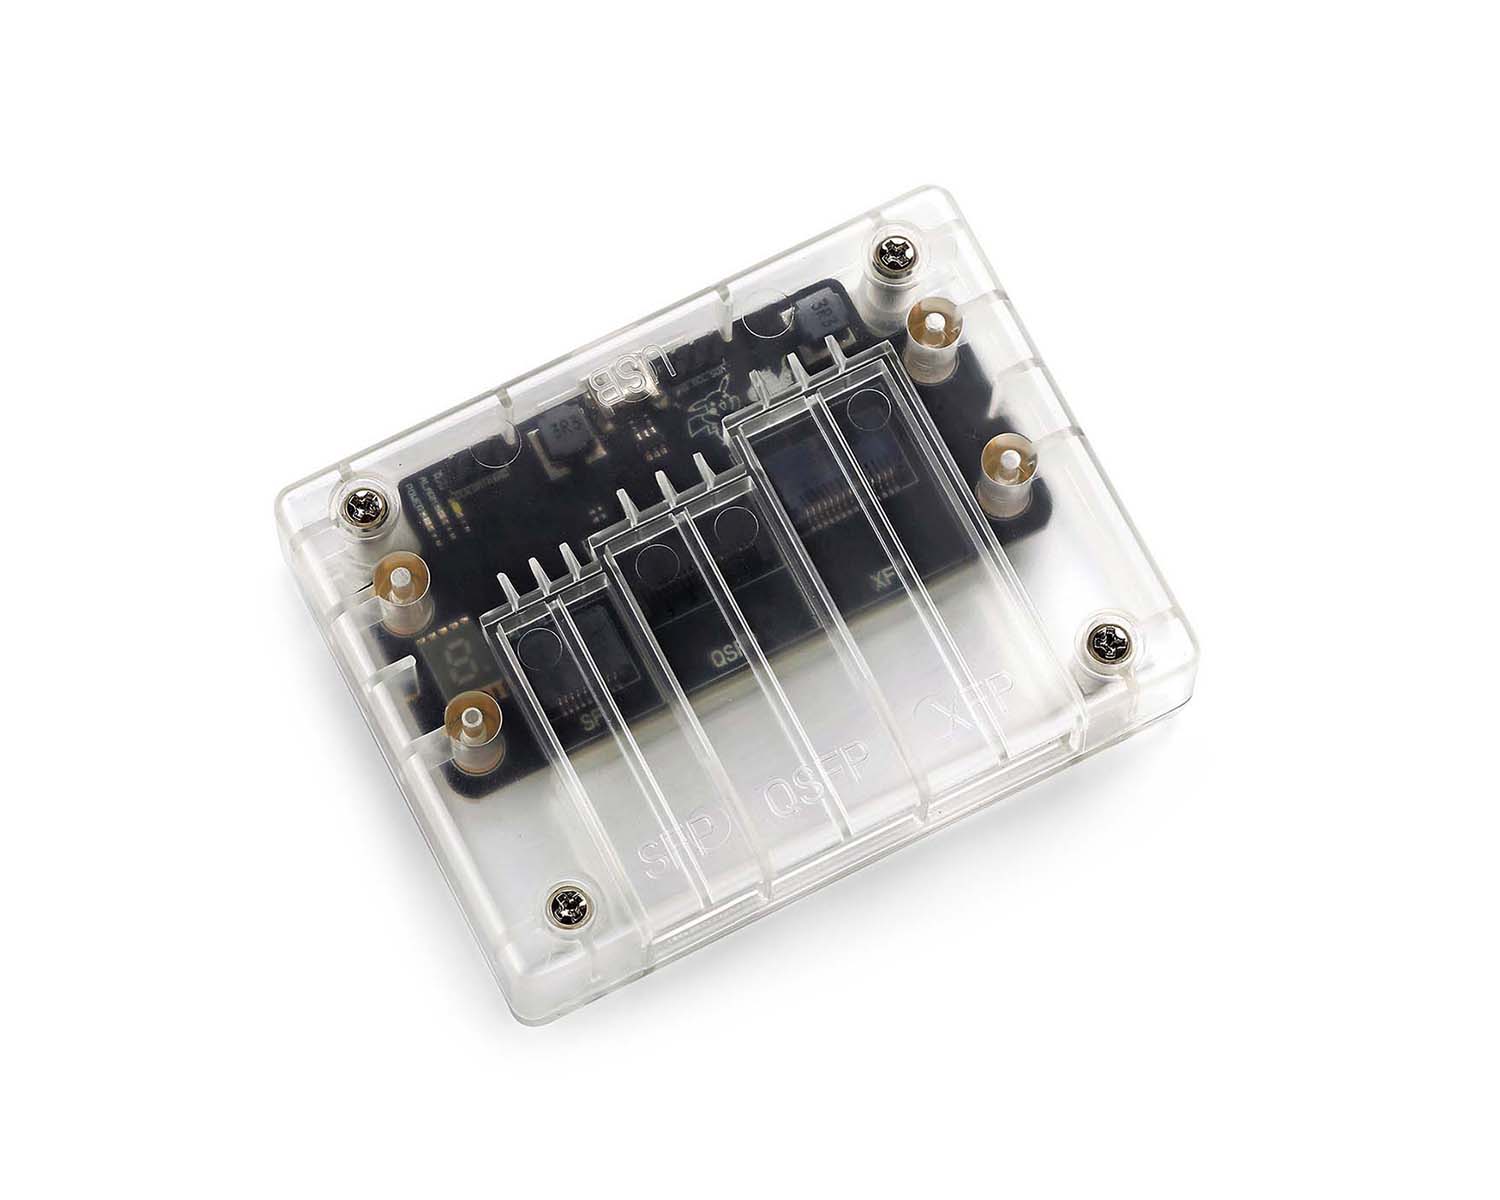 CodingBox
 QSFP to SFP Adapter
Cisco C93180 Switch Upgrade Guidelines
Time: 2022-06-06
When using optical modules on a switch, the same switch model may yield different optical module test results with different system versions. This is because different system versions have varying optical module compatibility requirements. To promptly identify or resolve module compatibility issues and improve module adaptability to the device, users can select the appropriate switch system version provided by the manufacturer based on their needs.
The following is a method for upgrading the system version of a Cisco switch using TFTP, based on a specific case:
I. Information/Material Preparation
• TFTP software (32-bit/64-bit, matching the computer's operating system);
• Switch system version file (download from the official website: https://www.cisco.com/c/en/us/support/ios-nx-os-software/index.html ; this upgrade uses NXOS.9.3.6.bin);
• Network cable;
• Switch (Cisco Nexus9000 C93180YC-EX) and computer.
II. Upgrade Steps
1. Configure the Switch Management Port IP
Set the IP address of the switch's management port to be in the same network segment as the interconnected computer (the computer IP used in this upgrade is 192.168.30.16):
cisco(config)# interface mgmt 0
cisco(config-if)# ip address 192.168.30.100 255.255.255.0
2. Configure the TFTP Source Port
Use the switch's management port as the TFTP source port:
cisco(config-if)# ip tftp source-interface mgmt 0
3. Launch and Configure TFTP Software
• Current Directory: Fill in the folder path on the computer where the upgrade system version file is stored;
• Service Interfaces (Server Address): Fill in the local IP address of the computer (192.168.30.16 in this case).
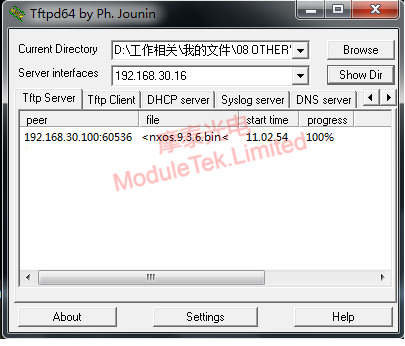
Figure 1 TFTP Transfer Interface
4. Test Connectivity Between Switch and TFTP Server
Ping the computer's IP (TFTP server IP) on the switch terminal to verify connectivity:
cisco(config)# ping 192.168.30.16 vrf management // Ping the TFTP server IP via the management VRF
5. Copy the System Version File to the Switch Bootflash
Transfer the system file from the TFTP server to the switch's bootflash directory:
cisco(config)# copy tftp://192.168.30.16/nxos.9.3.6.bin bootflash:
6. Verify File Upload Success
List files in the bootflash directory to confirm the system file is uploaded successfully:
cisco# dir bootflash:
7. Configure the Boot System and Save Settings
Set the upgraded system file as the boot file and save the configuration (note: the file name must match the uploaded version):
cisco(config)# boot nxos bootflash:nxos.9.3.6.bin // Correct the file name to match the uploaded version (9.3.6)
cisco(config)# copy running-config startup-config // Save the running configuration to startup-config
8. Reboot the Switch to Apply Upgrade
Execute the reboot command and confirm to restart the switch:
cisco# reload
This command will reboot the system(y/n)? [n]y // Enter "y" to confirm reboot
9. Confirm the Upgraded System Version
After the switch restarts, check the currently running system version to verify the upgrade is successful:
cisco# show system
The output will display the current running NXOS version and the corresponding image file name, confirming the upgrade result.
Moduletek provides compatible optical modules that support different system software versions of Cisco switches. Welcome to place your orders!
For further inquiries about the above content, please contact us at: sales@moduletek.com


