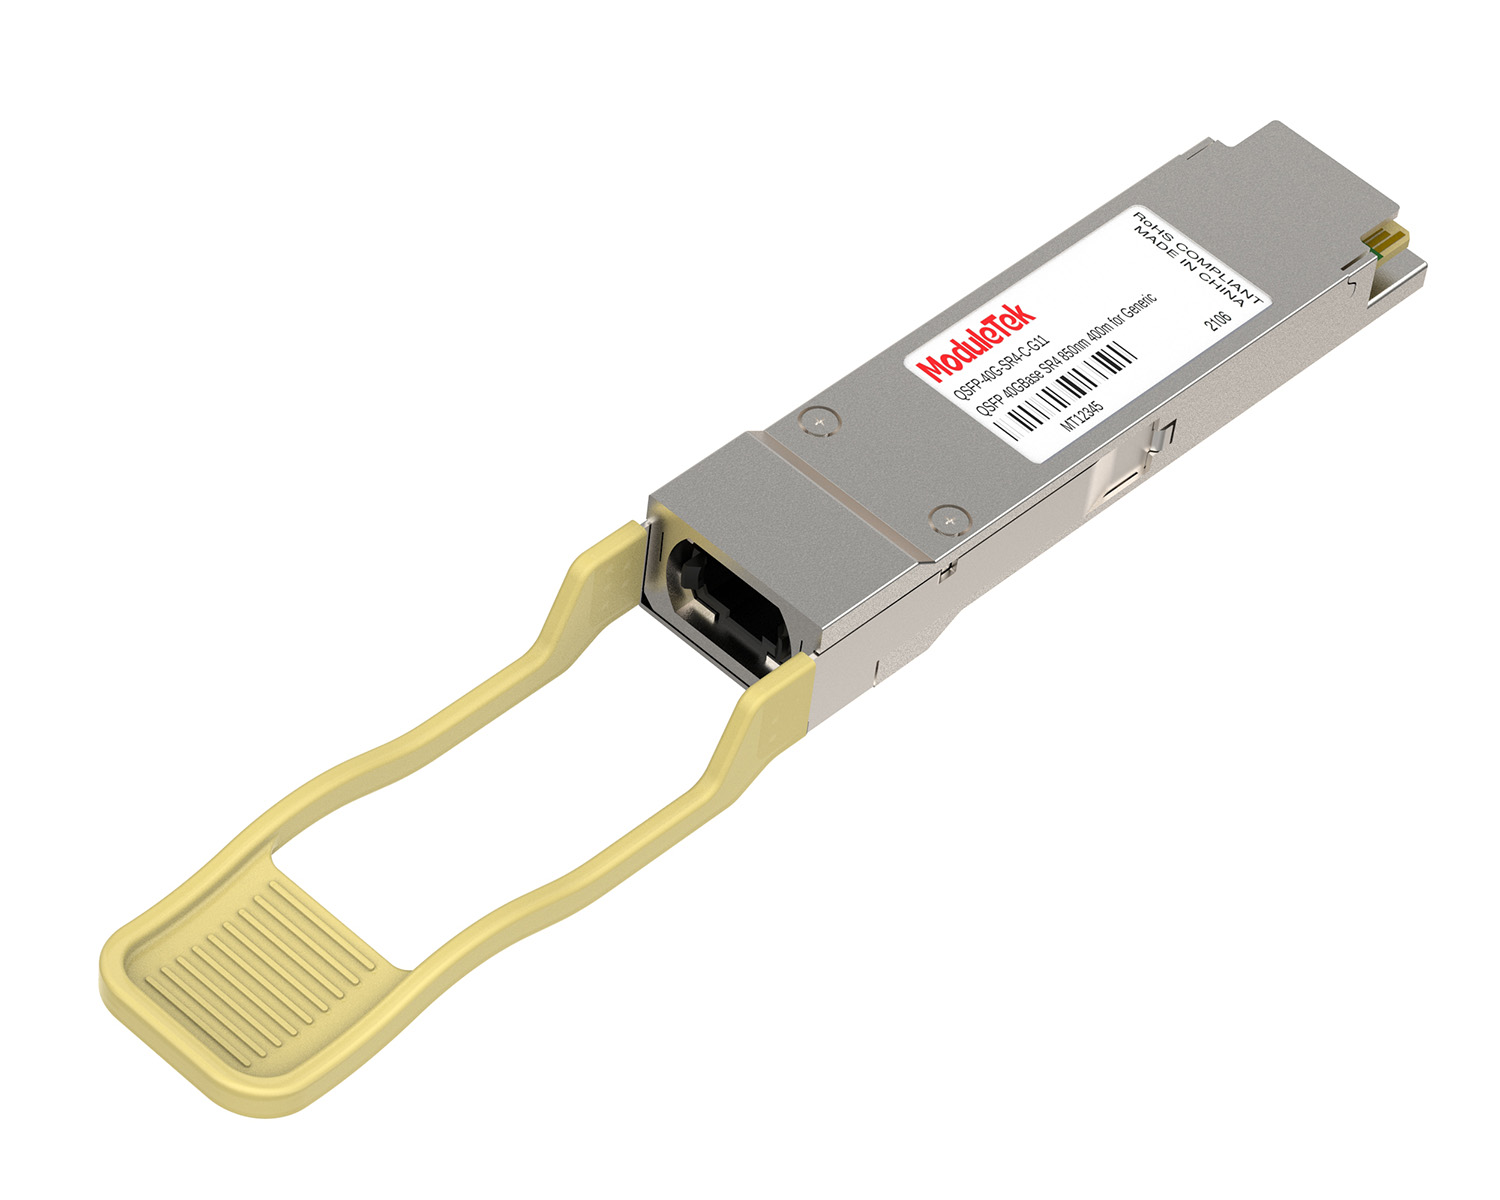
 40G/100G Optical Transceivers
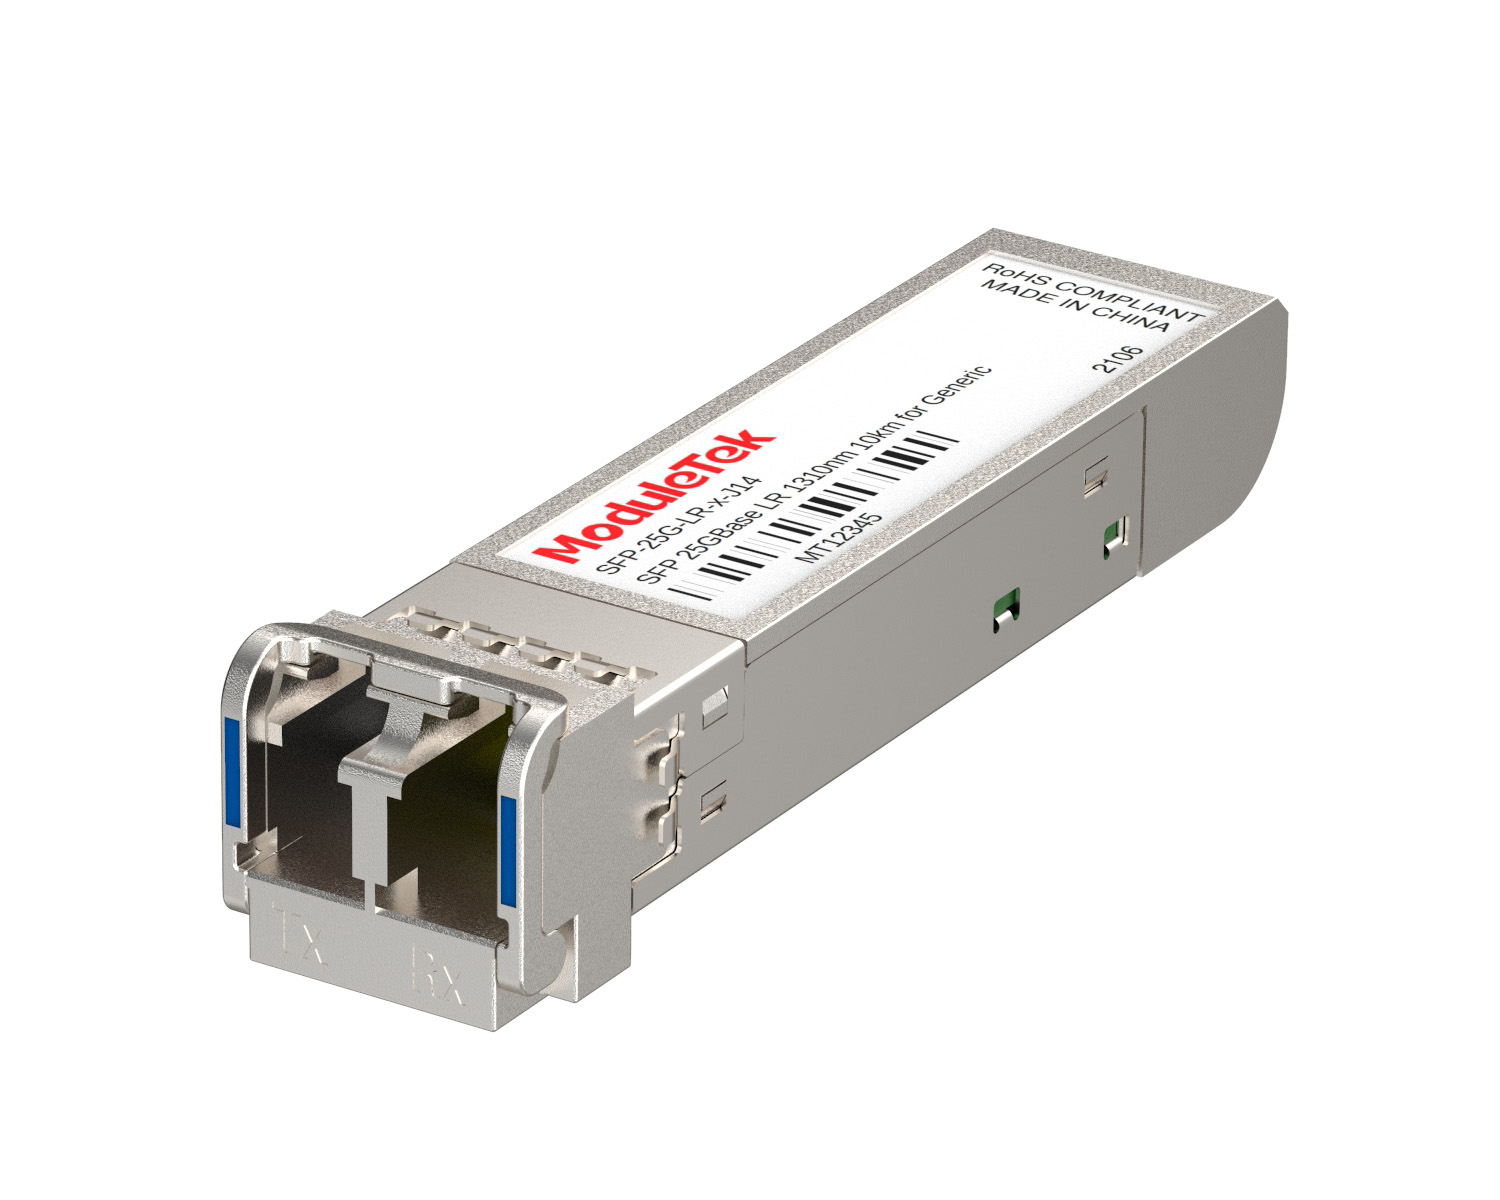 25G Optical Transceivers
 10G Optical Transceivers
 155M/2.5G Optical Transceivers
 1G Optical Transceivers
 1G BIDI Optical Transceivers
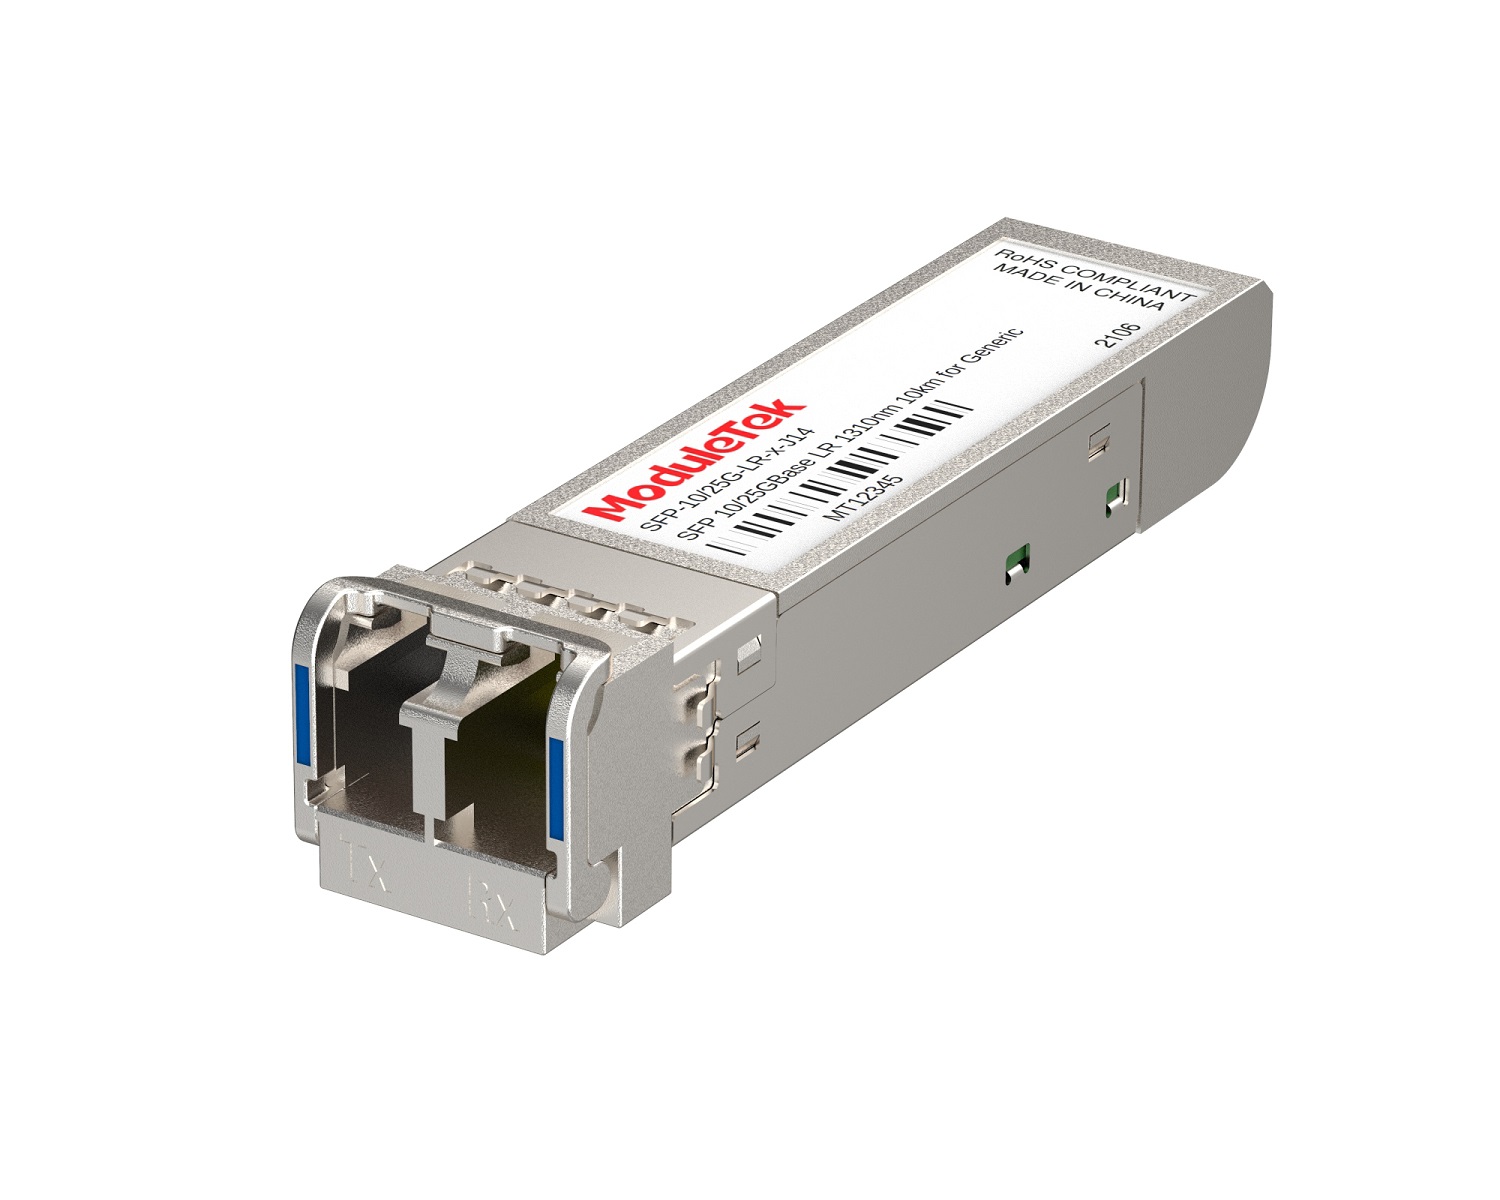 Dual-Rate Optical Transceivers
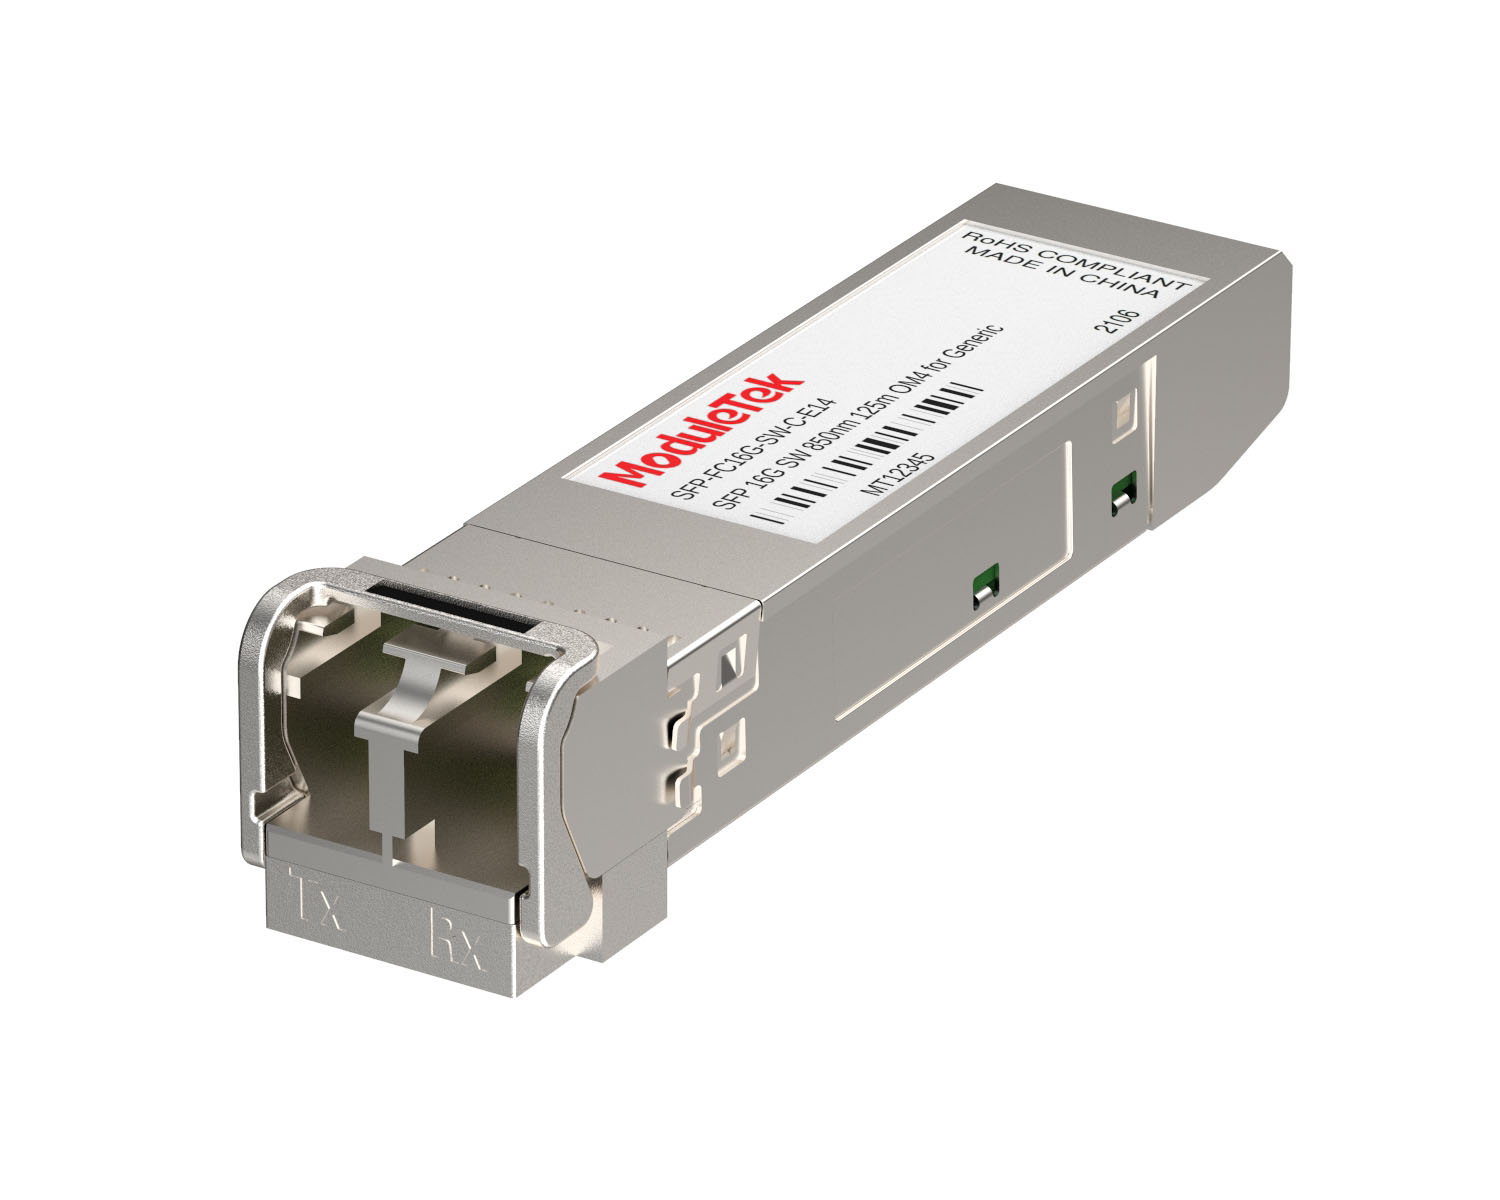 FC 16G/32G Optical Transceivers
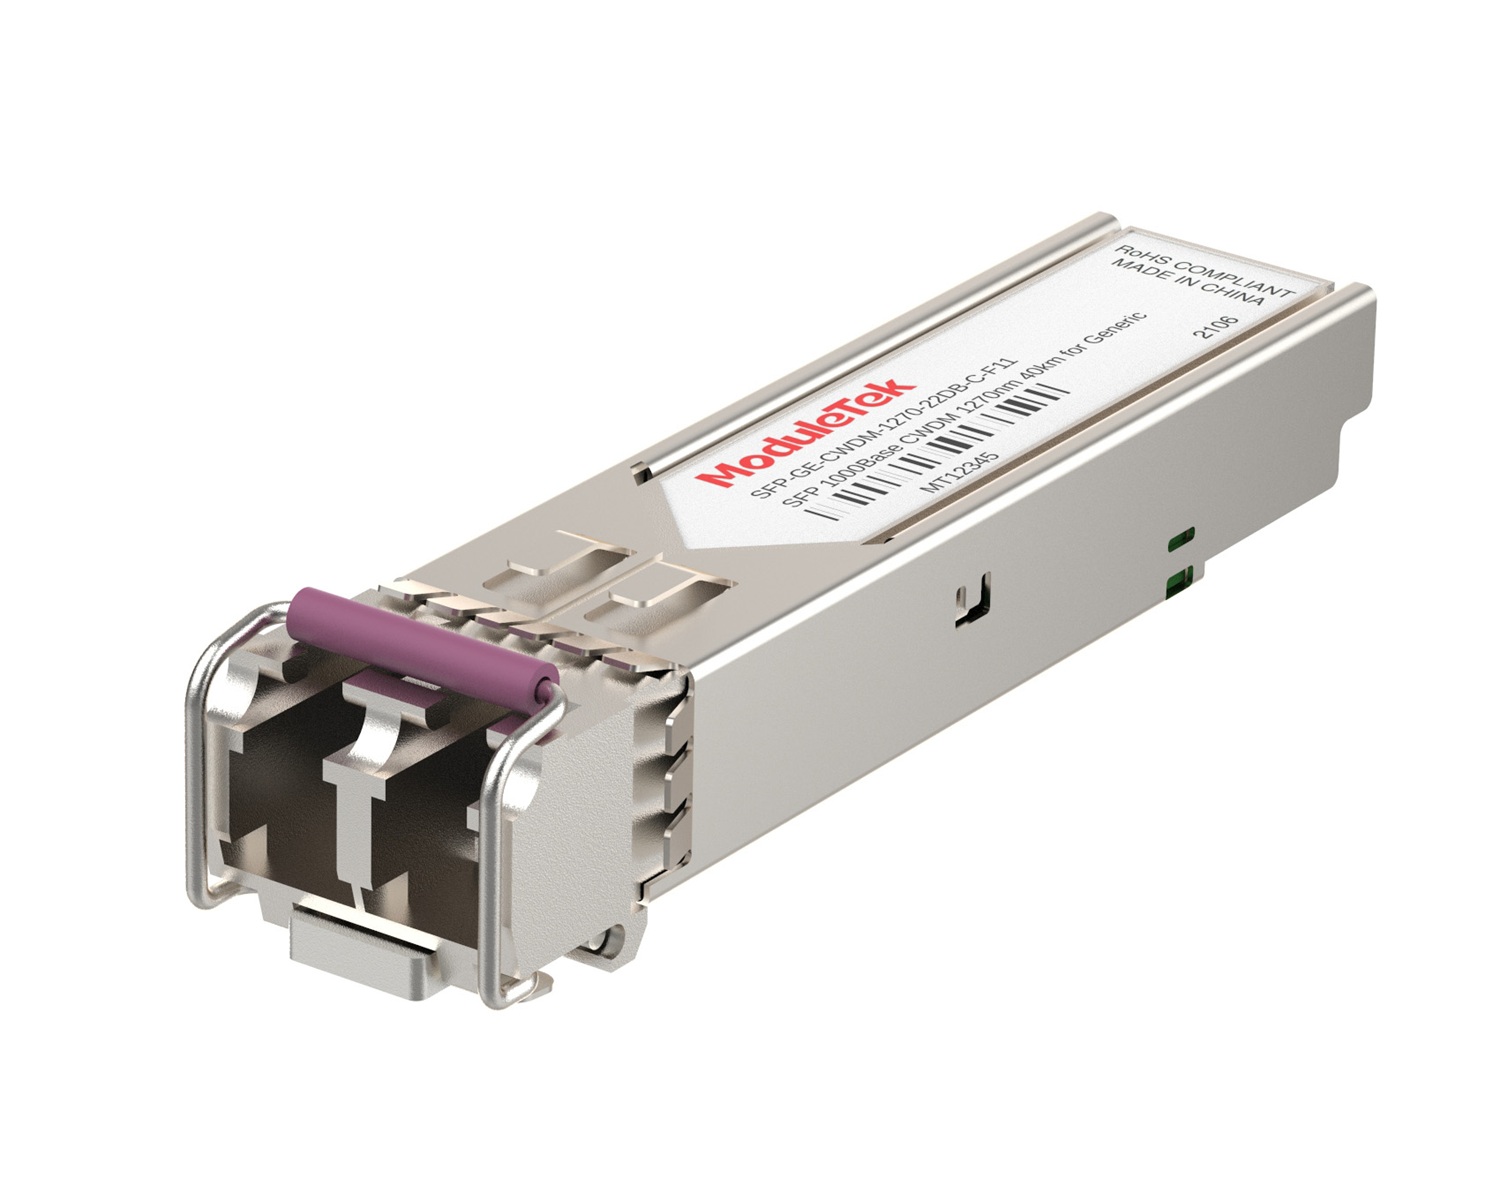 CWDM Optical Transceivers
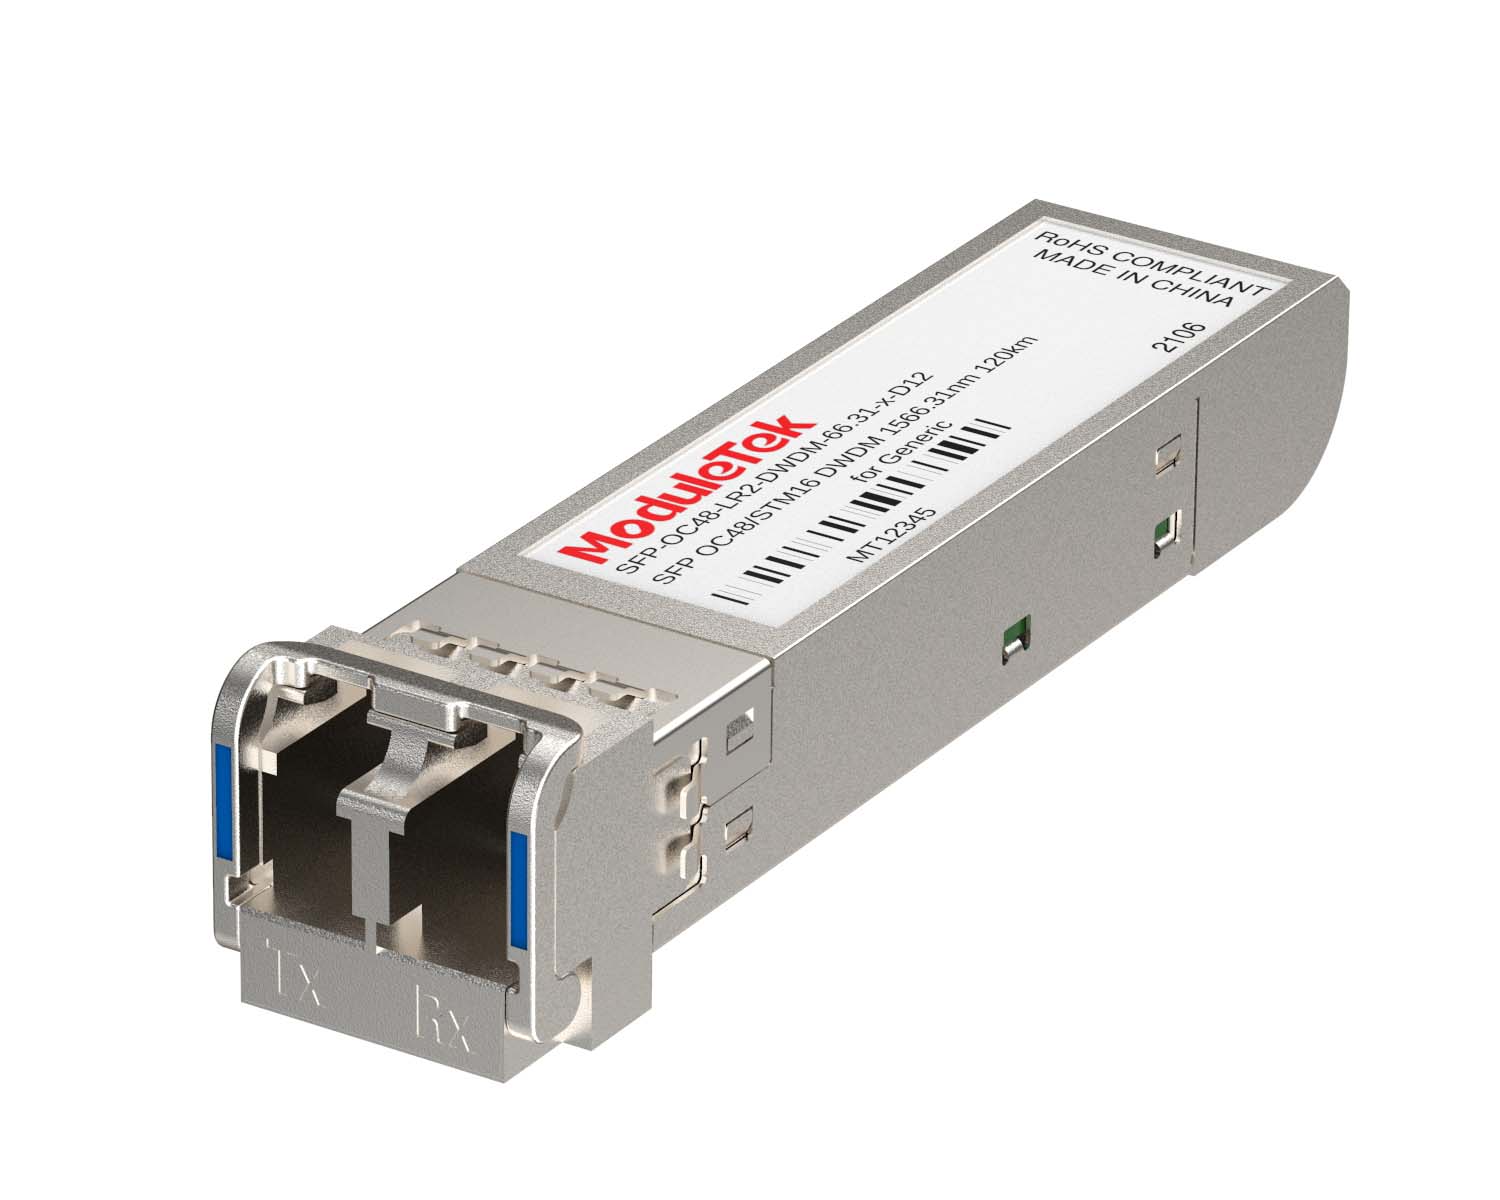 DWDM Optical Transceivers
 SGMII Port Optical Transceivers
 XFP Optical Transceivers
 100M/1G/10G Coppers
 Full-Rate AOC & Breakout Series
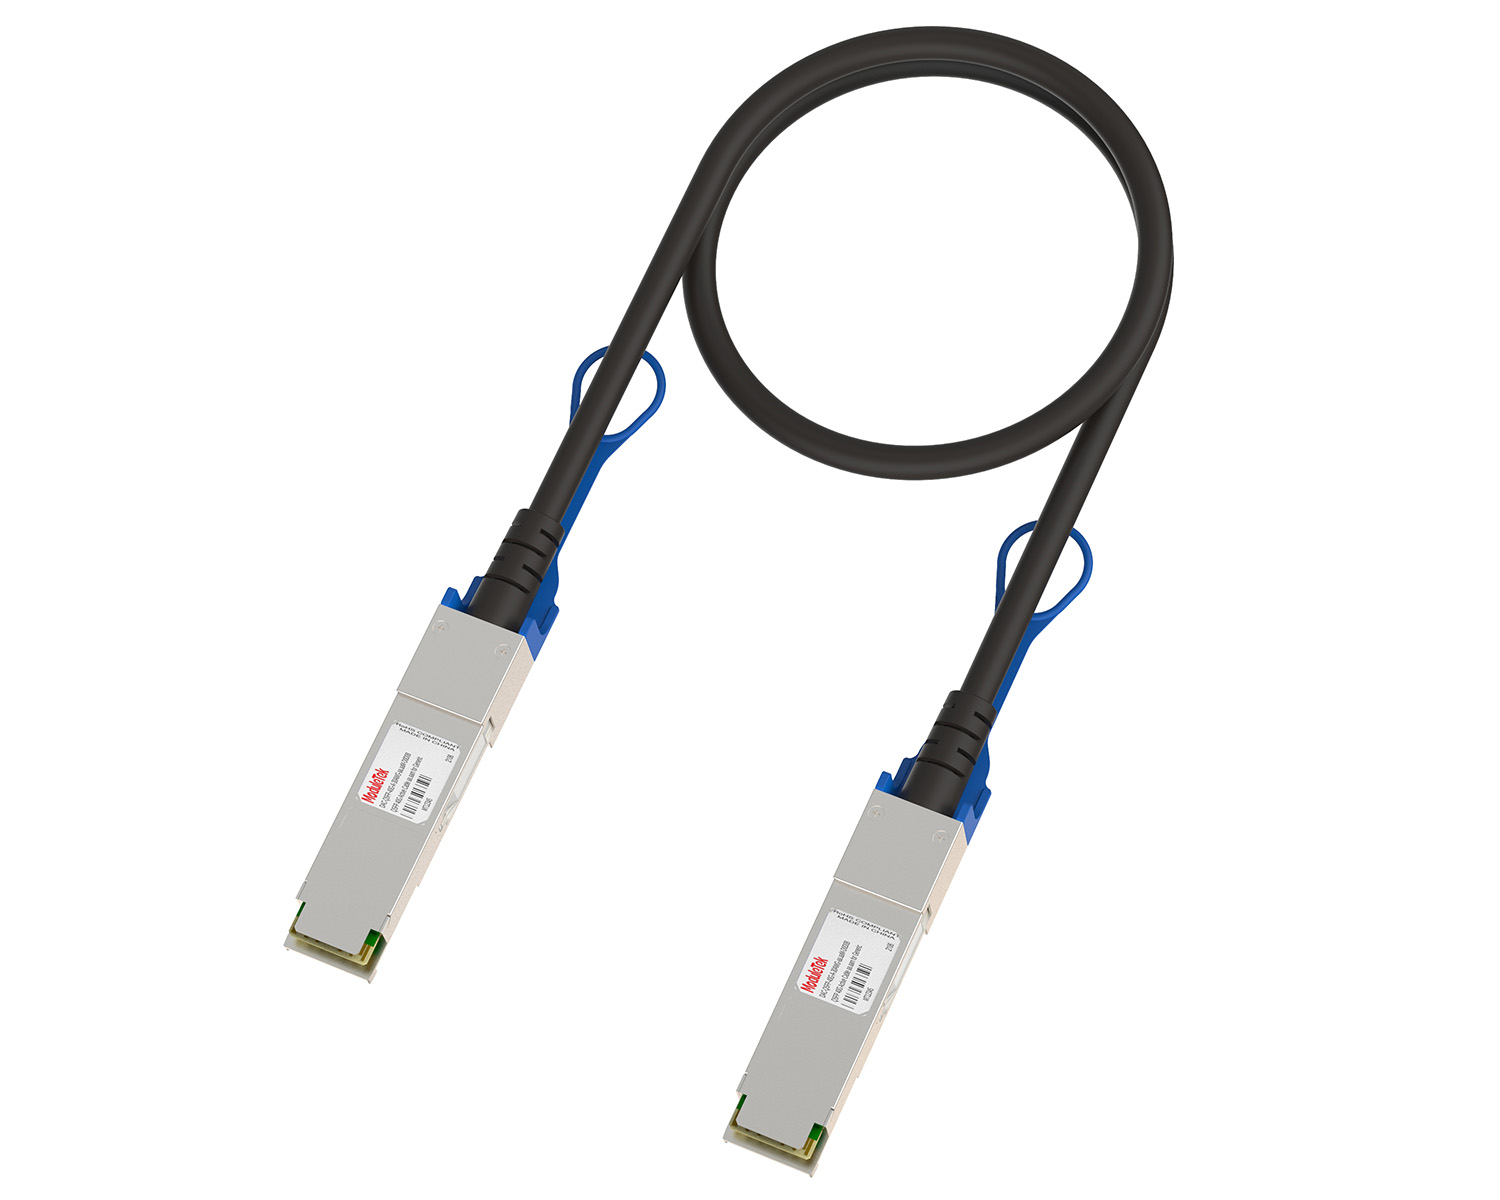 10G/40G Active DAC Series
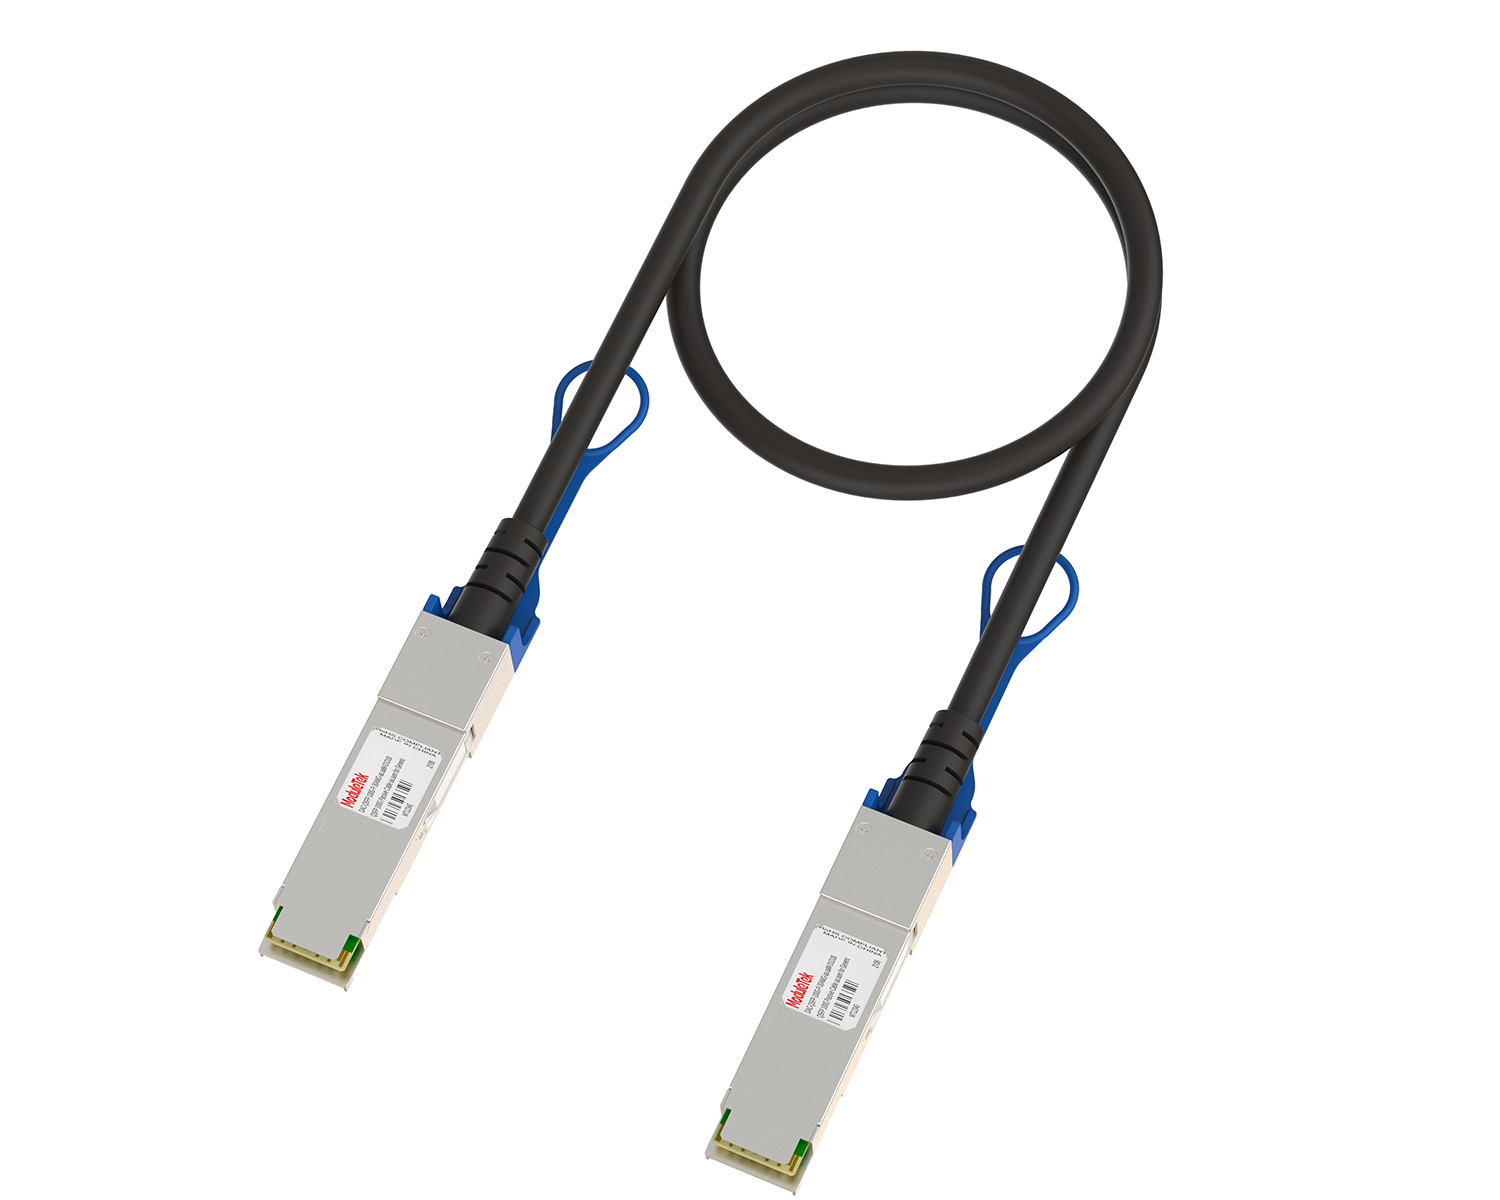 Full-Rate Passive DAC Series
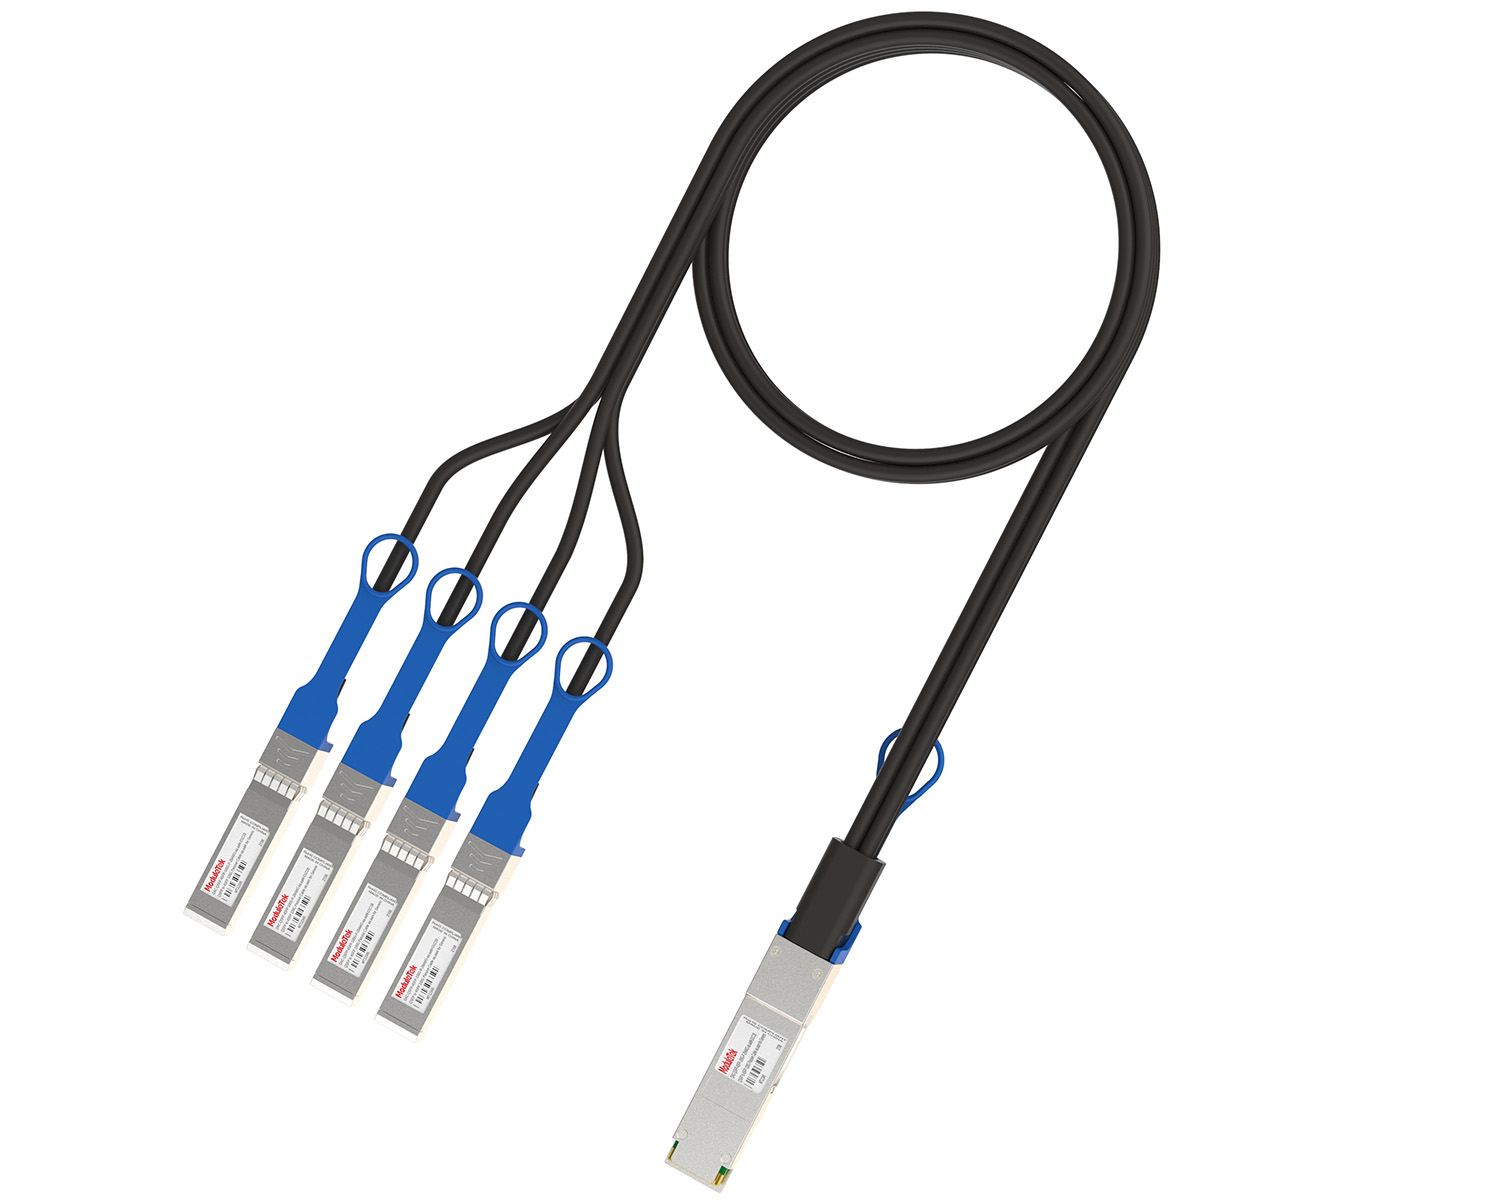 40G/100G Passive Breakout DAC Series
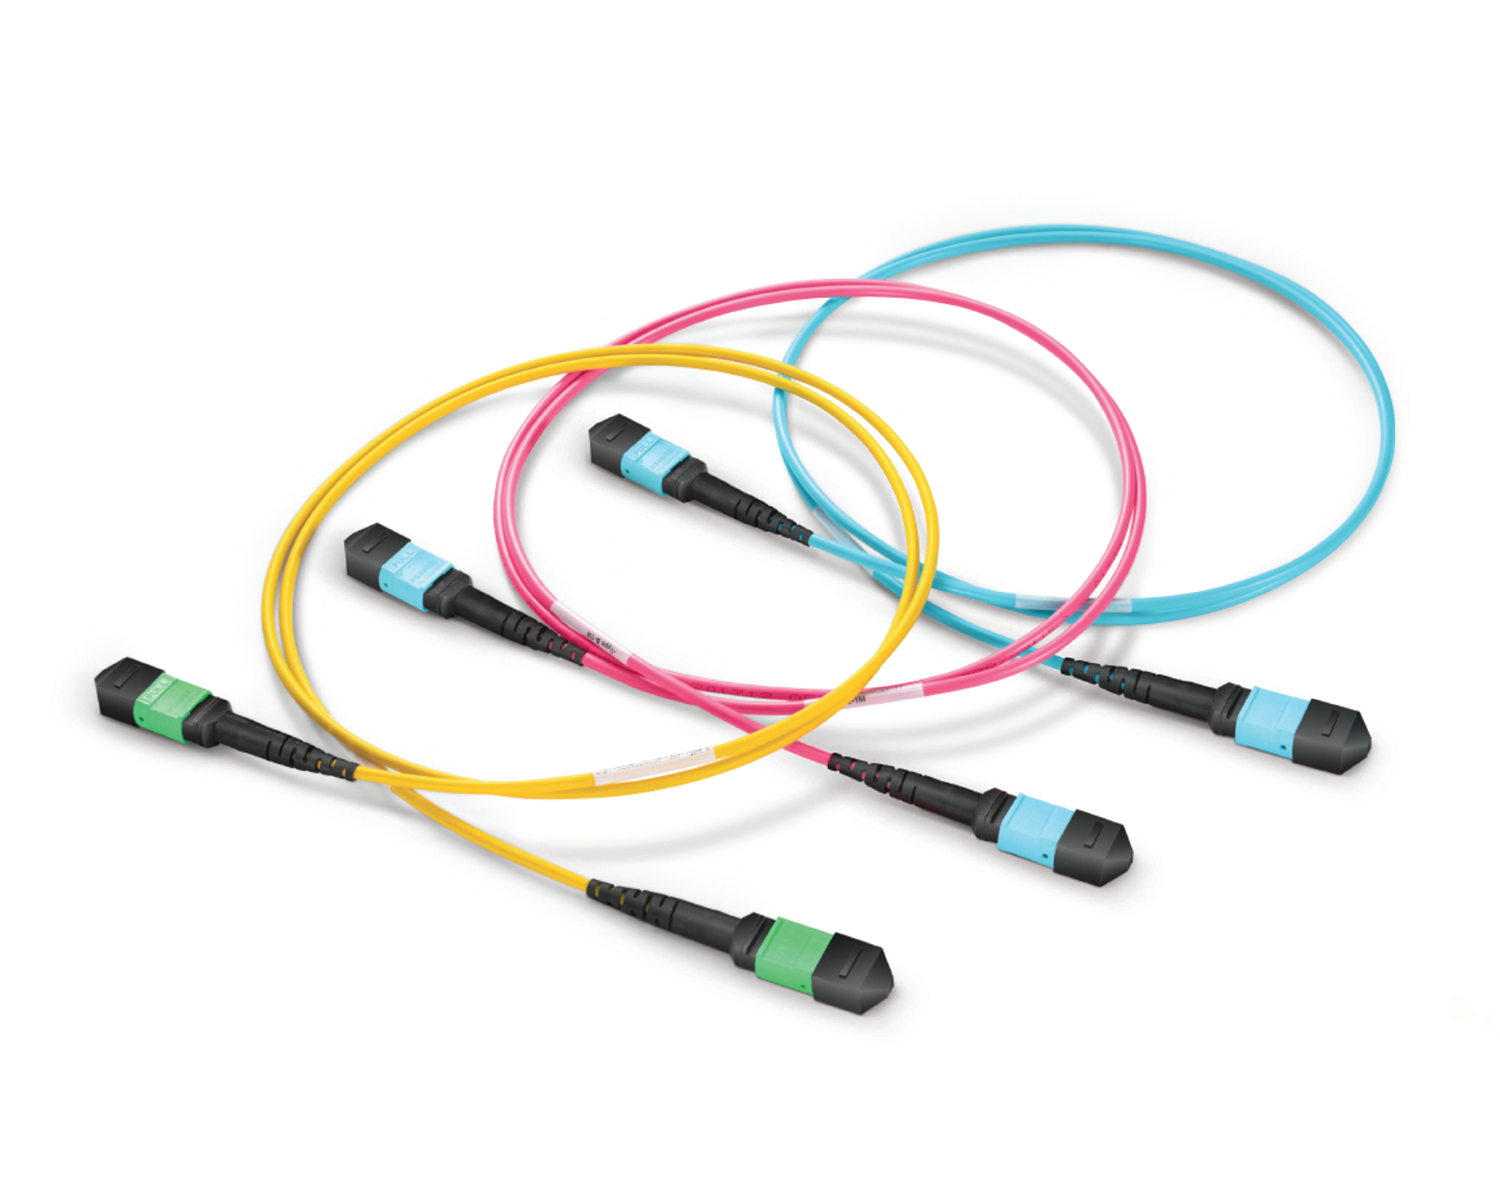 Regular/MTP-MPO Fiber Patch Cords
 MT2011
 MT2010
 CodingBox
 QSFP to SFP Adapter
Huawei S-Series Switch Stacking Demonstration
Time: 2024-06-19
Switch stacking combines multiple switches into a single logical device for unified data forwarding, which expands port quantity, simplifies network deployment, enhances reliability, and improves system processing capacity and bandwidth. Moduletek Laboratory demonstrates the specific configuration and performance of switch stacking using Huawei S-Series switches as an example.
Pre-Stacking Preparation
Before stacking, confirm two key points: whether the target switches support stacking, and the stacking capability of stacking cards/service ports (refer to official switch configuration and commissioning documents).
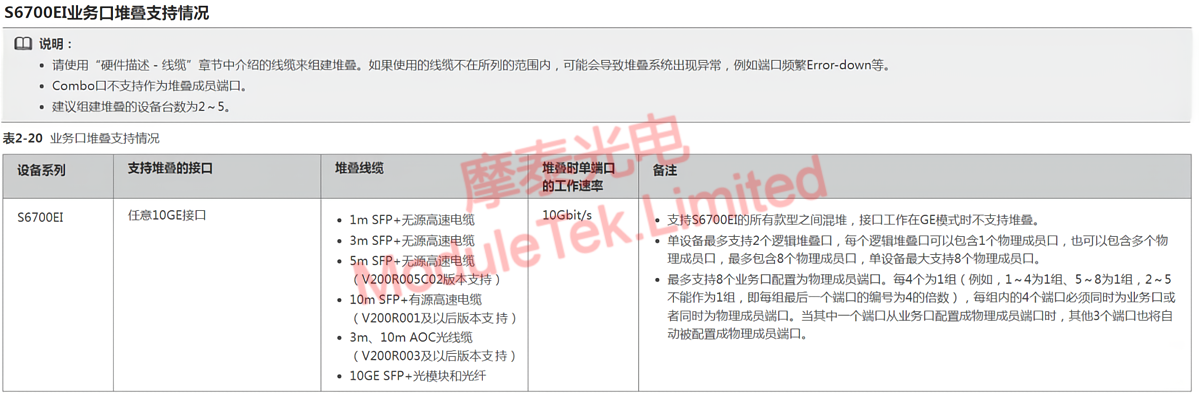
Figure 1 Service Port Stacking Support of S6700-EI Devices
This test uses two identical Huawei S-Series switches for stacking (a maximum of 9 switches can be stacked). Table 1 details the switches and stacking cables used.
Table 1 Device and Cable Information
| Item | Description |
| Switch B Model | S6700-24-EI |
| Switch A System Version | 5.150 (S6700 V200R005C00SPC500) |
| Switch B Model | S6700-24-EI |
| Switch B System Version | 5.130 (S6700 V200R003C00SPC300) |
| Huawei Specialized Stacking Cables | SFP-10G-CU0M5 02311VGK |
| Huawei high-speed cable | SFP-10G-CU3M 02310MUP |
Stacking Configuration Steps
Before stacking, the two switches logically and physically belong to independent devices, and you need to connect the serial port to log in to the device for configuration respectively.
Table 2 Stacking Configuration
| Item | Configure Switch A | Configure Switch B |
|
Stack Port Configuration
|
Enter the logical port and add physical ports as stacking ports. If ports 1 and 8 are selected, ports 1~8 will all become physical stacking member ports and cannot be used as ordinary service ports.
|
Enter the logical port and add physical ports as stacking ports. If ports 2 and 7 are selected, ports 1~8 will all become physical stacking member ports and cannot be used as ordinary service ports.
|
|
Priority Configuration
|
Set the priority to 200 (default: 100) to facilitate being elected as the master switch; modify the switch slot number to distinguish the two switches.
|
Keep the default priority (100); modify the switch slot number to distinguish the two switches.
|
|
Save and Restart
|
Save the current configuration, connect the stacking cables, and restart the switch.
|
Save the current configuration, connect the stacking cables, and restart the switch.
|
Stacking Operation & Verification
1. Master/Standby Election: Switch A completes restart first and is elected as the master switch. During Switch B’s restart, its system automatically updates and synchronizes to Switch A’s version, and Switch B becomes the standby switch.
2. Stacking Link Status: After restart, the stacked ports connected by cables are LINK UP, enabling stacking connection. Removing either cable will not affect the stack—dual cables are used to prevent stacking failure due to a single cable fault, improving reliability.

Figure 2 Connection of Stack Member Switches
3. Stacking Success Verification:
• Enter system view and run the command:
display stack
• The output will list both S6700 switches, indicating successful stacking.
• After successful stacking, connect to any switch via the console port to manage all stacked switches. Run the command:
display interface brief
• The output shows that the stacked switches are logically integrated, with all ports displayed uniformly.
Additional Test: Stack Re-Establishment
Remove the two stacking cables to physically disconnect the stack. Connect Moduletek 10G DAC cables to the stacking ports, and the stack can be re-established successfully.

Figure 3 Stacking with Moduletek 10G DAC Cables
For more details, refer to the official document: S Series Switches Stack Deployment Best Practices.
Moduletek’s 10G DAC cables are fully compatible with Huawei switch stacking. Welcome to inquire and purchase.
For further inquiries about the above content, please contact us at: sales@moduletek.com