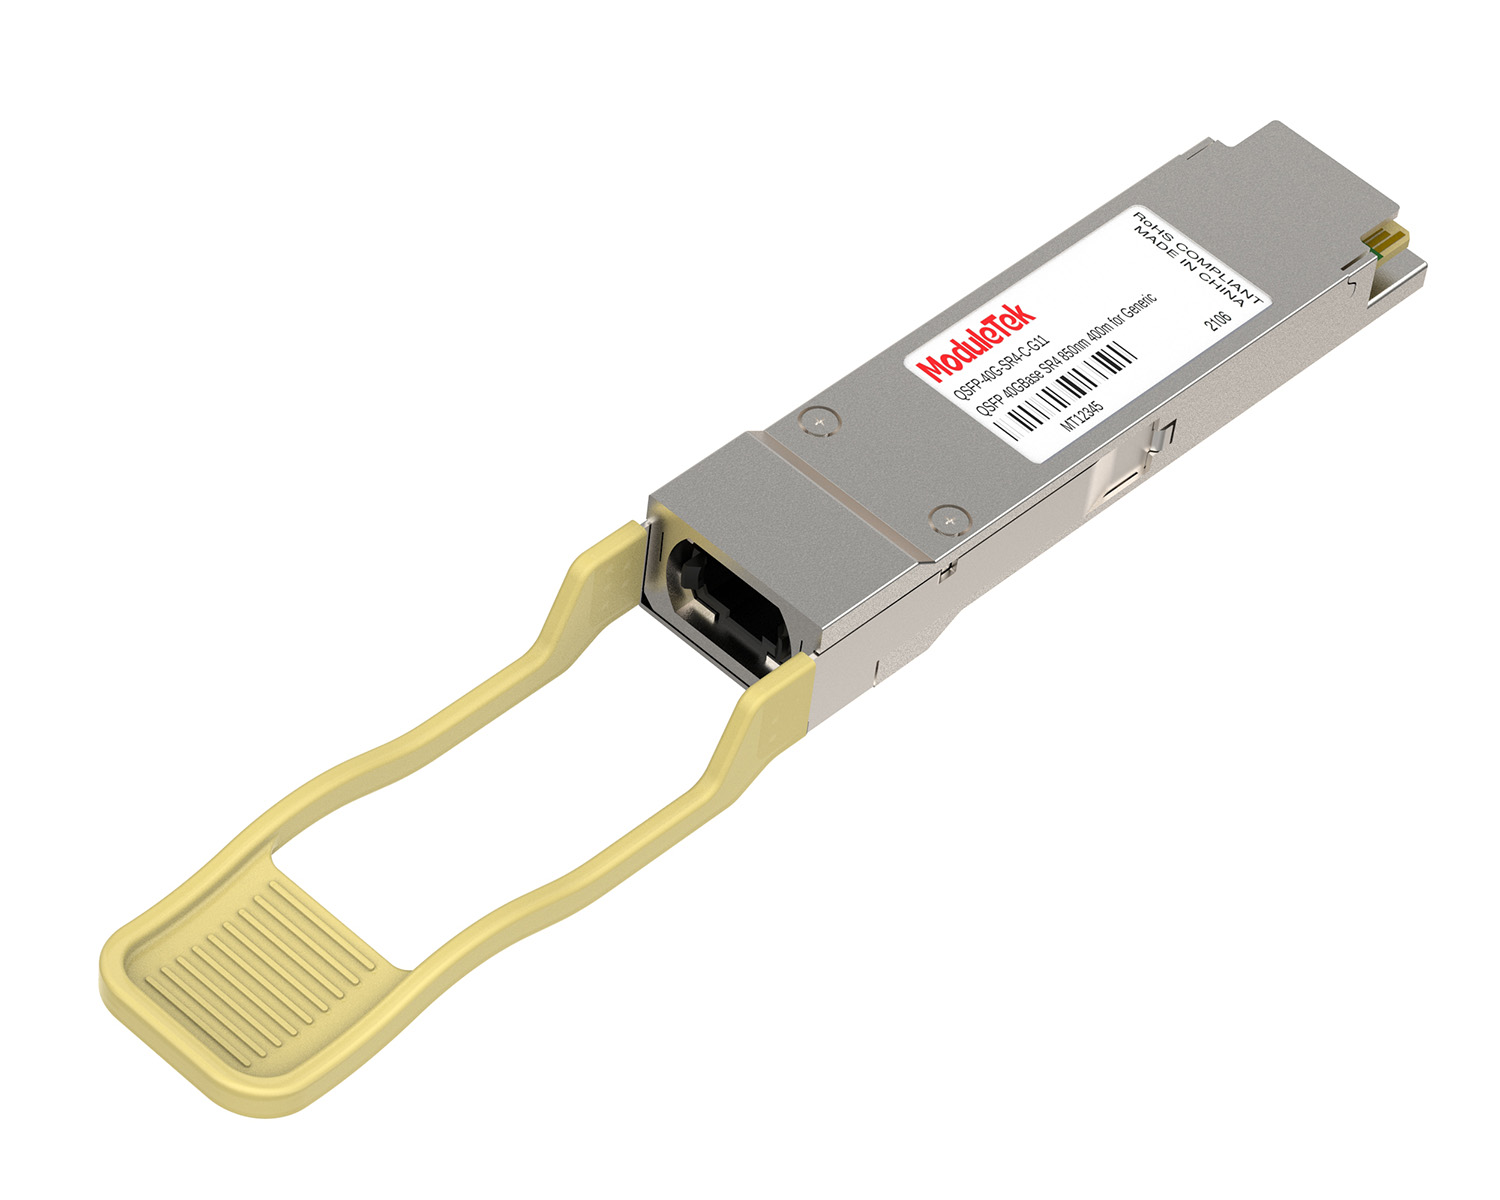
 40G/100G Optical Transceivers
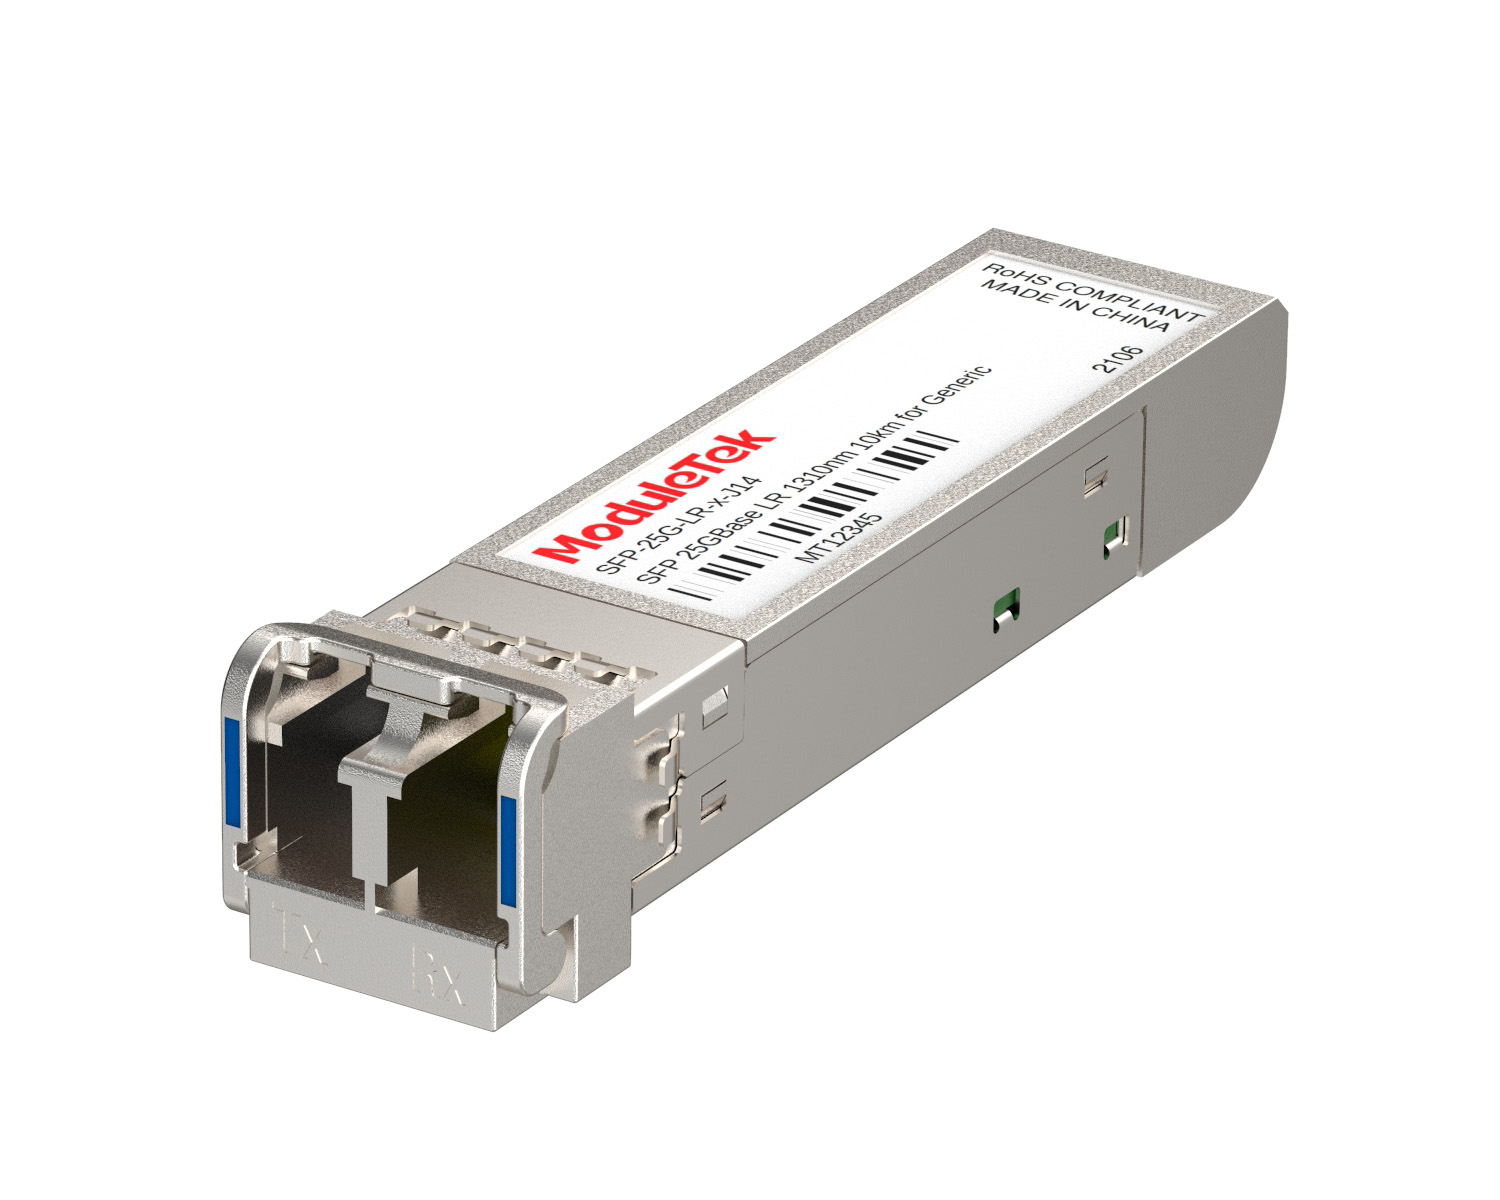 25G Optical Transceivers
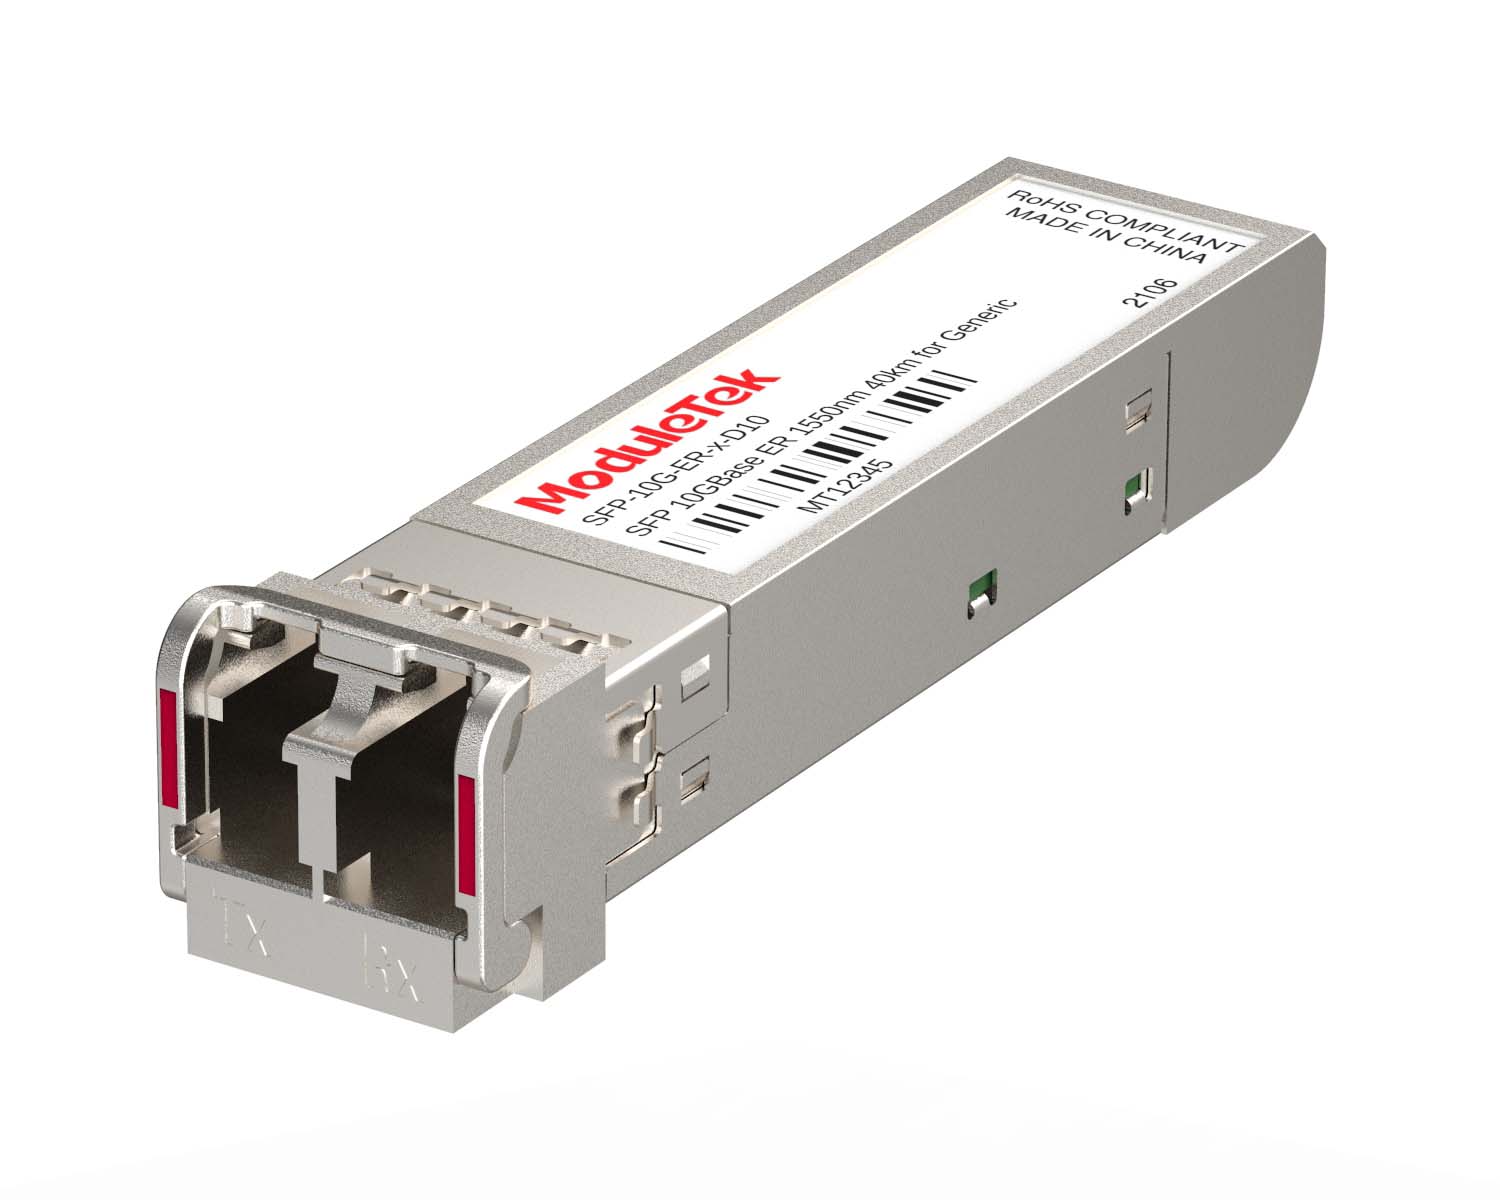 10G Optical Transceivers
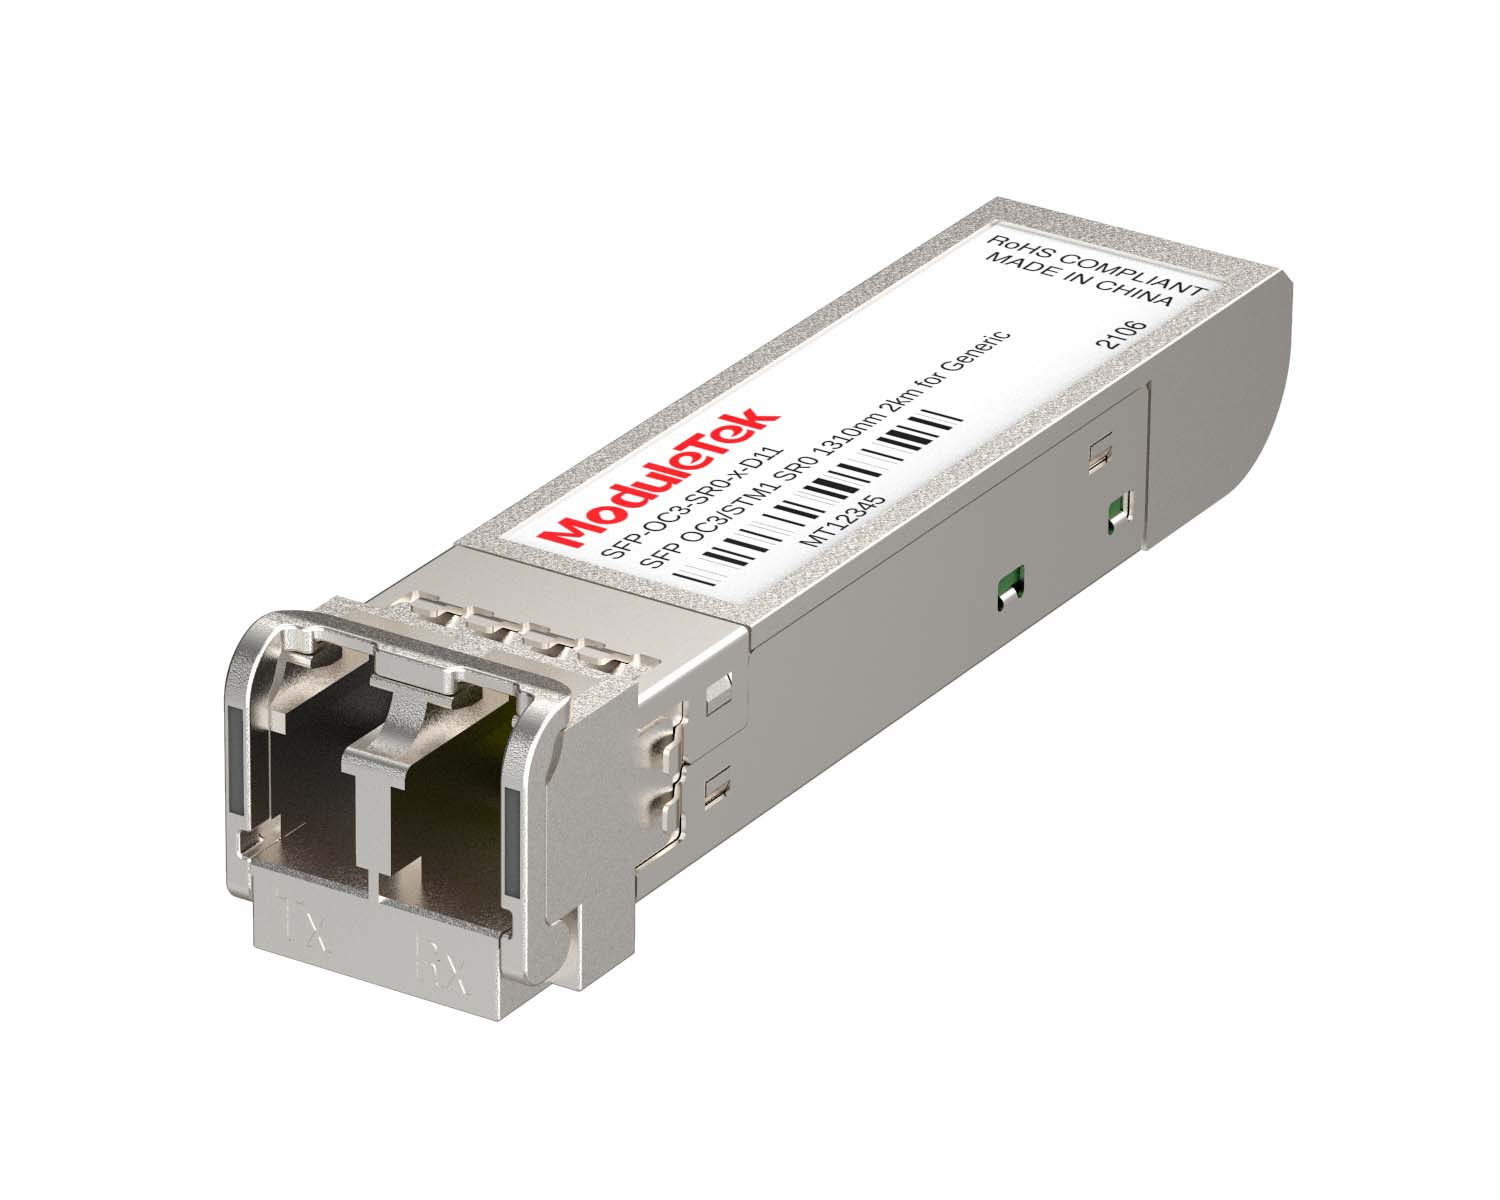 155M/2.5G Optical Transceivers
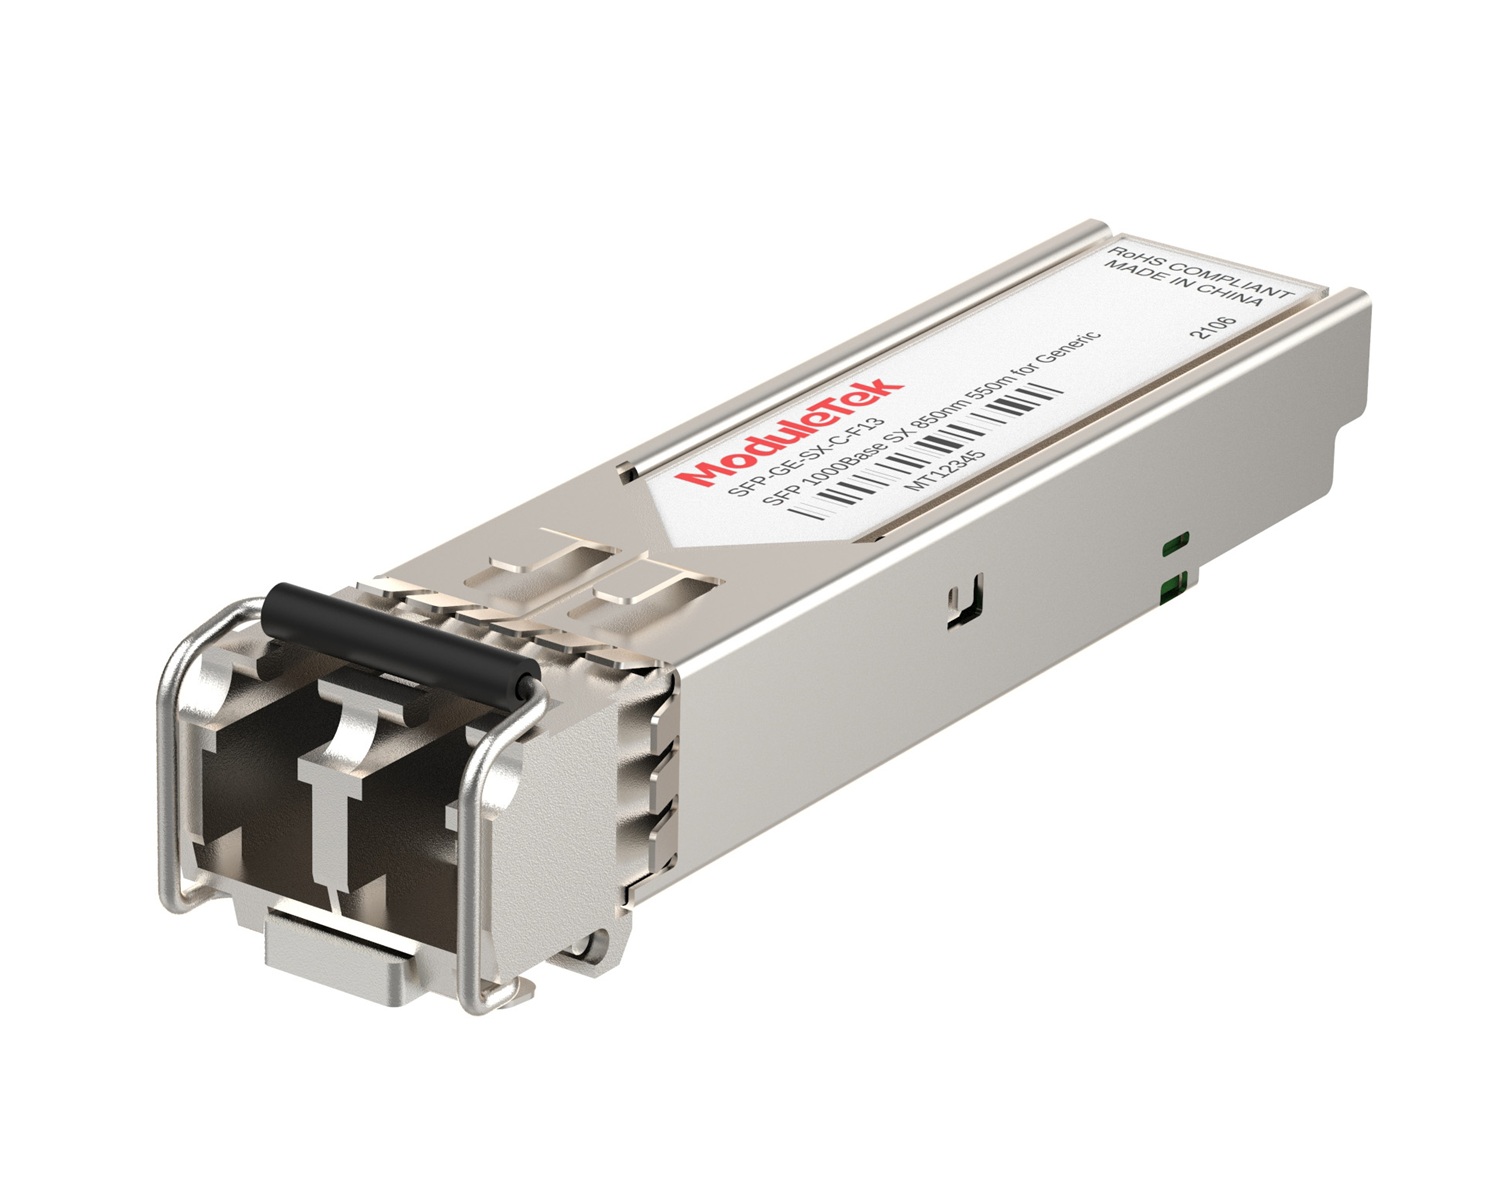 1G Optical Transceivers
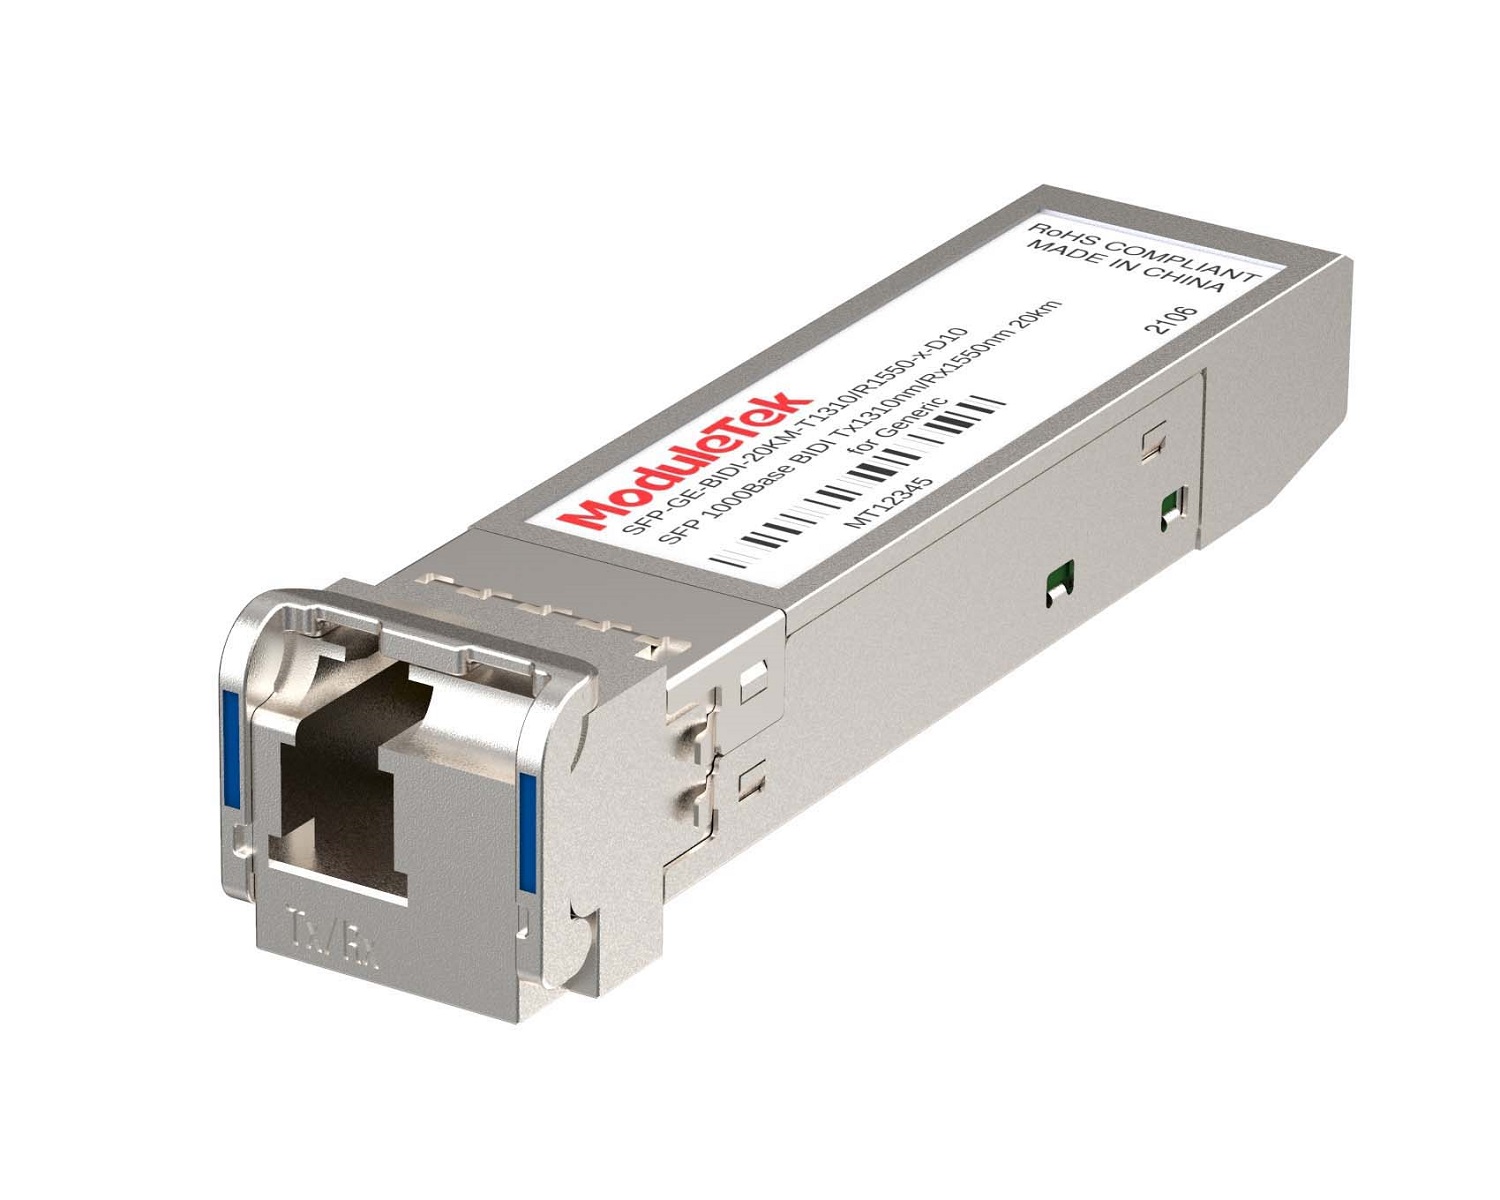 1G BIDI Optical Transceivers
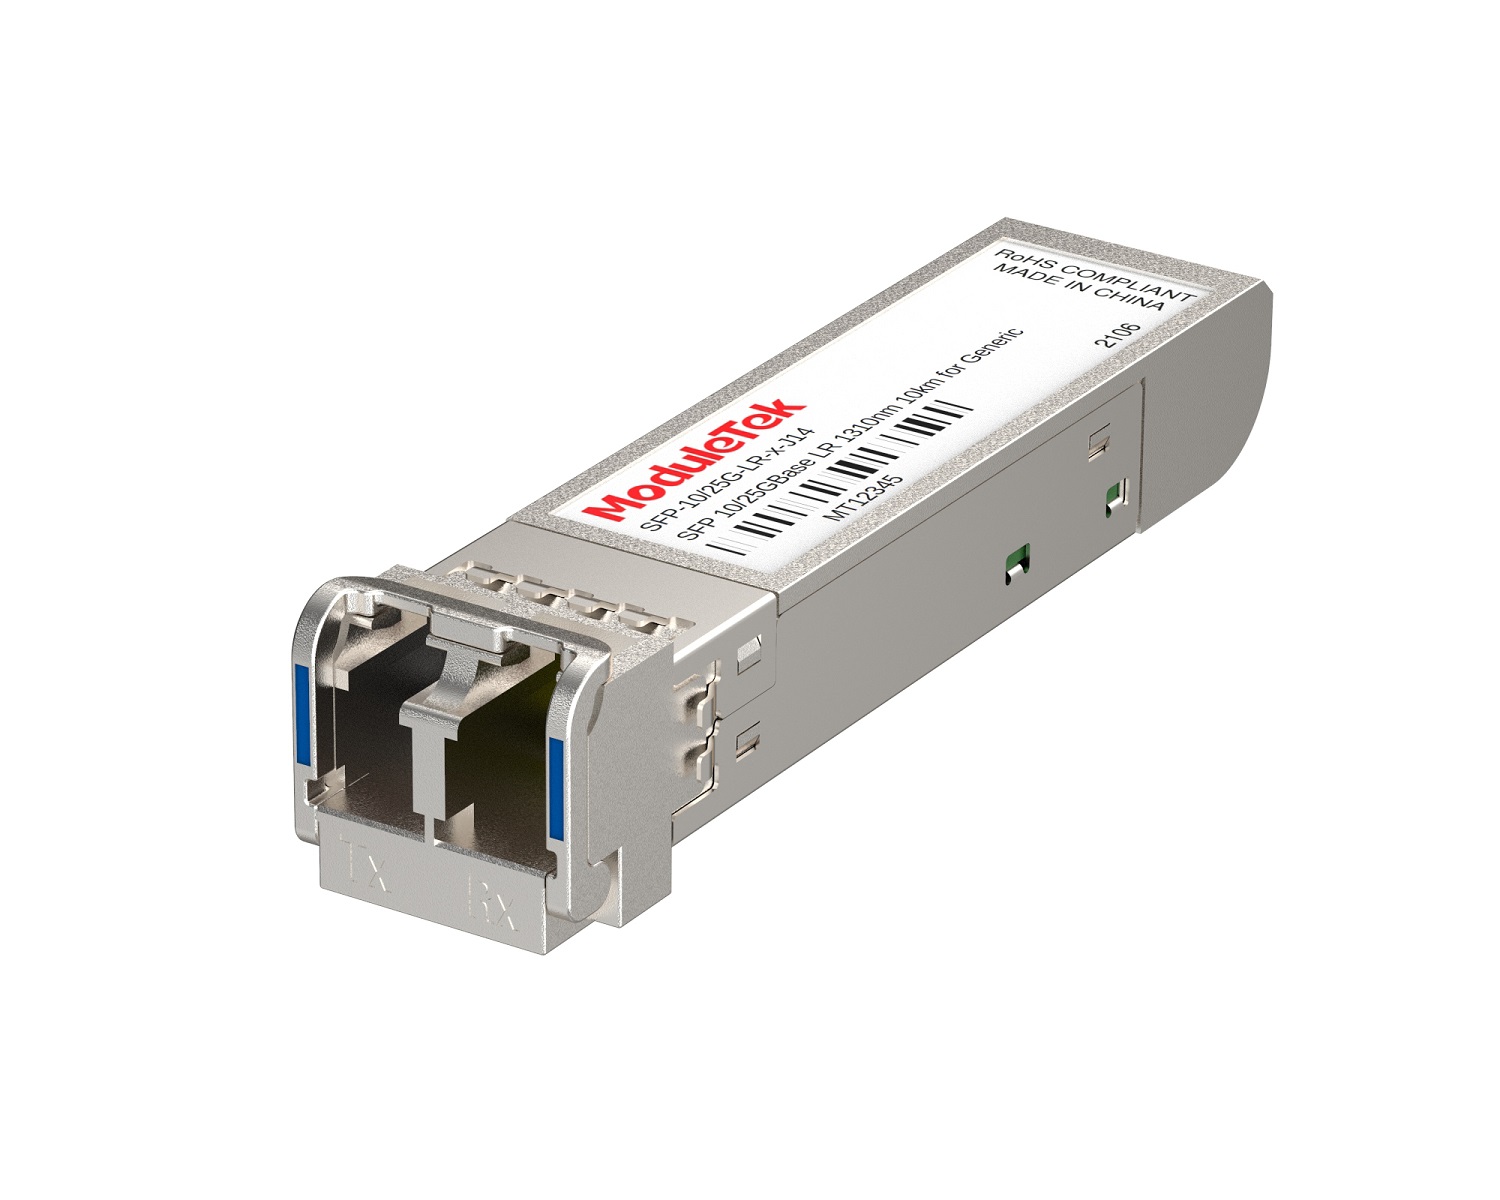 Dual-Rate Optical Transceivers
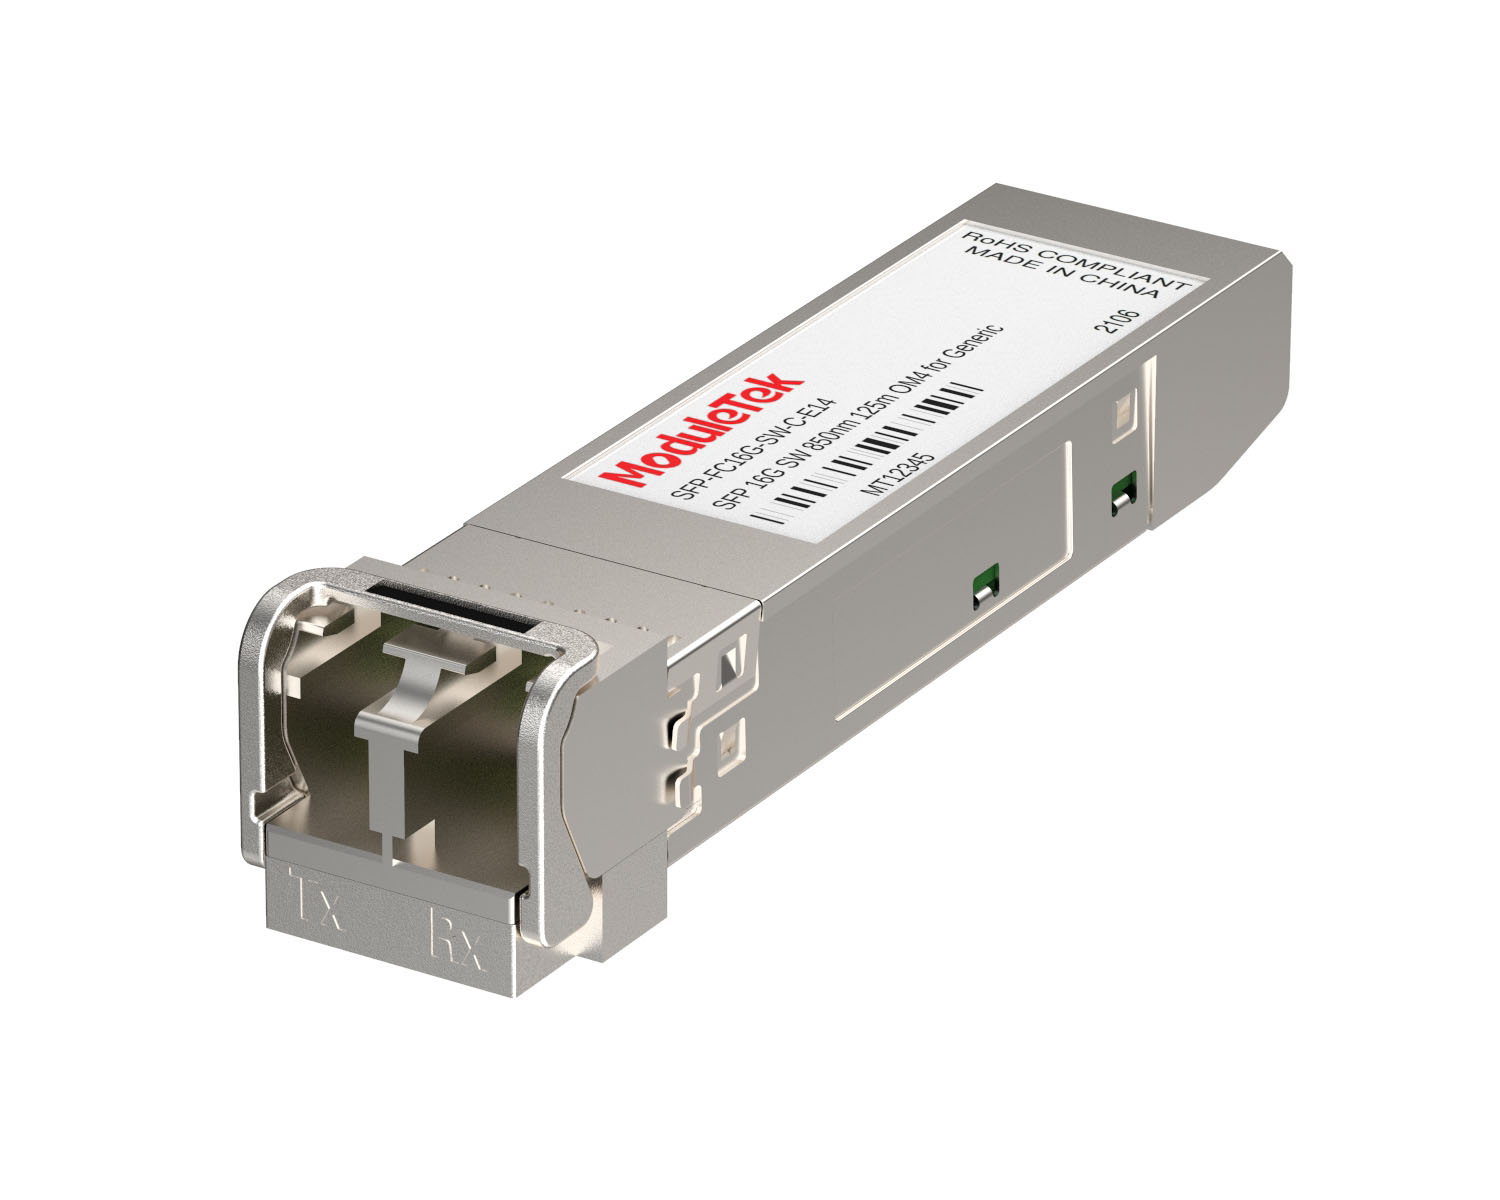 FC 16G/32G Optical Transceivers
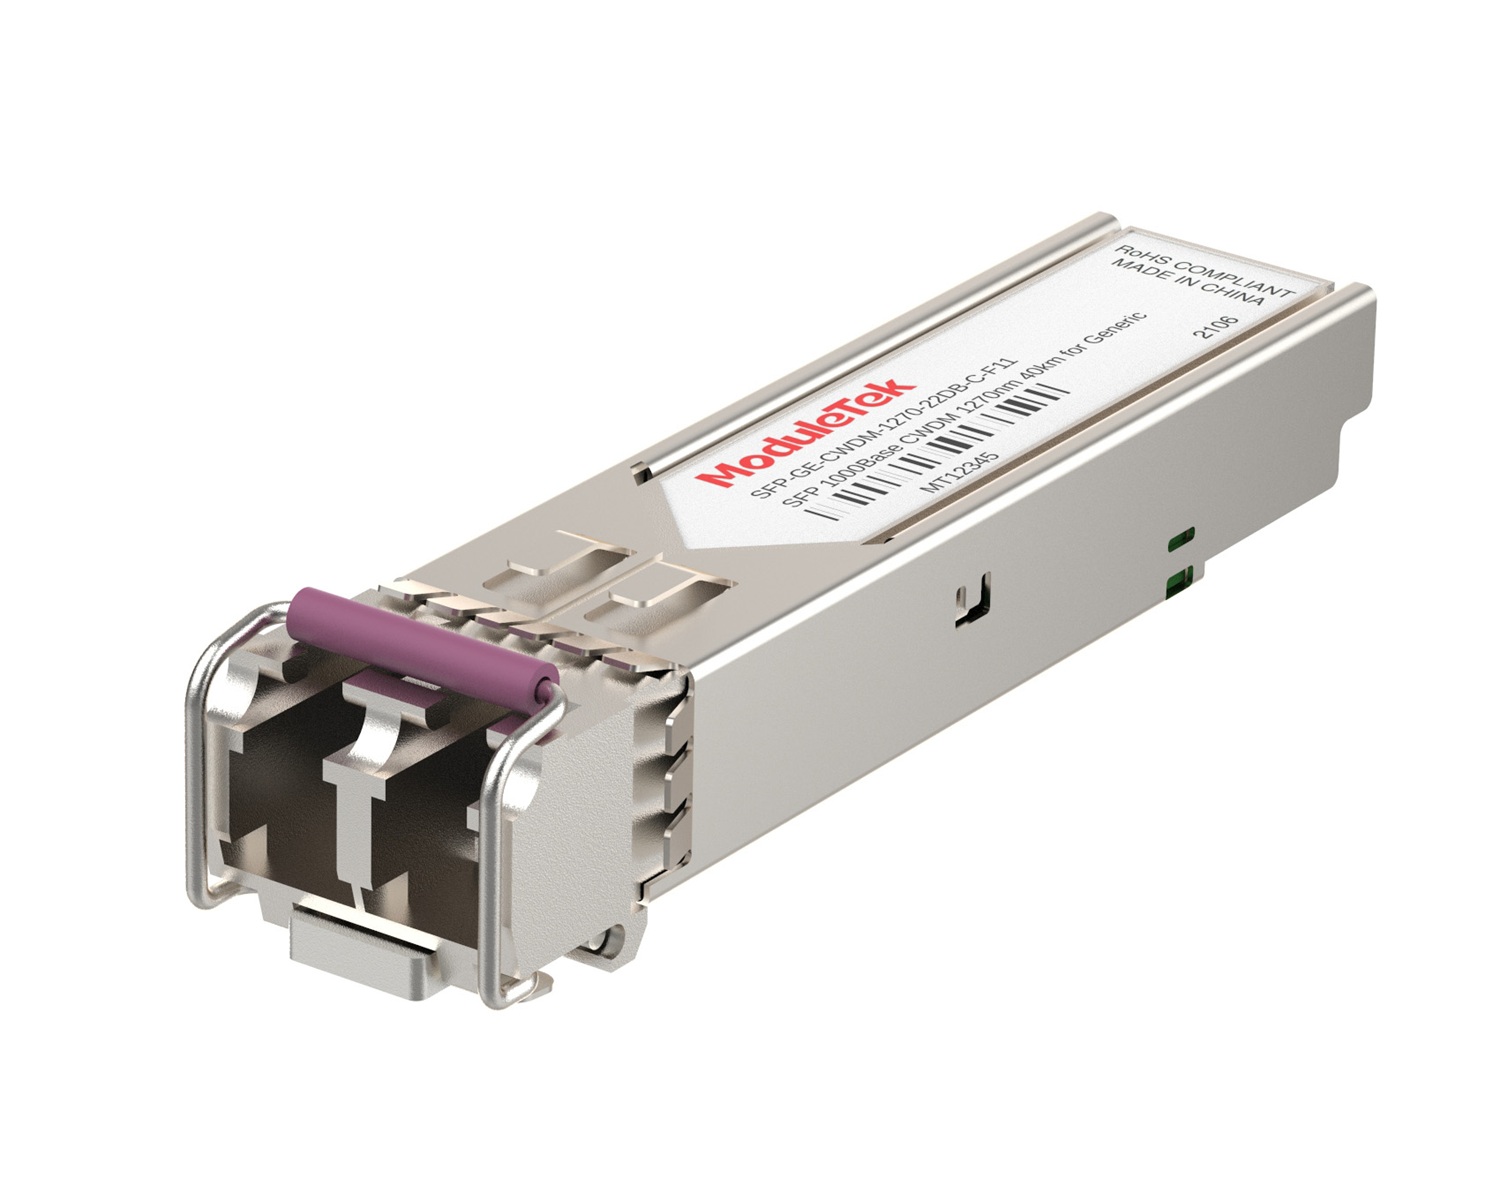 CWDM Optical Transceivers
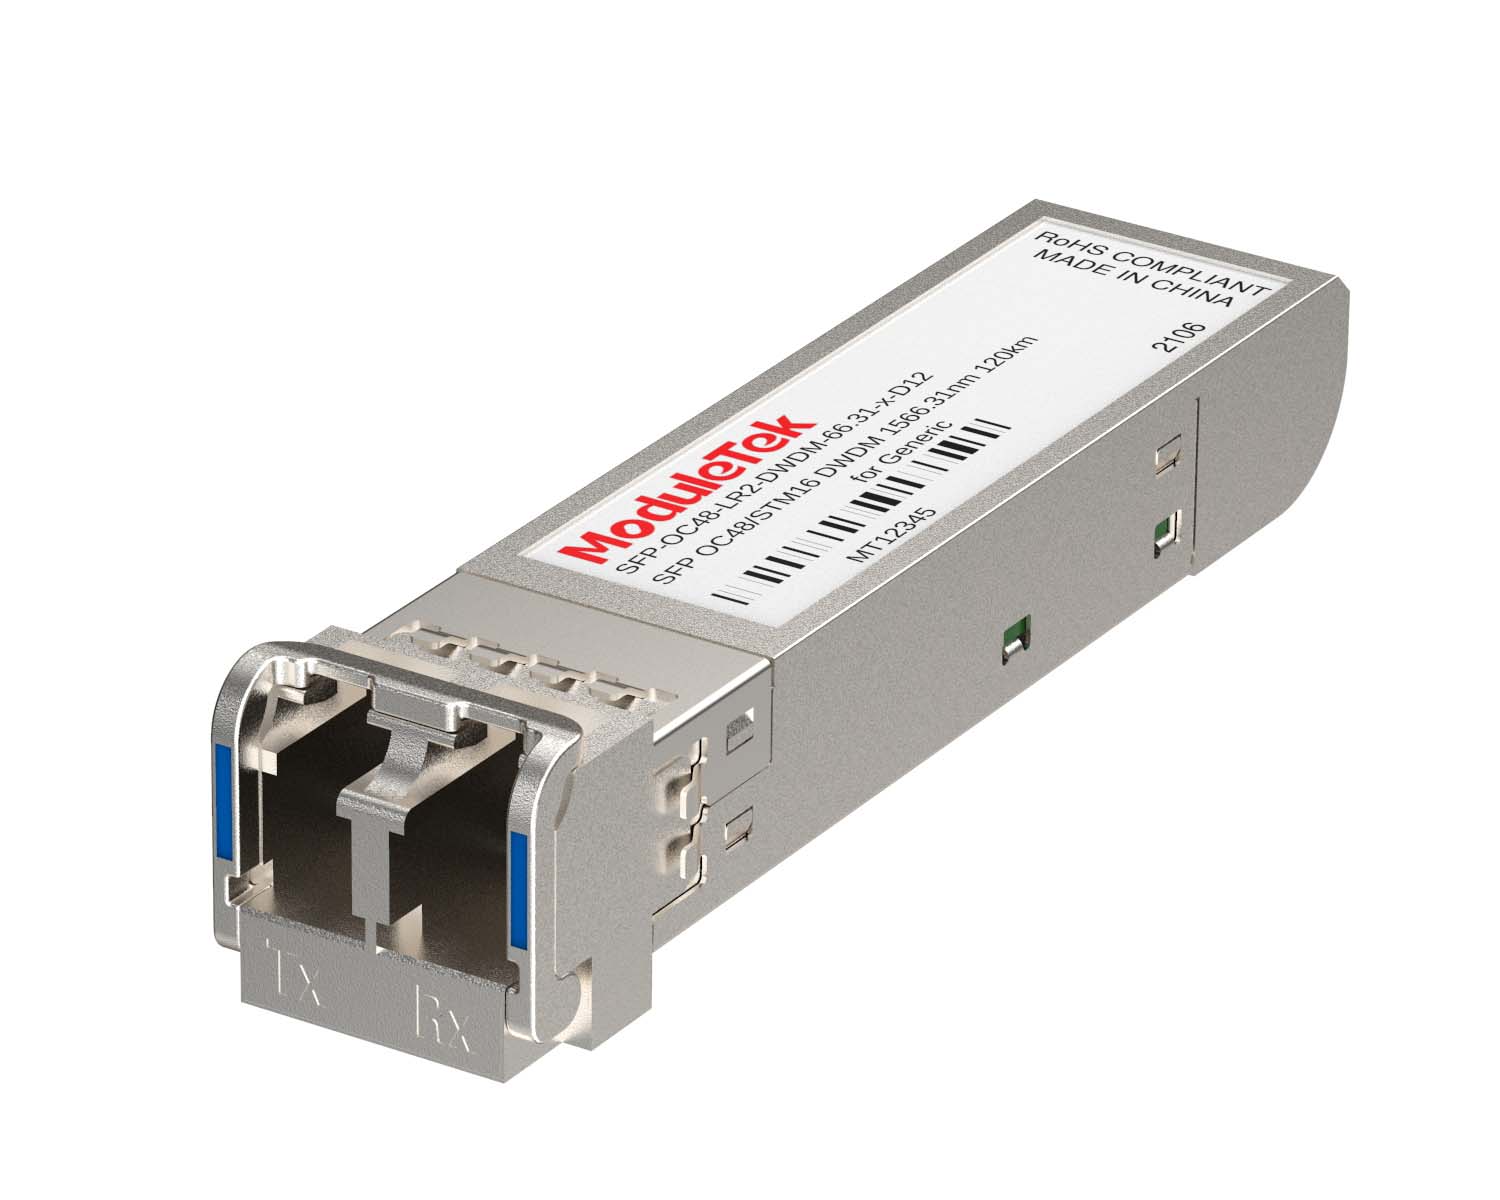 DWDM Optical Transceivers
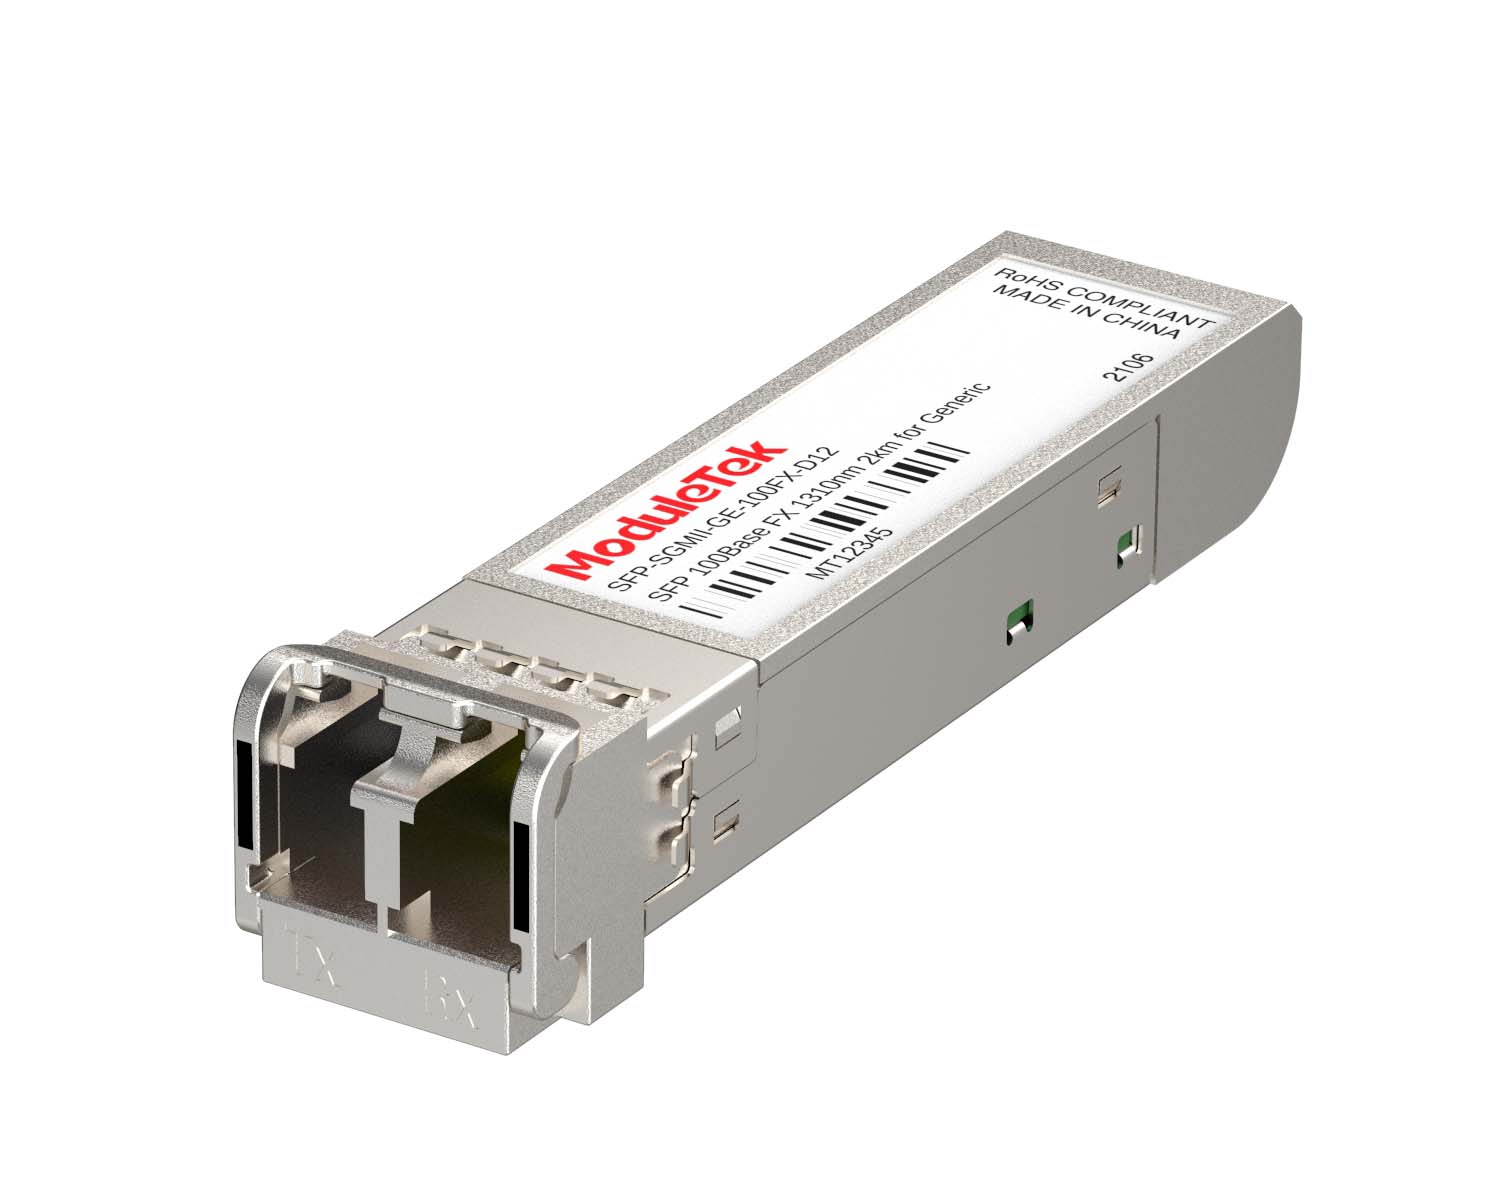 SGMII Port Optical Transceivers
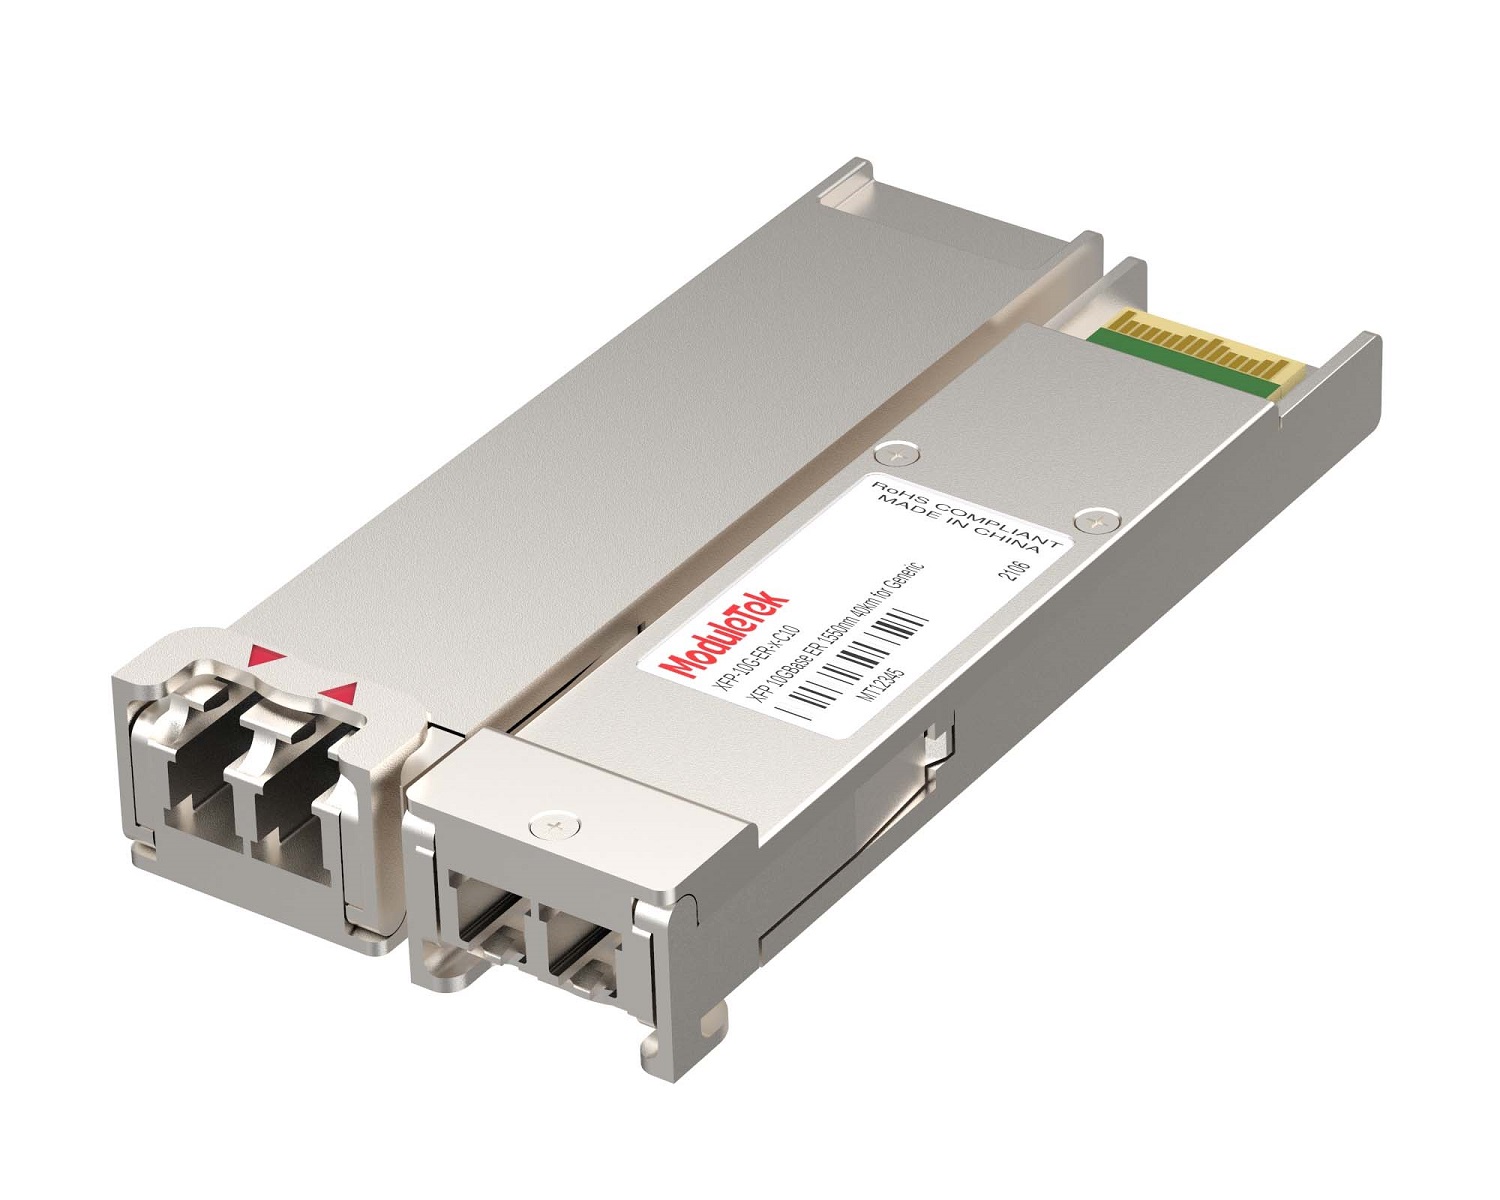 XFP Optical Transceivers
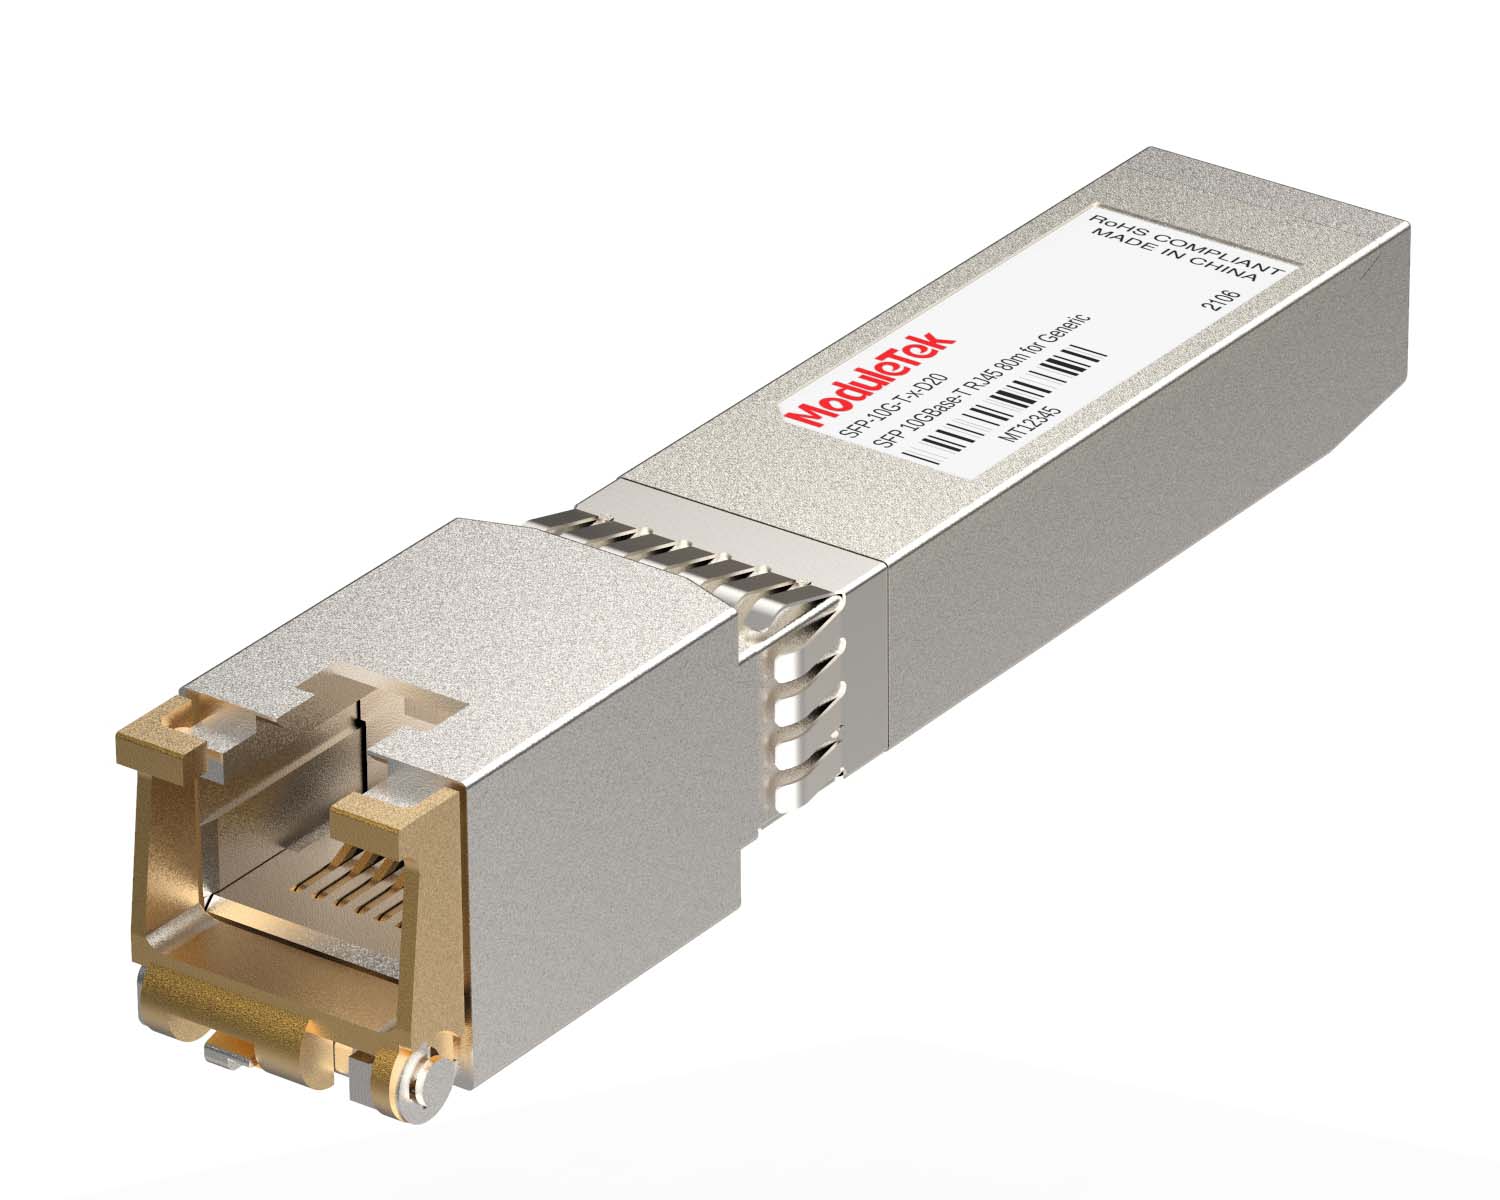 100M/1G/10G Coppers
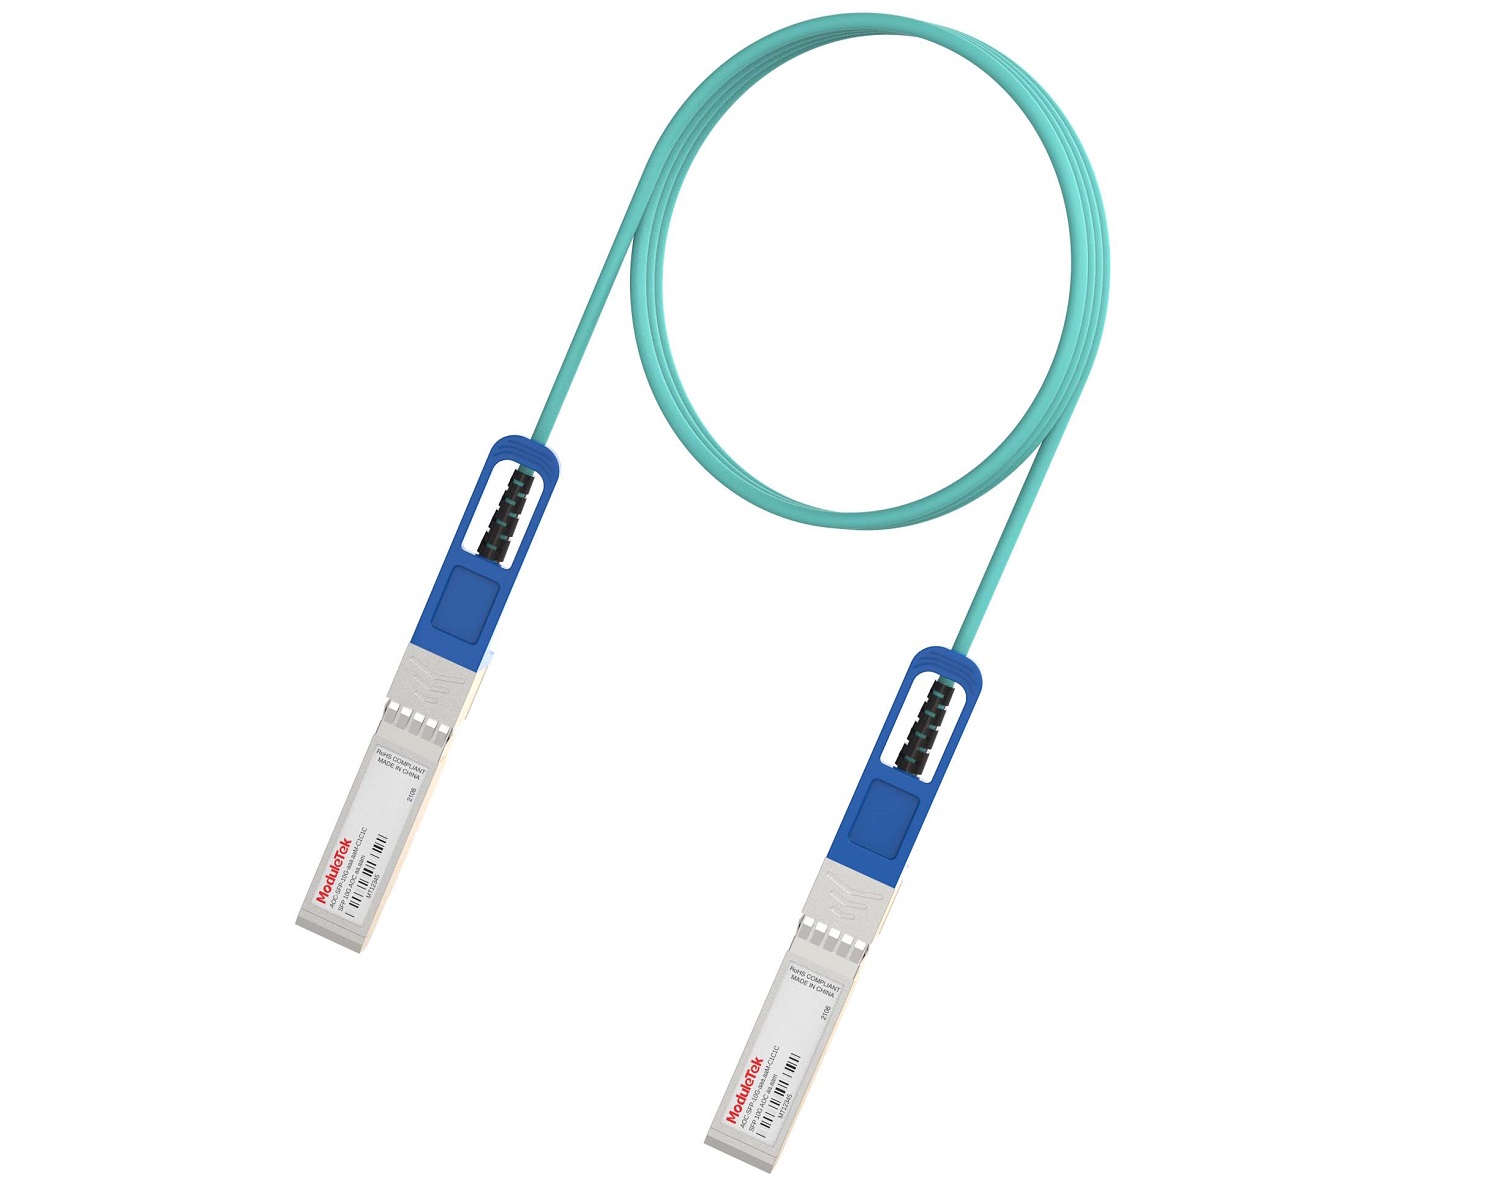 Full-Rate AOC & Breakout Series
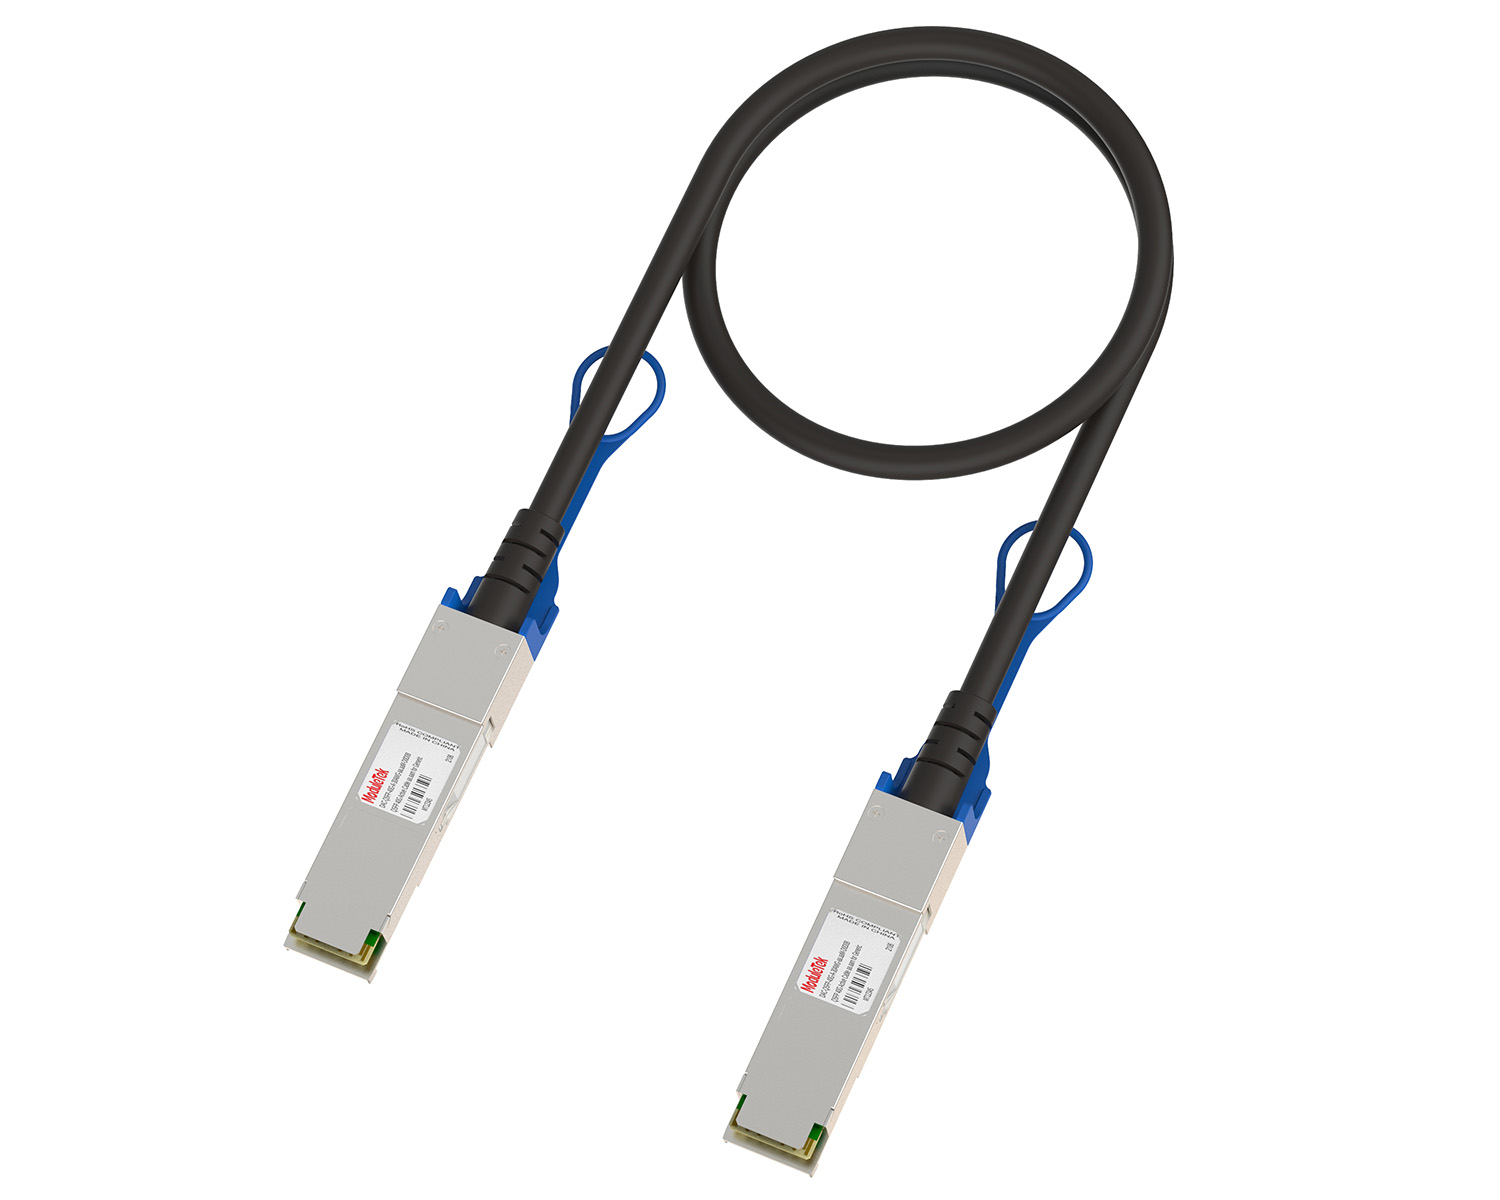 10G/40G Active DAC Series
 Full-Rate Passive DAC Series
 40G/100G Passive Breakout DAC Series
 Regular/MTP-MPO Fiber Patch Cords
 MT2011
 MT2010
 CodingBox
 QSFP to SFP Adapter
Iperf3 Bandwidth Test Introduction-Single Server Setup
Time: 2024-06-24
1. iperf3 Overview
iperf3 is a common network performance testing tool that supports various parameters related to timing, buffers, and protocols (TCP, UDP, SCTP, IPv4, and IPv6). It is used to evaluate network link performance indicators such as transmission bandwidth, latency jitter, and packet loss.
2. iperf3 Test Environment
iperf3 testing can be conducted through data transmission between two servers or between different ports of a single server. This document introduces the testing method under the single-server condition.
Test Equipment
• 1 Dell R720 2U server
• 1 dual-port network card (Intel XXV710)
• 2 optical transceivers
• 1 dual-core patch cord
Network Topology
Connect the equipment according to the following network topology:
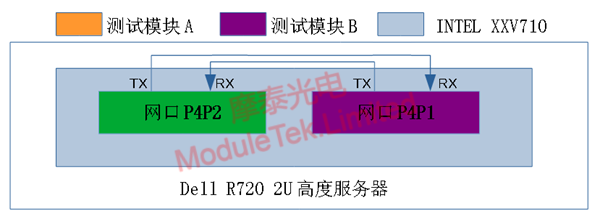
Figure 1 Network Topology of iperf3 Single-Server Test
3. iperf3 Test Software
Download & Installation
• Download address: https://iperf.fr/iperf-download.php
• System: CentOS 64-bit
• Downloaded file name: iperf3-3.1.3-1.fc24.x86_64.rpm
• Installation command: Run the following command in the server terminal to install the iperf3 tool:
rpm -ivh iperf3-3.1.3-1.fc24.x86_64.rpm
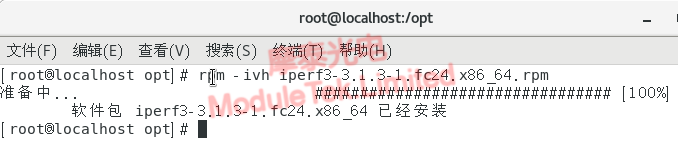
Figure 2 iperf3 Software Installation
4. iperf3 Testing Method
a. On the Dell R720 2U server, insert the two optical transceivers into the p4p1 and p4p2 ports of the Intel XXV710 network card respectively, and connect them with a patch cord. Wait for the network card indicator to stay on (indicating the transceiver is LINK UP), then open the server terminal.
b. For iperf3 testing on a single server, it is necessary to enable the kernel’s network forwarding function and use network namespaces (netns) to isolate the two ports (p4p1 and p4p2) of the dual-port network card. Otherwise, data may be transmitted through the internal protocol stack, resulting in inaccurate test results that do not reflect the actual physical connection performance.
c. Run the following command in the server terminal to modify the kernel configuration:
vi /etc/sysctl.conf

Figure 3 Kernel Configuration Modification
d. Add the following configuration item to enable the IP packet forwarding function:
net.ipv4.ip_forward = 1 # Controls IP packet forwarding
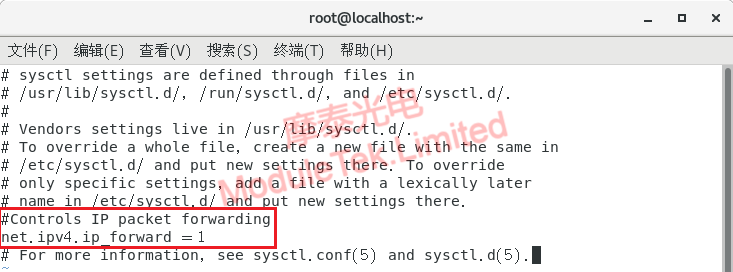
Figure 4 Enabling Network Forwarding Function
e. Run the following command to make the above configuration take effect:
sysctl -p

Figure 5 Applying Configuration Changes
f. Create two network namespaces named ns1 and ns2, then verify the creation (relevant commands are shown in the figure).
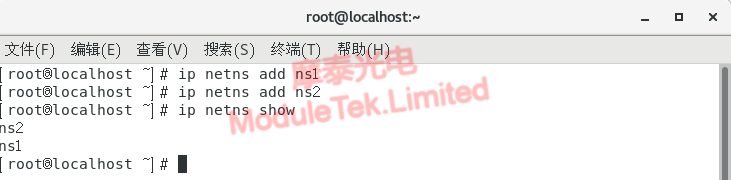
Figure 6 Adding Network Namespaces
g. Add the p4p1 port to ns1 and verify (relevant commands are shown in the figure).
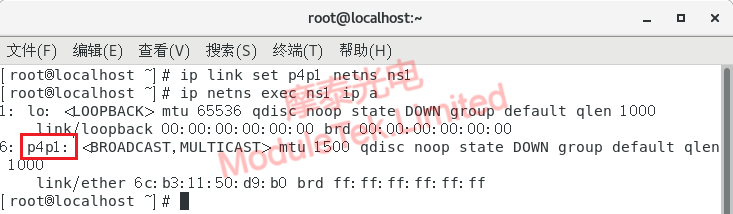
Figure 7 Adding p4p1 to ns1
h. Add the p4p2 port to ns2 and verify (relevant commands are shown in the figure).
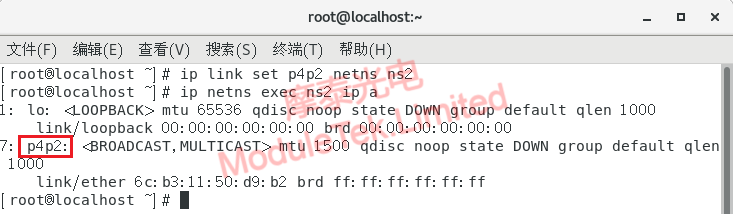
Figure 8 Adding p4p2 to ns2
i. Configure IP addresses for the two ports in ns1 and ns2 respectively, then verify the configuration (relevant commands are shown in the figure).
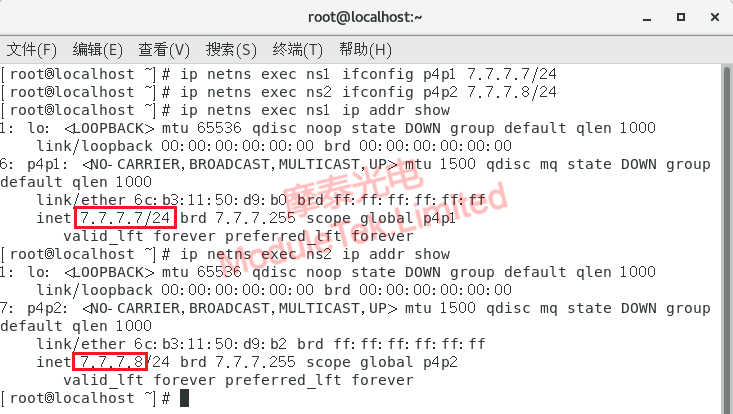
Figure 9 IP Address Configuration
j. Run the iperf3 server on ns1 (relevant commands are shown in the figure).
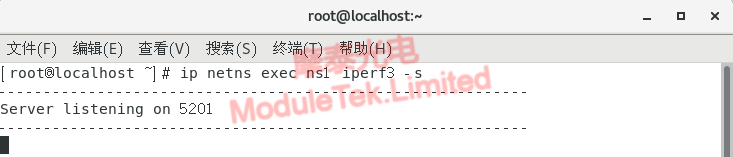
Figure 10 Running iperf3 Server on ns1
k. Open a new terminal and run the iperf3 client on ns2 (test results are shown in the figure).
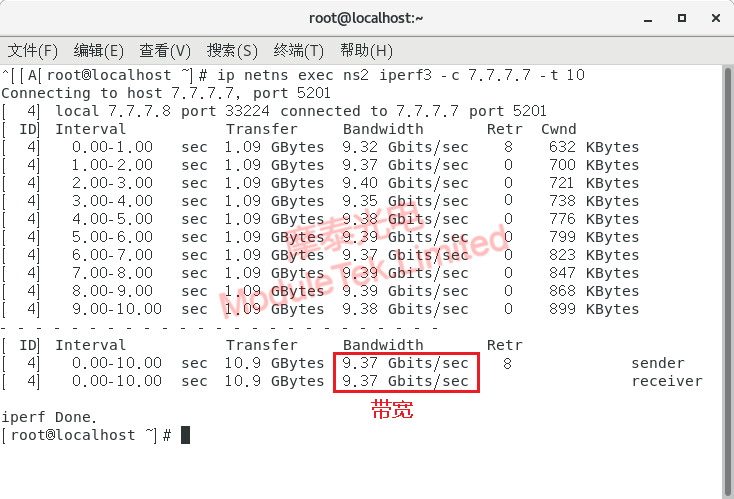
Figure 11 Bandwidth Test Results
Test Notes
• When optical transceivers are used on the server, they work at the physical layer, performing transparent photoelectric conversion and transmission of "0" and "1" signals, which generally does not cause fluctuations in test bandwidth during iperf3 testing.
• When using optical transceivers for iperf3 traffic testing, due to CPU hardware limitations, it is generally impossible to achieve 100% of the target bandwidth. For example, as shown in Figure 11: the Intel original optical transceiver E10GSFPSR supports a bandwidth of 10Gbits/sec, but the actual test under the current server hardware only reaches about 9.37Gbits/sec.
Moduletek is dedicated to providing high-quality optical communication products and services. Welcome to inquire and purchase.
For further inquiries about the above content, please contact us at: sales@moduletek.com