 40G/100G Optical Transceivers
 25G Optical Transceivers
 10G Optical Transceivers
 155M/2.5G Optical Transceivers
 1G Optical Transceivers
 1G BIDI Optical Transceivers
 Dual-Rate Optical Transceivers
 FC 16G/32G Optical Transceivers
 CWDM Optical Transceivers
 DWDM Optical Transceivers
 SGMII Port Optical Transceivers
 XFP Optical Transceivers
 100M/1G/10G Coppers
 Full-Rate AOC & Breakout Series
 10G/40G Active DAC Series
 Full-Rate Passive DAC Series
 40G/100G Passive Breakout DAC Series
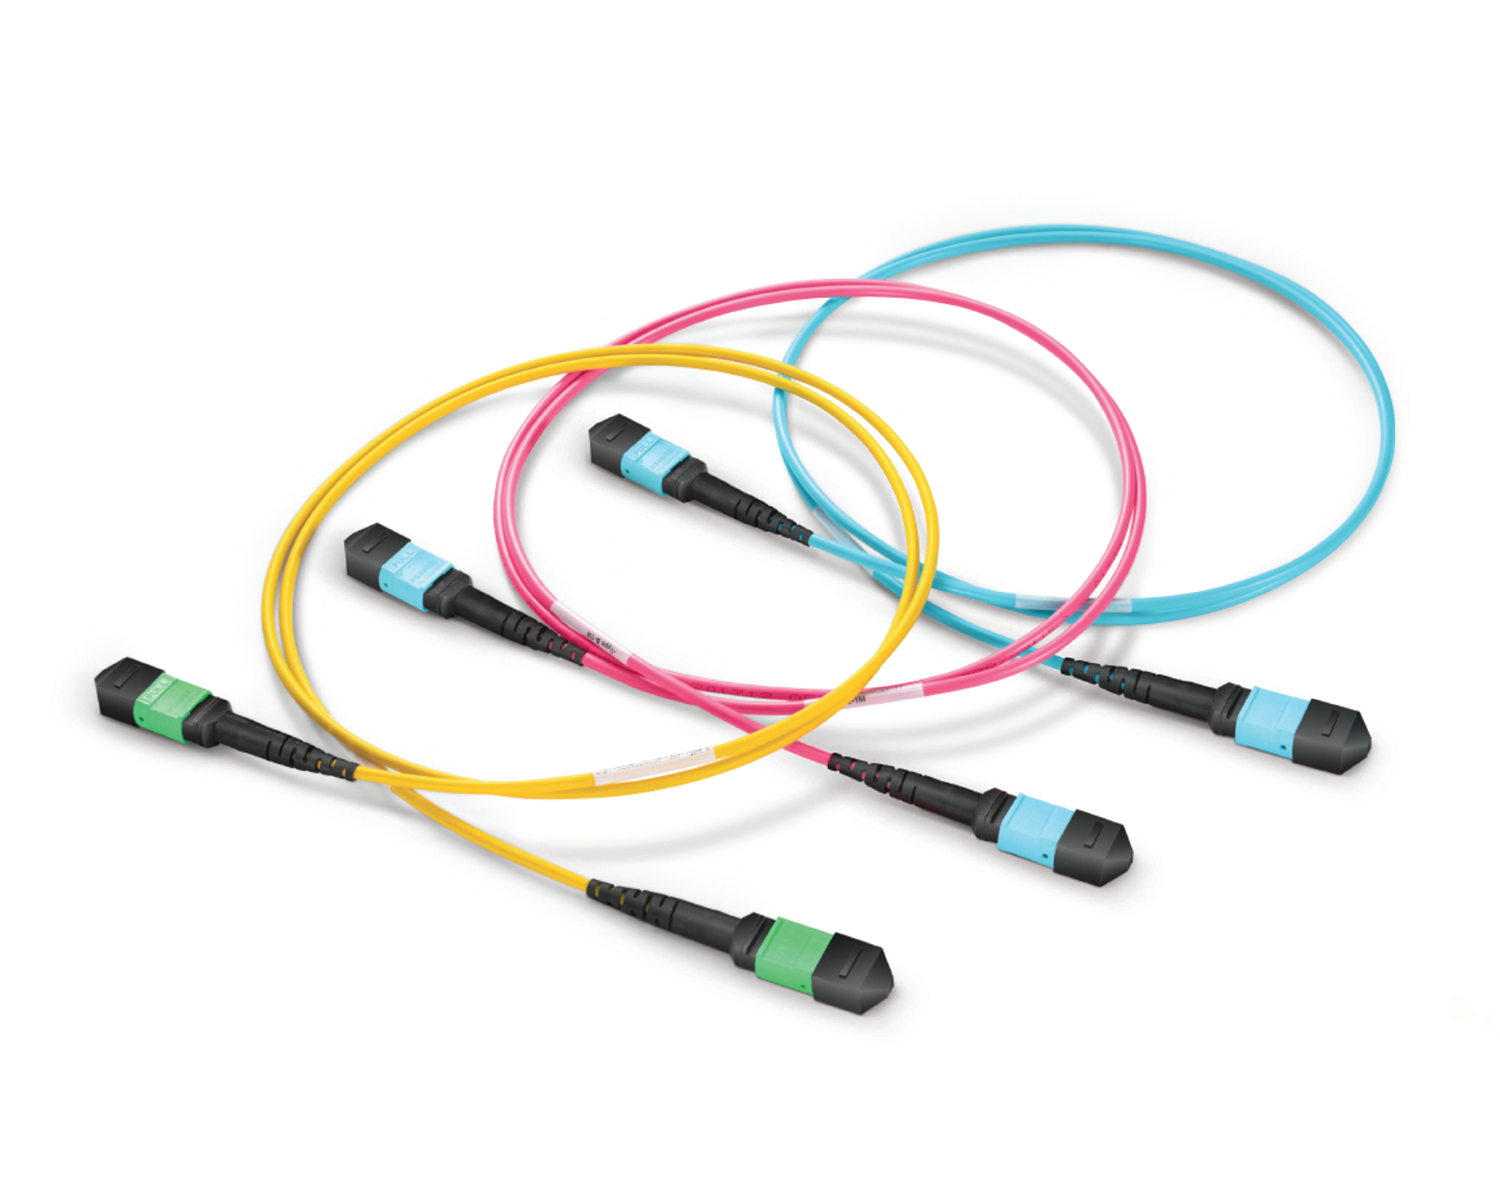 Regular/MTP-MPO Fiber Patch Cords
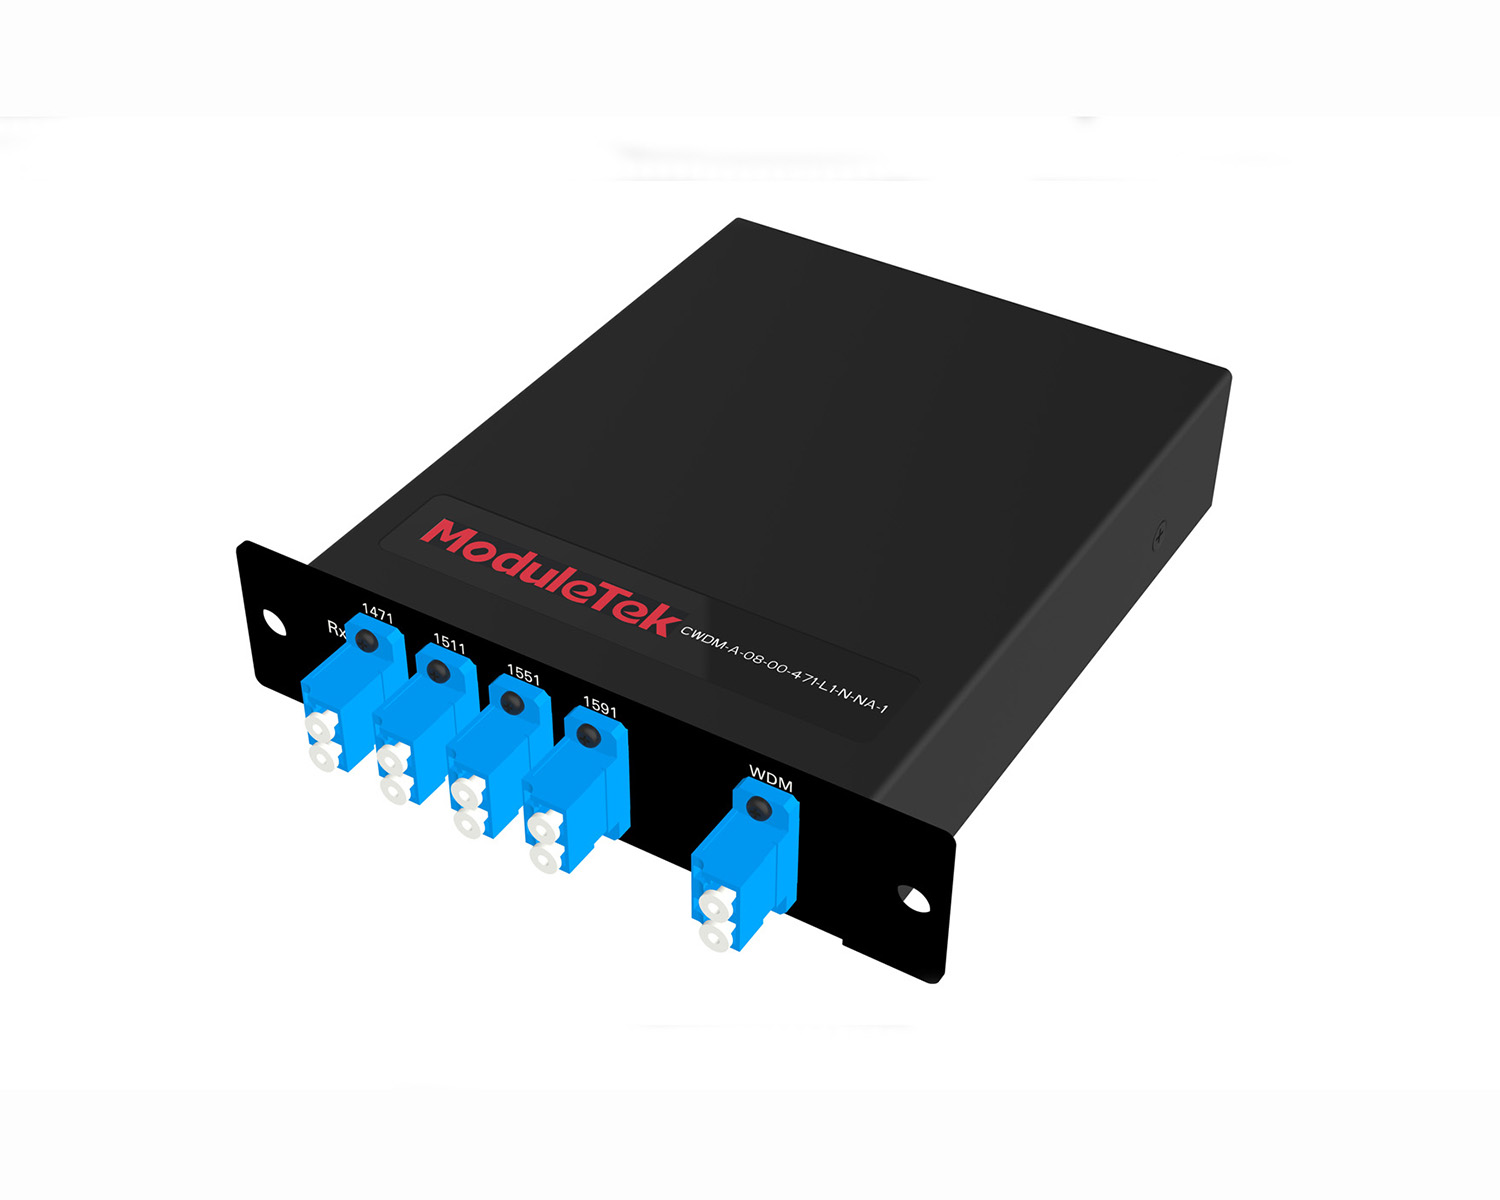 MT2011
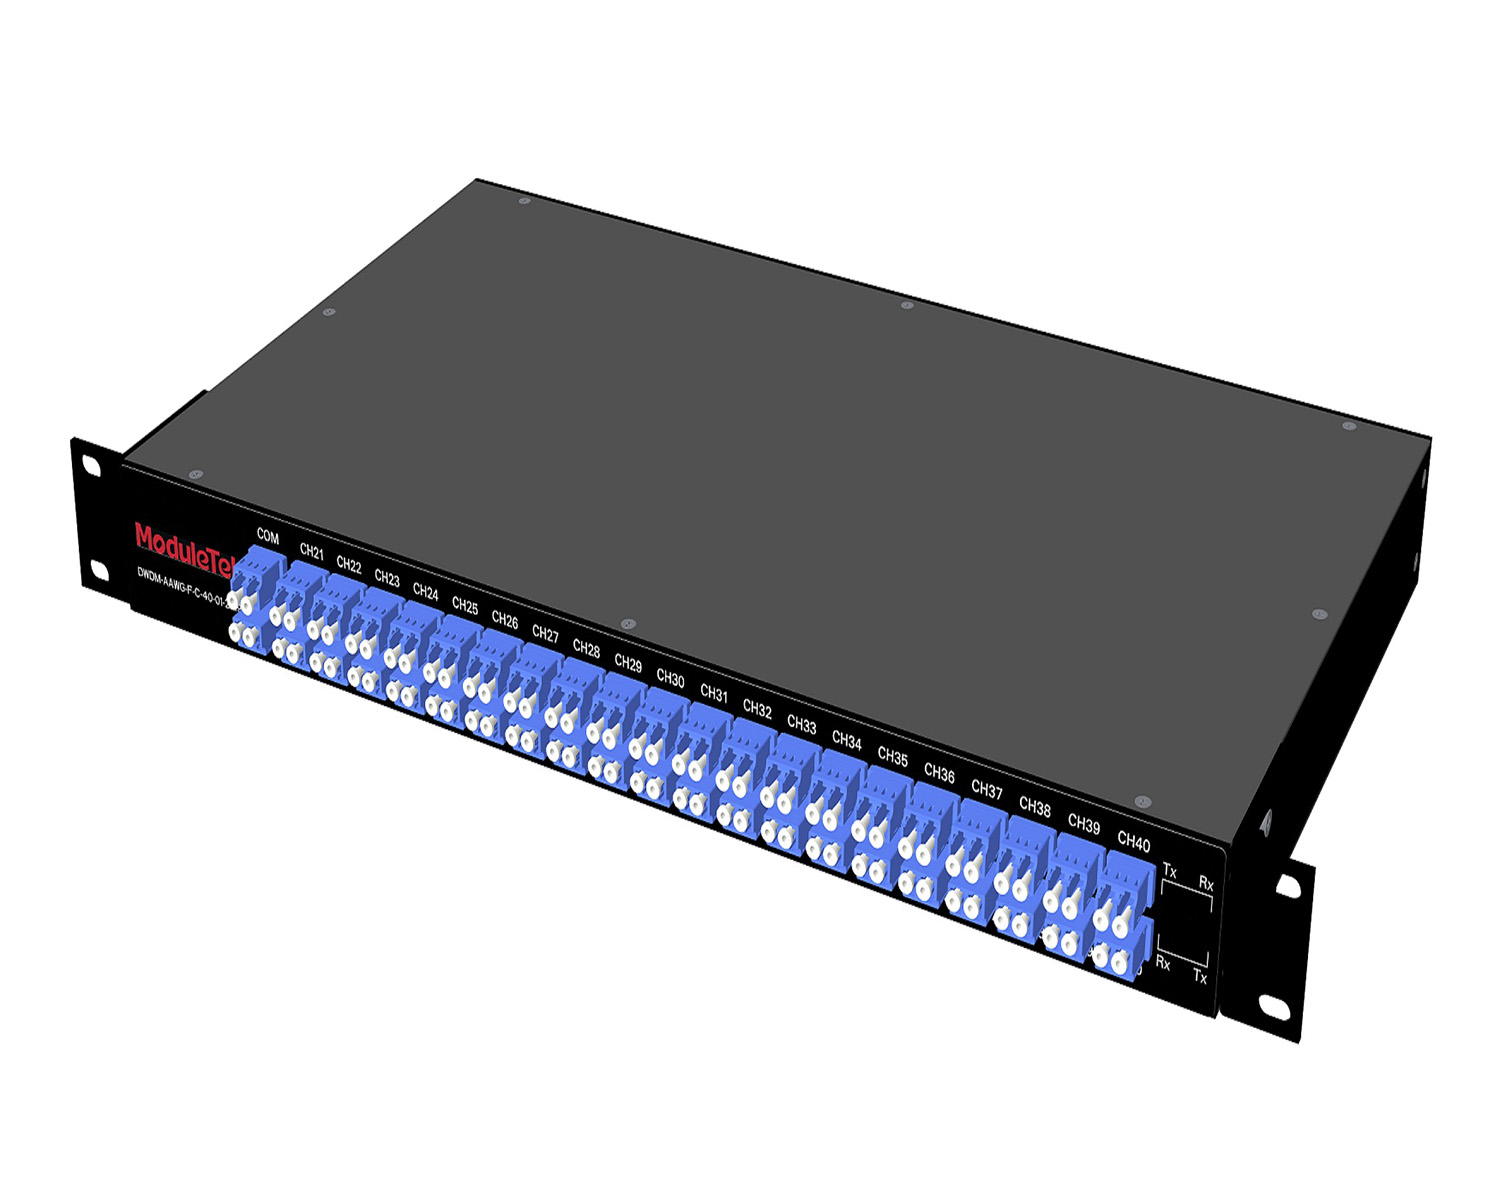 MT2010
 CodingBox
 QSFP to SFP Adapter
Introduction To Commonly Used Terminal Emulation Application
Time: 2025-01-14
We introduced in the article Switch Console Interface Type Introduction, that a terminal emulation program is required to log in to and manage switches via the console interface. Below is a detailed introduction to several commonly used terminal emulation applications.
Regardless of which terminal emulation program you use, connecting to the switch via the serial port requires the following preparatory steps:
1. Use a serial cable to connect the switch’s console port to the computer’s serial port.
2. Check the COM port number in the PC’s Device Manager.
3. If multiple COM ports are connected, select the one corresponding to the actual connection.
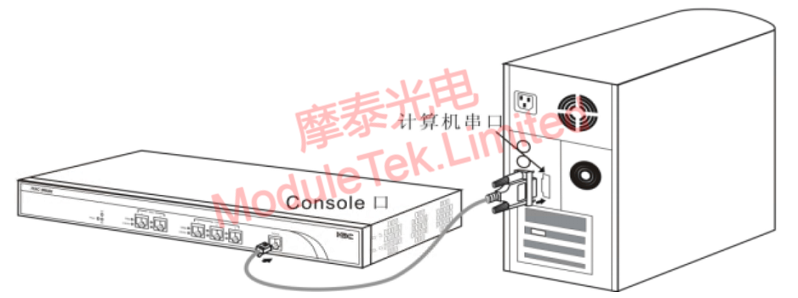
Figure 1 Console Connection Diagram
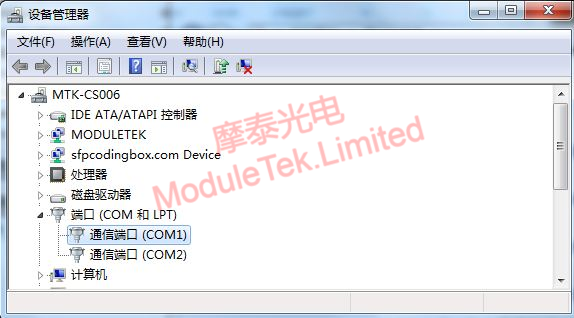
Figure 2 COM Port Number
1. Hyper Terminal
Hyper Terminal is a tool used in early Windows operating systems to interact with the computer command line. It allows users to communicate via serial ports, modems, or TCP/IP networks. Newer Windows operating systems (such as Windows 7, Windows 10) no longer pre-install Hyper Terminal, and it is gradually being replaced by third-party software. If you need to use it, you can download and install it manually.

Figure 3 Hyper Terminal Icon
Table 1 Hyper Terminal Connection Procedure
|
Operation
|
1. Launch the Hyper Terminal application. In the pop-up input box, enter a name (which can be the device name or any easily distinguishable characters) to quickly locate the device terminal window when multiple terminals are running.
|
2. After entering the connection description, select the port number for connection (based on the actual connection).
|
3. Select the corresponding port attributes (i.e., the pre-configured communication parameters of the connected device). Usually, only the baud rate varies between different switches. |
|
Interface
|
 |
 |
 |
Once the above configurations are completed, you can connect to the device and manage it via commands.
Figure 4 Hyper Terminal Interface
2. PuTTy
PuTTy is a free, open-source remote login tool. It supports network protocols such as SSH, Telnet, SCP, and serial connections, and supports Windows, Linux, and macOS operating systems.
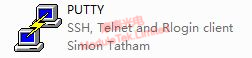
Figure 5 PuTTy Icon
Table 2 PuTTy Connection Steps
|
Operation
|
1. Launch the PuTTy application. A configuration box will pop up, where you can select the port number, connection type, and baud rate. |
2. Select "Connection -> Serial" on the left to view specific communication parameters.
|
|
Interface
|
 |
 |
Once the above configurations are completed, you can connect to the device and manage it via commands.
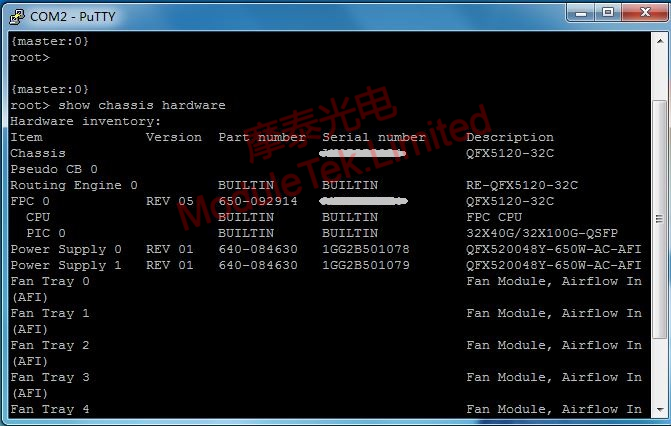
Figure 6 PuTTy Interface
3. Tera Term
Tera Term is a serial port debugging tool with a concise interface and practical functions. It is mainly used for serial, Telnet, and SSH communication on Windows operating systems. In addition, it supports logging in to devices via serial ports and connecting to remote hosts via the network.

Figure 7 Tera Term Icon
Table 3 Tera Term Connection Procedure
|
Operation
|
1. Launch the Tera Term application. A configuration box will pop up, where you can select the connection type and port number.
|
2. The default baud rate configured by the program is 9600. If modification is needed, go to the interface menu "Setup -> Serial Port" to configure port attributes. Click "Setup -> Save Setup" to save it as the default startup configuration. |
|
Interface
|
 |
 |
Once the above configurations are completed, you can connect to the device and manage it via commands.
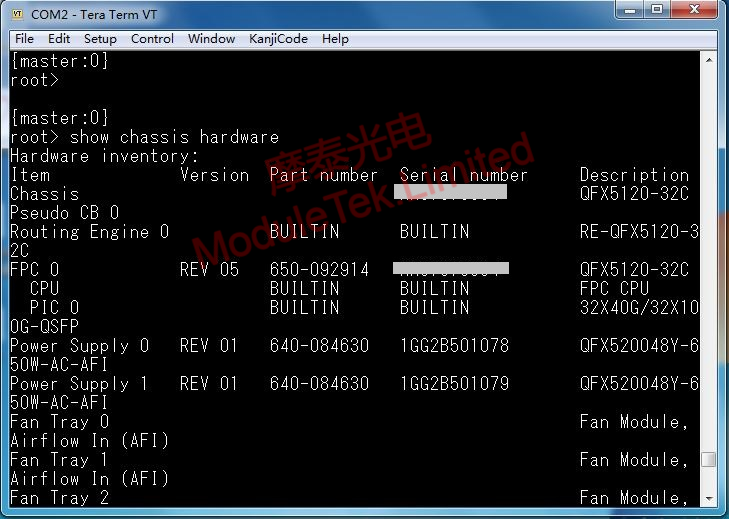
Figure 8 Tera Term Interface
In addition to the three common terminal emulation applications mentioned above, there are also MobaXterm, SecureCRT, and Xshell. Each has its own characteristics, and users can choose the appropriate one according to their needs and operating systems.
Moduletek Limited is at your service.
For further inquiries about the above content, please contact us at: sales@moduletek.com


