How to use USB to upload files with JUNIPER switches
Time: 2025-06-06
JUNIPER switch provides USB interface, which can be used for system upgrade or data storage and transfer, such as backing up switch configuration files, log files, etc. You can also upload new configuration files or script files for automated configuration of the switch, monitoring, troubleshooting, and so on. To use USB to upload files to JUNIPER switch, you need to mount USB first.
The following shares how to use USB to upload files based on specific cases.
Table 1 Parameter Description
| Item | Description |
| Switch Model | QFX5120-32C-AFI |
| upload file name | testoptical.sh |
| USB file path | /dev/da0p1 |
| Mount Path | /mnt/usb1 |
| File upload storage path | /var/tmp |
I. Method for mounting a USB drive on a JUNIPER switch
1. Enter ls / to view the files in the switch, where the file namerd dev contains all the device files of the switch.
2. To enter the mnt folder after execute cd /mnt/ ; to create a usb1 folder for subsequent mounting after execute mkdir usb1.
3. Mount the USB drive to the switch after execute mount_msdosfs /dev/da0p1 /mnt/usb1 , the USB file path /dev/da0p1and the mount path is /mnt/usb1, you can check if the mount is successful after enter ls /mnt/usb1.
II. The file is uploaded into the JUNIPER switch by USB
1. To upload the file into the switch after execute cp /mnt/usb1/testoptical.sh /var/tmp ; the file storage path is called /var/tmp.
2. To enter the tmp folder after execute cd /var/tmp; to check whether the file is uploaded successfully after enter ls | grep test , test is the keyword to retrieve the uploaded file testoptical.sh.
3. To unmount after execute umount /dev/da0p1 ; ebter df -h to check if the unmounting is successful.
Moduletek Limited can provide optical module products compatible with JUNIPER switches.
If you have any questions about the above content, you can contact us by Email : web@moduletek.com.

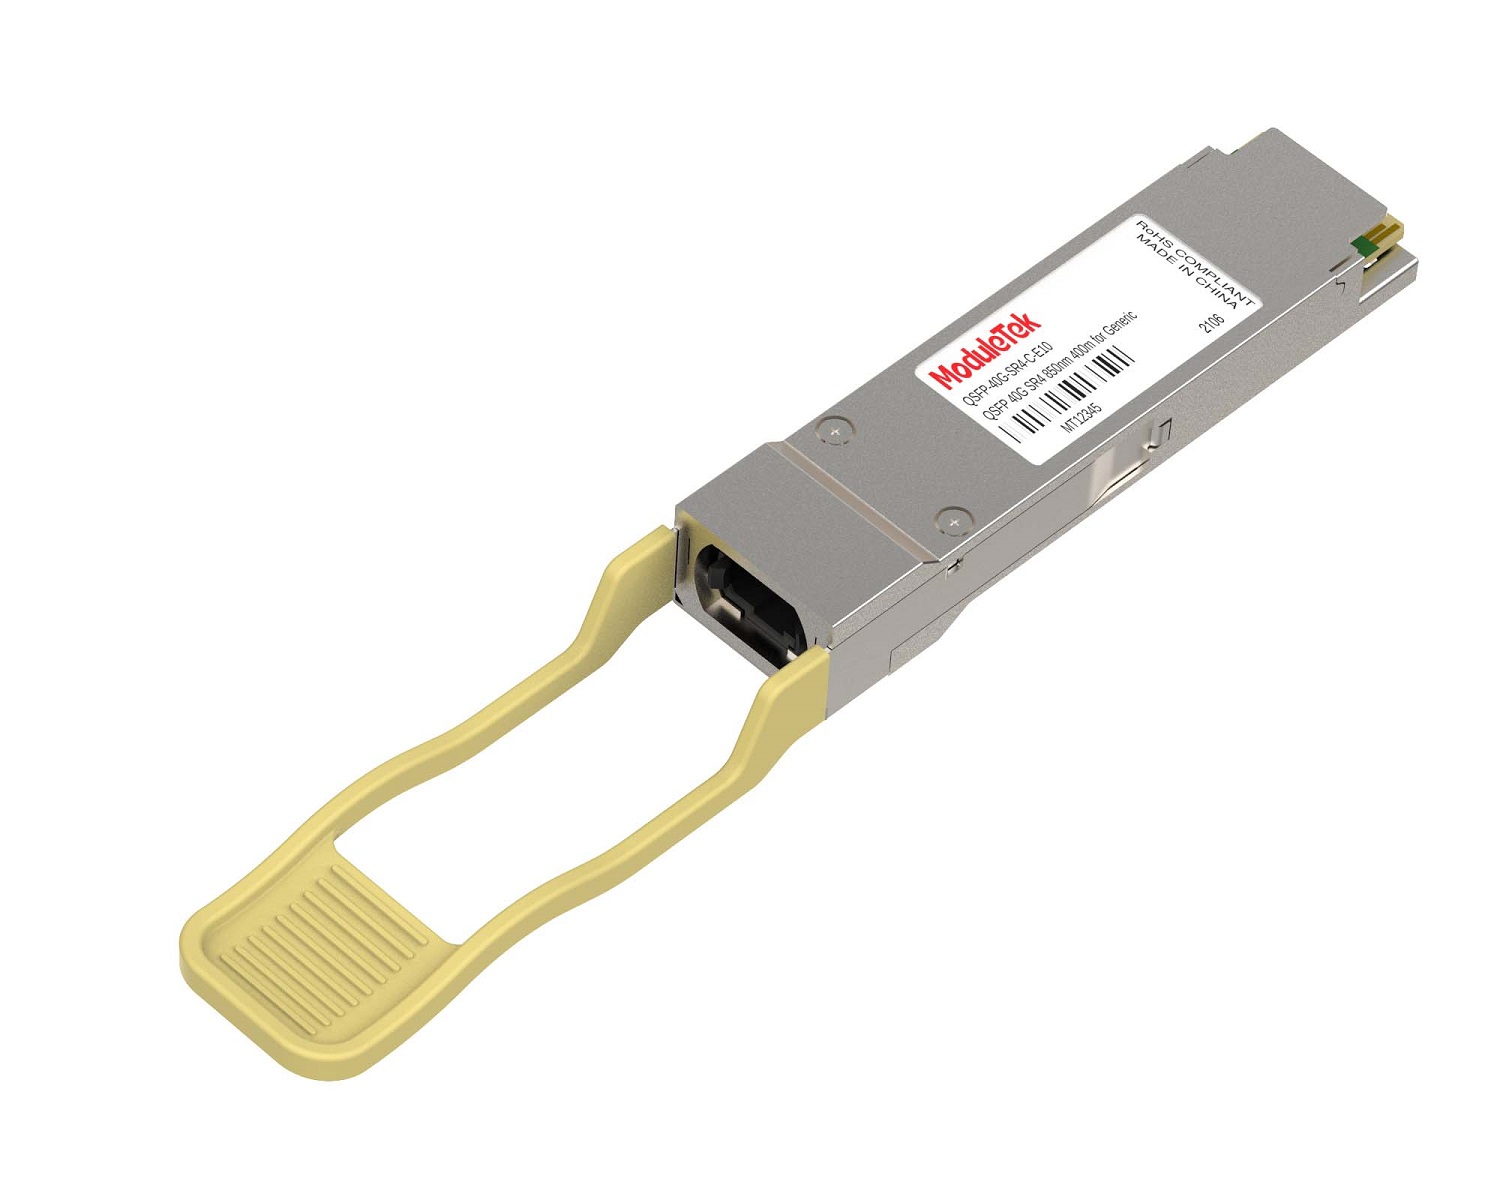 40G/100G Optical Transceivers
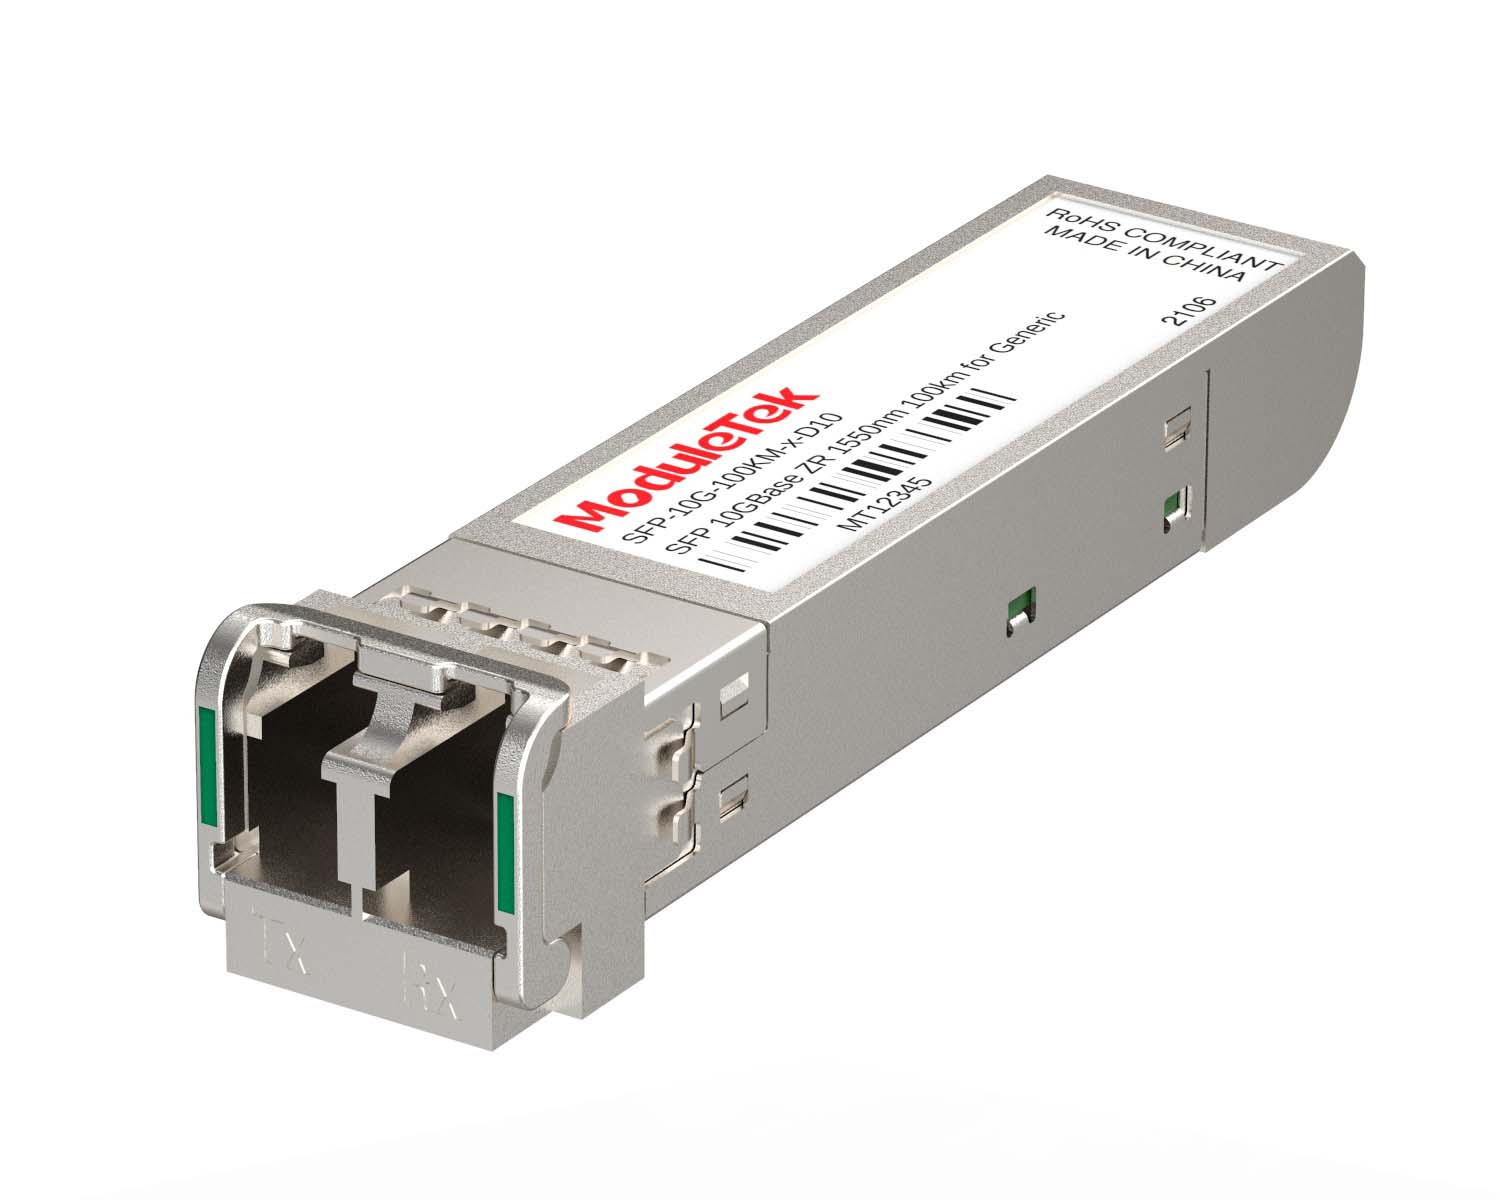 10G/25G Optical Transceivers
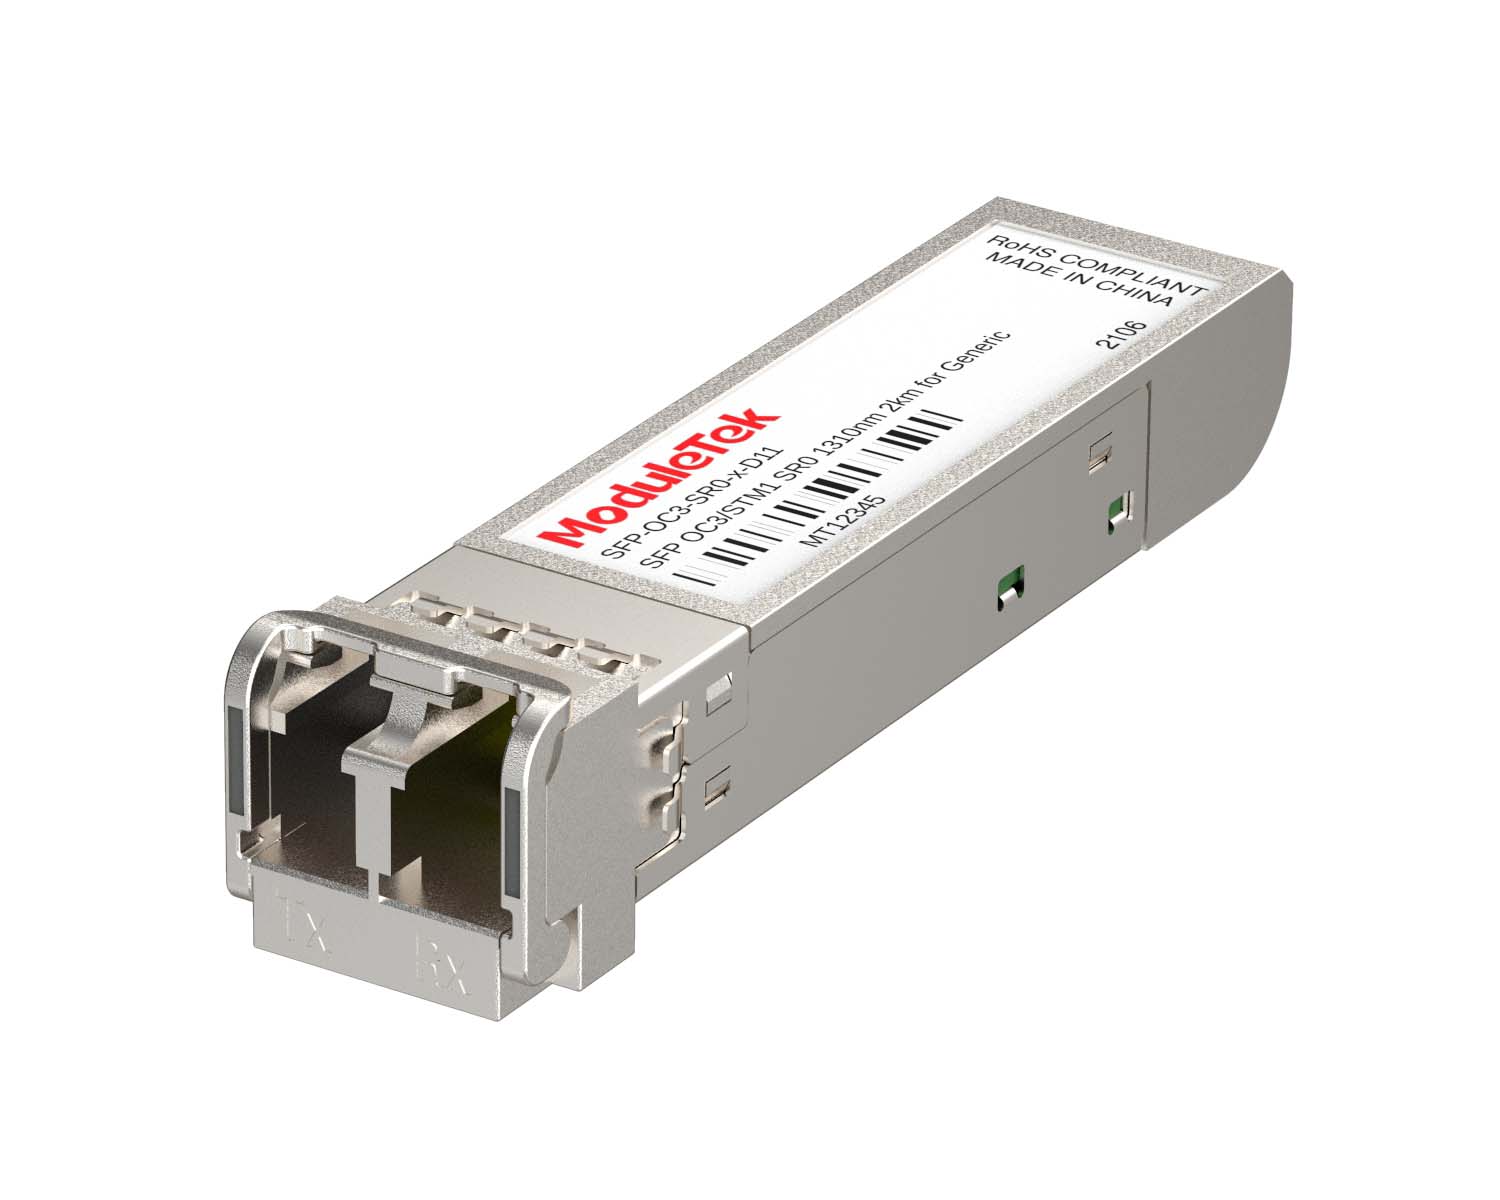 155M/622M/2.5G Optical Transceivers
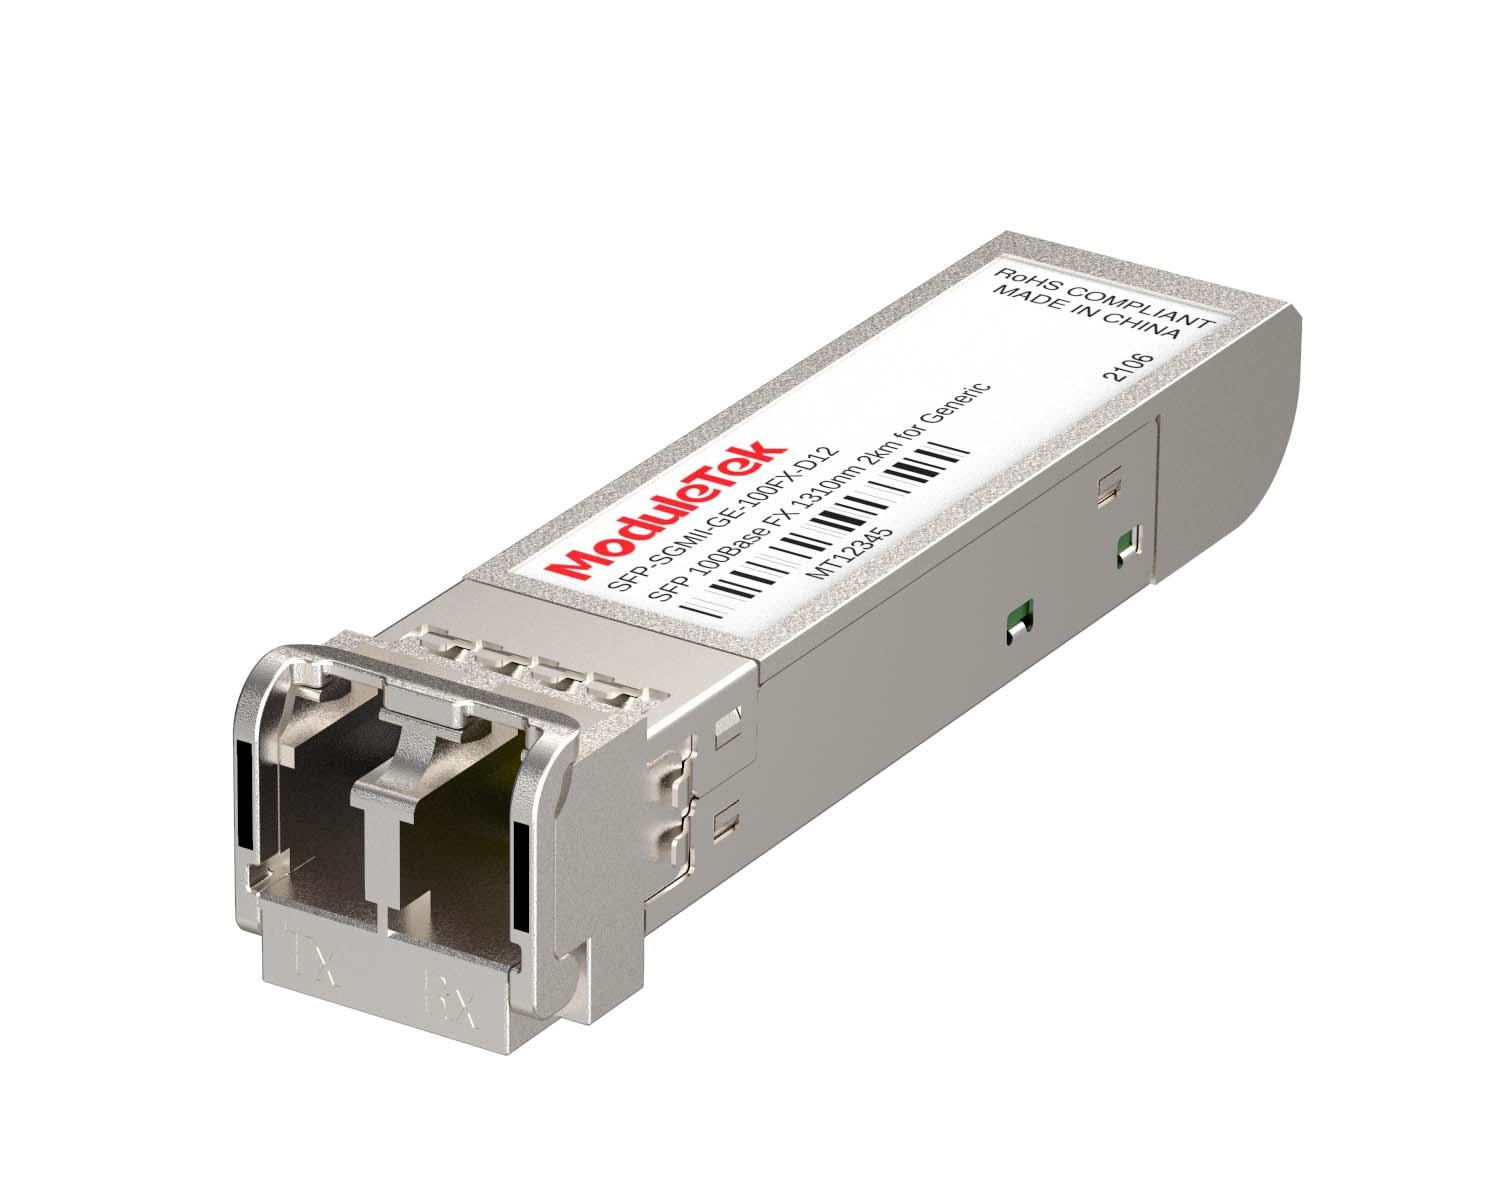 100M/1G Optical Transceivers
 FC 16G/32G Optical Transceivers
 CWDM/DWDM Optical Transceivers
 100M/1G/10G Coppers
 Active Cable AOC
 Direct Attach Cable DAC
 Regular/MTP-MPO Fiber Patch Cords
 MT2011
 MT2010
 CodingBox


